After video effects, adding unique sound effects is also an efficient means to make a video more creative and innovative. To do so, iMovie is always the preference for most Mac users. How to add sound effects to iMovie on Mac? Here, we dwell on every step of iMovie adding sound effects to videos and give a legible presentation for reference. Besides, a sought-after alternative to Mac iMovie is suggested in this full guide.
Part 1. How to Add Sound Effects to iMovie at Every Step
iMovie, such a Mac built-in video editor, offers a library of sound effects that you can apply to enrich and enhance your video file. Also, the advanced search capability is featured, which enables you to hunt for specific sound effect track and use it in a video. If you are preparing to add sound effects to iMovie on Mac, follow the minute description to make it happen with high efficiency.
Note: Remember that the video formats supported by iMovie include MP4, MPEG-4, MPEG-2, AVCHD (Advanced Video Coding High Definition), MOV (QuickTime Movie), DV (Digital Video), HDV 720p/1080i (High-Definition Video), and M-JPEG. Videos encoded with WMV, AVI, SWF, FLV, F4V, and MKV are not well accepted by iMovie. So, make sure that the video to which you are going to add sound effects on iMovie can be compatible with it. That's very important. Please pay more attention.
Step 1 Open iMovie and add target project
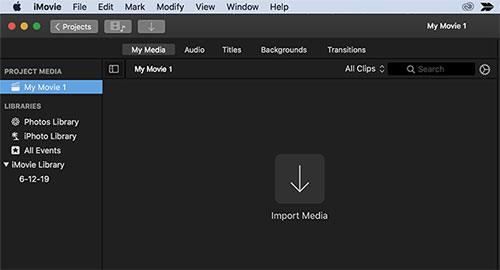
Open iMovie on your Mac computer and start a new project by clicking on "+" > "Projects". Then, head to "File" > "Import Media..." to summon the import window and select the target file to iMovie. The uploaded file will be displayed in the timeline.

Step 2 Go to "Sound Effects"
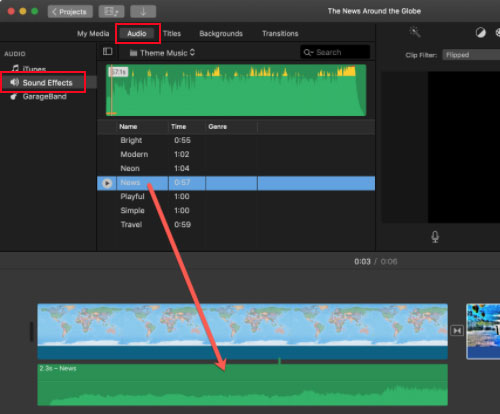
From the editing tool menu, choose "Audio" and then to "Sound Effects" at the side bar of this option. There are dozens of canned sound effects. You can double-click the sound track to preview so as to apply the most pleasant one to your video. Also, you are allowed to enter the name of your desired sound effect in the search field. After selecting what you like, drag it to the video project in the timeline. The sound effect will be displayed as the track with the green background under the your video file. Based on your requirements, freely position or trim the sound effect file.

Step 3 Export the video with sound effect
Finally, you just need to export the video. To do so, you have to click the "File" option > Share" > "File..." to save the created video to the system. Or, you specify the output path as you like.
Part 2. How to Add Sound Effects to iMovie Alternative
Joyoshare Media Cutter for Mac, as the best alternative to iMovie, is introduced here for everyone to add sound effects to an audio track or a video clip with more flexibility. This is an all-sided video editor provided with a variety of popular sound effects and eye-catching visual effects. You can freely apply these cool effects to enrich and personalize your video at ease. It features high compatibility. No matter what format the file you import is, such as MP4, MP3, AVI, ASF, WMV, WAV, MPG, TS, DVD, M4V, OGG, FLAC, etc, such a program gives full support.
Key Features of Joyoshare Media Cutter:
- Provide various sound and video effects
- Change output parameters in your own way
- Stream videos or audios to portable devices
- Support an immense number of media formats
- Built-in video editor and real-time preview function
- Losslessly cut and split audio/video in a precise way
Step 1 Import file to the program
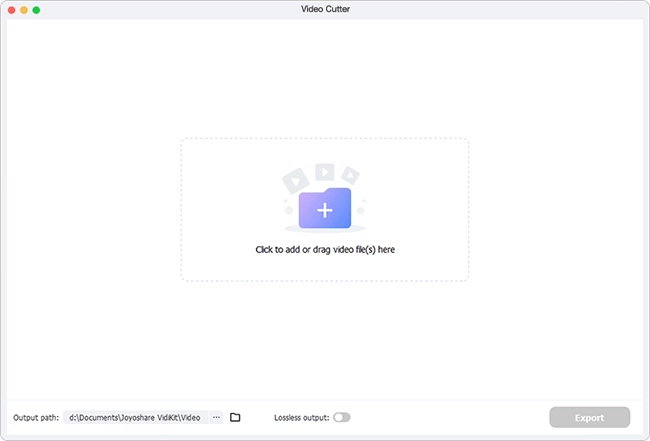
Joyoshare develops Mac and Windows version for Media Cutter. As needed, install and launch the proper version of Joyoshare Media Cutter on your computer. Then, import the file that you plan to add sound effect. You can touch "Open" button to select from local system or simply drag and drop.

Step 2 Specify output format under encoding mode
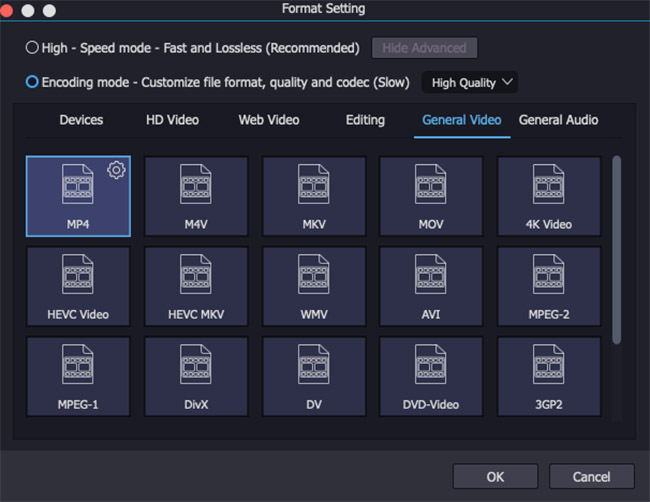
Click "Format" to gain access to the format window. You have to mark the encoding mode and set the output format from it, as only in this mode can you make use of editing tools to add sound effects. After the click of your desired format, you will be presented with a gear icon located at the top right, which is used to customize output quality. If necessary, you can tap it to modify parameters of codec, resolution, bit rate, sample rate, etc. Notice that the high-speed mode is a lossless mode, which is just for cutting, splitting, and merging files with the 100% original quality.

Step 3 Add sound effects to video
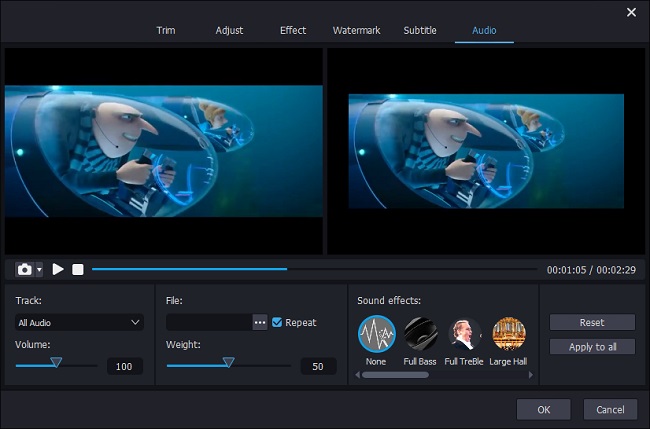
Continue to locate the "Edit" icon in the beginning interface. In the next window, go forward to the "Audio" option from the top toolbar. There are various sound effects provided, like Full Bass, Full TreBle, Large Hall, Pop, Rock, etc, select what you want to apply in your video. The program delivers the real-time preview. You are able to preview every sound effect while choosing.

Step 4 Save the video with sound effect
After that, tap on "OK" to save your customized settings. At the same time, you will be brought back to the previous window, in which you just have the click of "Start" to export the final file. When progress bar disappears, go to "Open The Output Folder" to find the saved file.
