Q:"No matter what I do with my Windows Movie Maker, I can't insert a music file into a video, not even a blank video. Am I operating sonething wrong? Anybody can offer a detailed guide on how to add music to Windows Movie Maker? Thanks" - from Microsoft Community
Every Windows user is supposed to have a knowledge of Windows Movie Maker. It's a built-in and basic image/video editor on Windows 7 and earlier. For simple editing actions, like add and edit music to video, subtitle and watermark video, apply transitions and effects, rotate video, and more, it stands a quick and practical solution. Focusing on how to add music to video with Windows Live Movie Maker in the right way, this article explains a stepwise guide. And for more, it also lists an alternative.
- Part 1. Add Music to Video in Windows Live Movie Maker
- Part 2. Add Music to Video in Window Movie Maker Alternative
Part 1. How to Add Music to Windows Movie Maker
The bald truth is that adding audio to video in Windows Movie Maker isn't anything difficult or complicated. Just follow on the step-by-step description of how Windows Movie Maker adds music to video within a few minutes.
Step 1 Add video to Windows Movie Maker
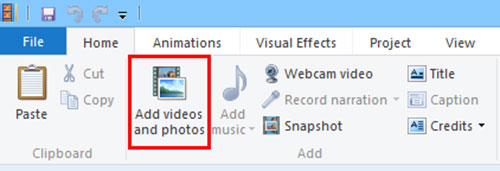
Start Windows Movie Maker and add the video to which you feel like adding audio to it by "Add videos and photos".

Step 2 Windows Movie Maker adds music
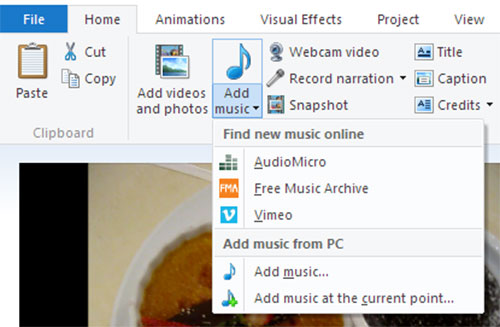
After the video clip is loaded up, start importing the music file by touching the "Add music" button. Notice that audio file formats supported by Windows Movie Maker include MP3, WMA, WAV, M4A, AIF, and AIFF. Make sure that the required music file to be imported is encoded in the compatible format.

Step 3 Edit music file if necessary
Once the music file is added, you are able to edit it if required. To do so, double-click the music track to enable "Music Tools" and then to "Options". You are allowed to adjust the music volume, fade in and out the music track, customize the start and end points, or split your music file.

Step 4 Output the final video
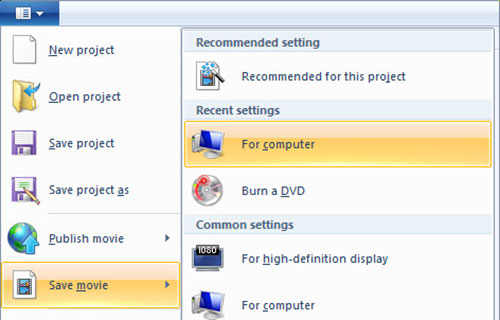
In the last step, just export and save the project. You ought to navigate to "File" > "Save movie". After the selection of the output path or output quality, the process will be initiated. A few minutes later, go to the specified output folder to preview the video with music added.

Part 2. How to Add Audio to Windows Movie Maker Alternative - Joyoshare Media Cutter
Wonder more solutions to add background music to a video after Windows Movie Maker? Then, consider and try its optimal alternative - Joyoshare Media Cutter. By the name of "Media Cutter", it might be mistaken for software only with ability to cut audio and video files. Actually, Joyoshare Media Cutter is an out-and-out video editor for both Windows and Mac.
With the exception of precise and lossless cutting and splitting capability, it is also capable of rotating, cropping, merging, inserting background music or any audio file to video, embedding subtitles and watermarks, adjusting brightness/contrast/hue, applying special visual and sound effects, and more. Fundamentally, it is easy to operate. Even without any help, you yourself can do it in a hassle-free manner.
Key Features of Joyoshare Media Cutter:
Work with clearly all video and audio formats
Export your video to any desired format at 60X speed
Cut unwated sections from video in the lossless quality
Give solution to balance the original audio and added music
Adjust audio volume, add sound effects, loop background music
Modify the output parameters, like resolution, codec, bit rate, etc
Step 1 Upload target video
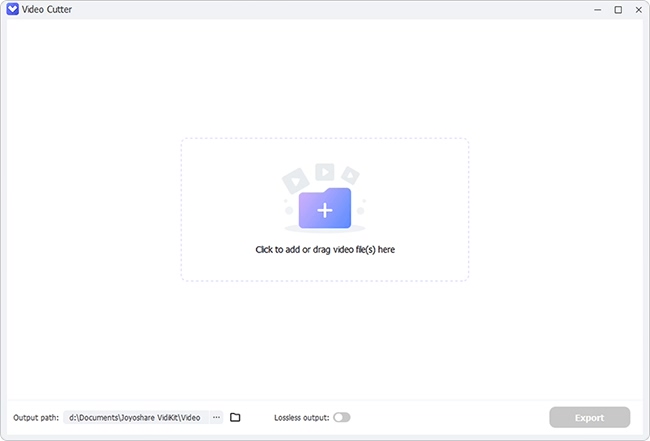
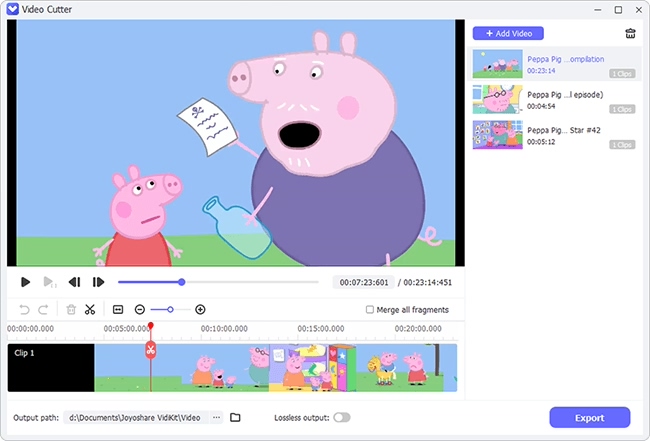
Make your computer outfitted with the right version of Joyoshare Media Cutter. Open it and get ready to import the targeted video. The program provides 2 options to add files, click "Open" to select from local system and directly drag to the main interface.

Step 2 Mode and output format settings
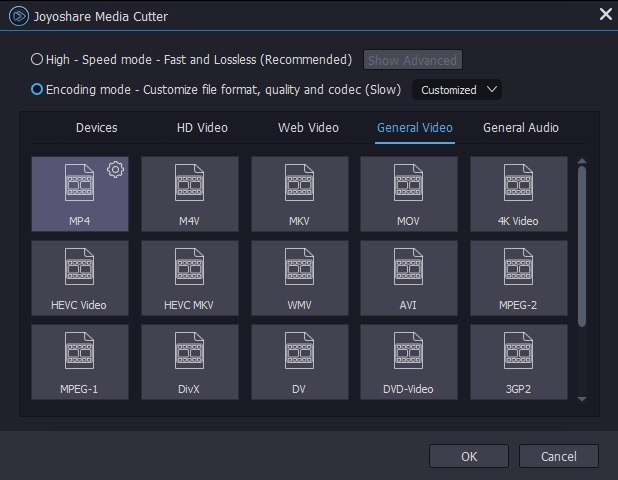
Proceed to the next window by "Format". In the new panel, you should tap on "Encoding mode" to activate the editing function for adding background music to video and followed by selecting an output format. The gear icon located at the top right of your chosen output format is used to customize the output quality. Remember, the other mode, "High-Speed mode" is a loss-free mode, which is just for basic editing, like lossless cutting, splitting, merging, converting.

Step 3 Go about adding music to video
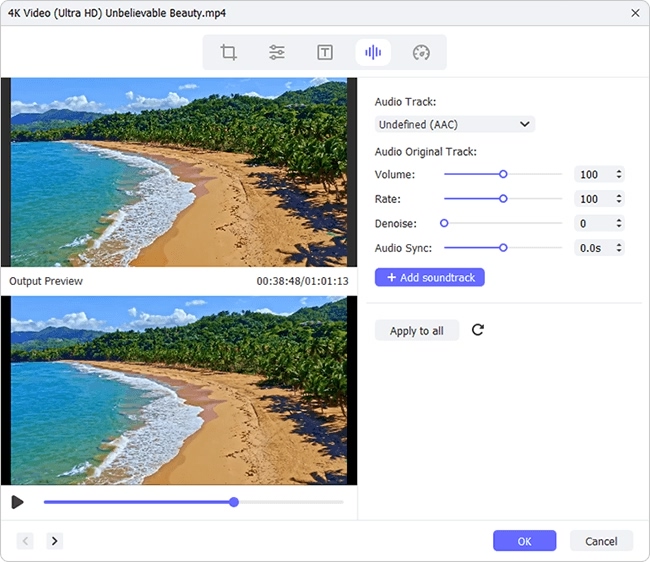
Whereafter, bring yourself back to the first window and find "Edit" icon to ask it to guide you into the edit interface. From all displayed editing tools, please opt for the "Audio" tool. Then, head to "File" part and touch "..." icon to import the required music file from your computer. Once the music added, preview the result. As needed, you can control the music volume, balance the pre-existing audio file and the added music file by adjusting "Weight" and use sound effects to do some necessary music editing. When everything is set in place, hit on the main-window "Start" button to export the resulting video.

