It seems a bit difficult for green hand or amateurs to crop video in Mac. However, inevitably sometimes there are common black bars or undesired parts in a video file that need to be removed by you. Under the circumstance, how can you crop a video on your Mac computer to focus others on important content? If you indeed have no sufficient skills in dealing with videos, here you can follow our steps to learn.
- Part 1. Steps to Crop a Video on Mac Professionally
- Part 2. Recommendation of 3 Best Mac Video Cropper Software
Part 1. How to Crop a Video in Mac - Joyoshare Media Cutter
To easily accomplish video cropping task, a remarkable video cropper for Mac is a must. Among all popular tools, Joyoshare Media Cutter for Mac is trustworthy, simple-to-operate and dedicated. It ideally supports different videos, like MP4, ASF, AVI, MOV, H.264, MPEG, MKV, FLV, VOB, etc. What's more, it lets you customize and edit videos with advanced tools, which at the same time keeps high video quality.
Key Features of Joyoshare Media Cutter:
Crop videos on Windows 10 and Mac 10.15
Adjust aspect ratio to 16:9, 4:3, full screen, etc.
Crop, trim, rotate, watermark, flip, cut, edit videos
With lossless mode to run at 60X high speed
Change parameters, reset format and extract audio from video
Step 1 Import the video to program
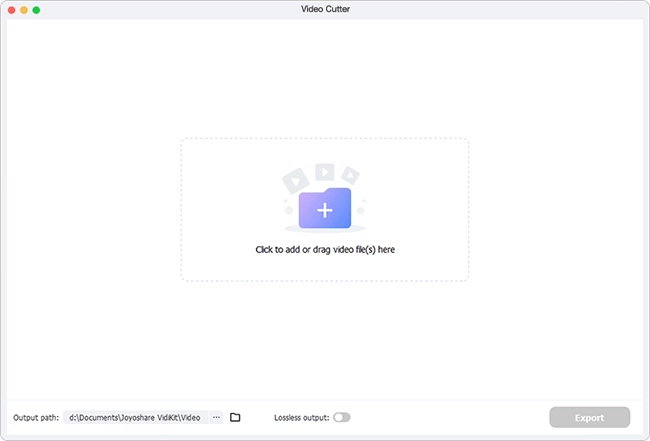
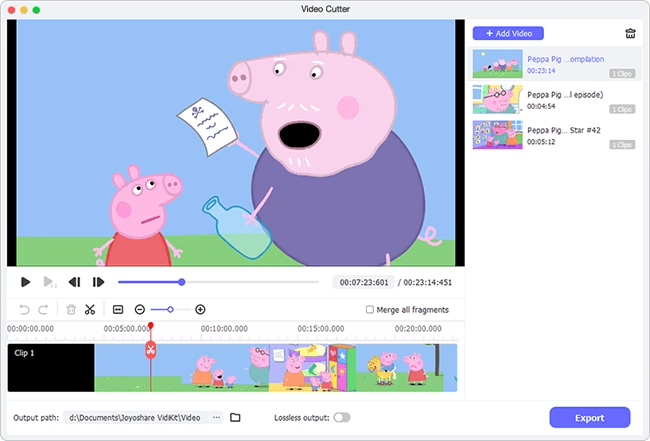
Get Joyoshare Media Cutter launched on your Mac computer. Then go to click the "Open" option on the bottom left-hand corner of this program to browse and select a video from your local folder. Or you can directly add the video that you would like to crop by dragging and dropping.

Note: This program works on a single video file, so you can only import one video at a time.
Step 2 Choose cropping mode and output format
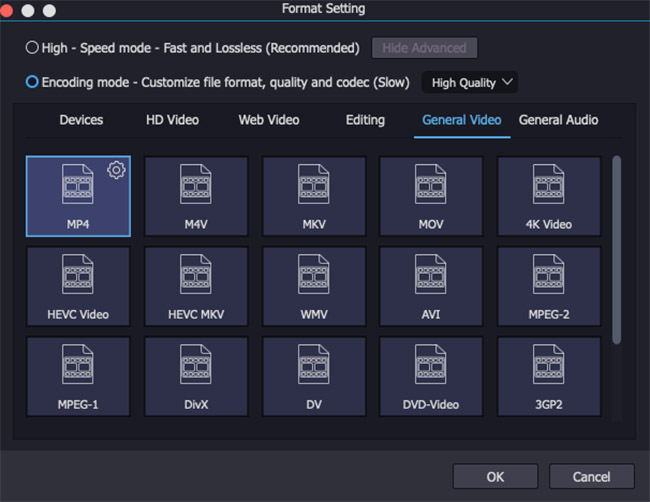
Before cropping, you are supposed to select "Encoding mode" under the "Format" window. Besides, it's needed to confirm the output format. You can choose required video format or compatible device as you like. To further specify video configuration, just additionally click on the gear icon at the chosen format and then change codec, resolution, bit rate, etc.

Step 3 Crop video and save
After checking mode and format, you can simply press on the "OK" button to go back to the main interface. Next, go forward to the "Show segment list" option
 to click on the "Edit" button
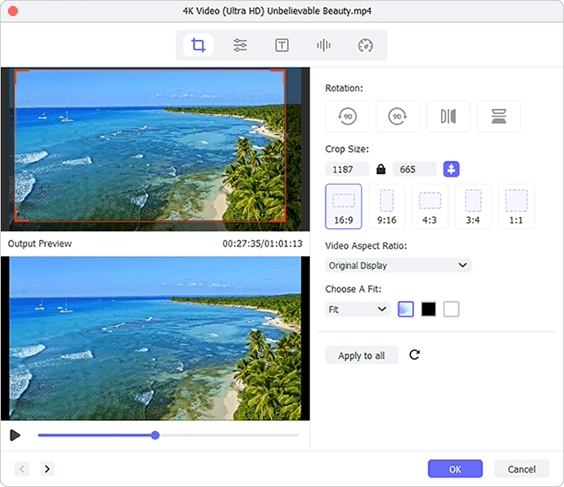
  . Go for "Adjust" tab and stop at "crop" section. You can now zoom in and zoom out the white adjustable cropping video in the left to make it appropriate. Or set the width and height value in the related box. Moreover, it's available to change aspect ratio as 16:9, Original Resolution, Pan Scan, etc. When all is ready, please click the "Start" button to save your video on Mac.
Note: Make the aspect ratio of the cropped video is as same as the one you specify for your chosen output format to avoid black bars. Whatever you crop, you can preview in the right window before export.
Part 2. 3 Recommended Decent Tools to Crop a Video on Mac
To let you have more choices and make comparison, we are here to list three best video cropping software. All of them are well-liked by users and are used to crop a video on Mac with no difficulty.
iMovie
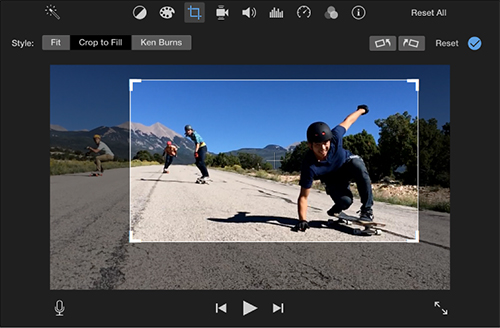
Developed by Apple Inc., iMovie is a known video editing tool that is perfectly compatible with macOS and iOS devices, even the latest macOS Mojave. Most importantly, since 2017, it's free to all of you. Therefore, it's really convenient to crop videos in iMovie and process high-definition videos.

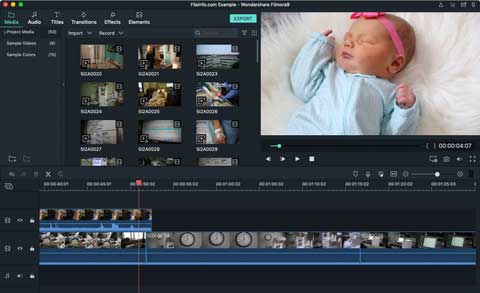
Wondershare Filmora9 for Mac
Wondershare Filmora9 for Mac is another competitive video editor that can be taken into consideration to crop videos. It includes full support to lots of formats, such as F4V, MP4, 3GP, AVI, etc. Furthermore, this tool is workable to apply effects, add titles, utilize filters, brand logo, etc.

QuickTime
As is often the case, many Mac users will ask whether it's practical to crop video in QuickTime as it's a built-in program on Mac computer and can be used straightly. Fact is that aside from the player role, it also serves to cut, crop and edit videos. However, the steps may not as easy as you think and usually you have to be guided with instructions.

