Q:"Is there a way to crop a video in QuickTime Player?" - From Quora
Possibly, there will be times when you need to crop some of the unnecessary surrounding frame from your video, remove irrelevant image area that you would like to conceal or make a video compatible to view in a frame device. Wonder how to crop video in QuickTime but still find no way? Happily, you just have to take a moment in this post to learn the full steps below. In case you are confused by the complexity of the procedure, we have also specially prepared an alternative to QuickTime Player for you to crop on Mac.
Part 1. How to Crop Video in QuickTime
Honestly, the built-in QuickTime Player on your Mac cannot accomplish cropping video directly. However, if you make an update to QuickTime Pro, you have chance to do as follows:
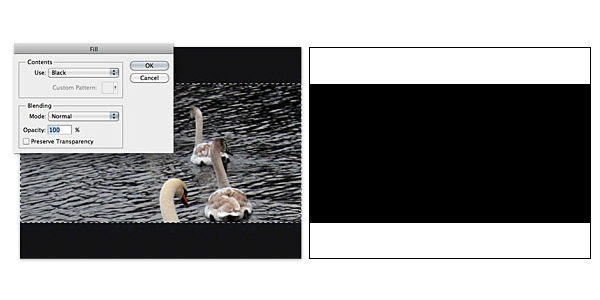
Step 1 Create a mask

The first step is to create a mask using an image editing tool, like Photoshop. You have to initially copy the image from QuickTime Pro by clicking "Edit" > "Copy" and then paste the content to Photoshop to create a new document.
Apply the "Rectangular Marquee tool" in Photoshop to select a certain area that you want to keep and fill it with black. Afterward, right click to choose "Inverse" option and make selection of the reverse area; similarly fill it with white, which will be used as a mask. Then it's time for you to save the file as .gif or .tiff.
Step 2 Apply mask to video
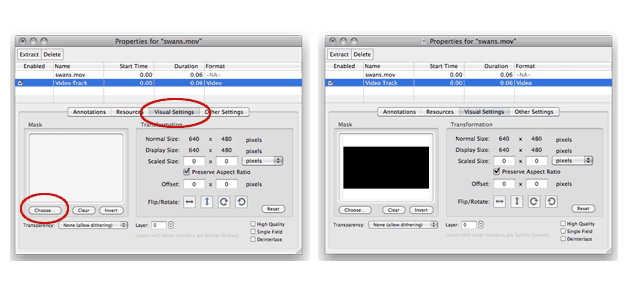
Now open the required video in QuickTime Pro and go for "Window" menu to select "Show Movie Properties". Continue to choose your video track, go forward to "Visual Settings" - "Choose" to browse and import the created mask file. By doing it, the black area of your video will be hid soon and the cropping effect will be added as well.
Step 3 Output cropped video on Mac
Once everything has been done, you can go to "File" - "Export" to output the cropped video with a new name and save it to a specific location.
Part 2. How to Crop Video with Joyoshare Media Cutter
To be frank, the steps to crop video with QuickTime Player seem a little complicated and perhaps hard to operate for non-skilled users. In such situation, a simple video editing tool, Joyoshare Media Cutter, is worth a shot. This QuickTime alternative is good at cropping video in an easy manner.
Ideally, it can additionally works well in cutting, trimming, merging, rotating, watermarking, etc. The broad compatibility makes it perfectly support a wide variety of formats, including MP4, MKV, MOV, M4V, AVI, WMV, DV, ASF, OGV, SWF, FLV, HD MPG, etc. You can also be enabled to extract audio from video and save as MP3, AAC, M4A, OGG, FLAC, WAV, AIFF, AC3, MKA, M4B, etc. If you want, you are able to specify configuration for video, such as codec, channel, bit rate, sample rate, resolution, aspect ratio, etc.
Key Features of Joyoshare Media Cutter:
Crop a video in simple and professionally way
Cut and trim videos/audios losslessly at 60X fast speed
Develop with built-in media player and real-time preview window
Offer all-around video editor to edit videos as you like
Support adjusting parameters and converting formats
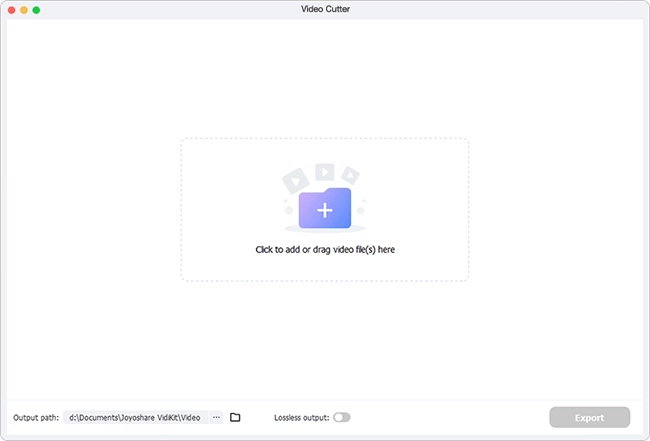
Step 1 Import target video to Joyoshare Media Cutter
Download the latest version of Joyoshare Media Cutter to install and launch on your computer. Then click the "Open" button to import a target video or straightly drag and drop it to the program.
Note: Joyoshare Media Cutter aims at dealing with a single video or audio file each time so that you cannot add multiple files at a time to crop.
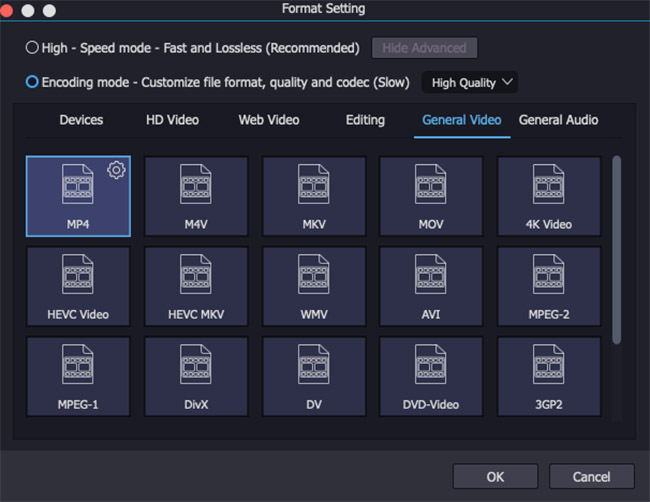
Step 2 Set output format
Guide yourself to choose the output format by pressing the "Format" panel. You should select "Encoding mode" and then mark the desired format. If need, you can besides tap on the gear icon located at the upper right corner to change codec, sample rate, resolution, etc.
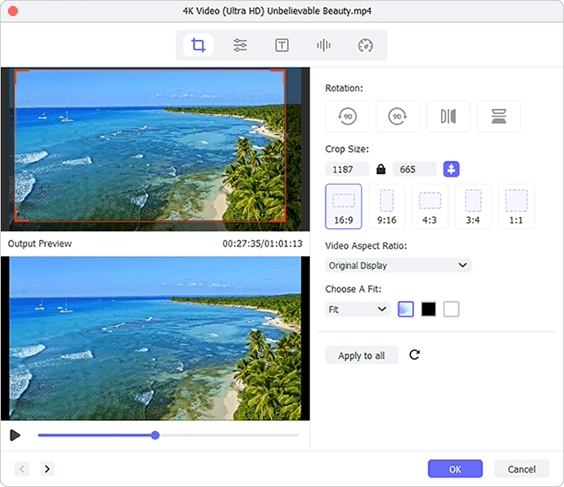
Step 3 Crop video to remove unwanted frame
Go back to the main interface, head to tap on "Show segment list" icon
 and press on the clickable edit button
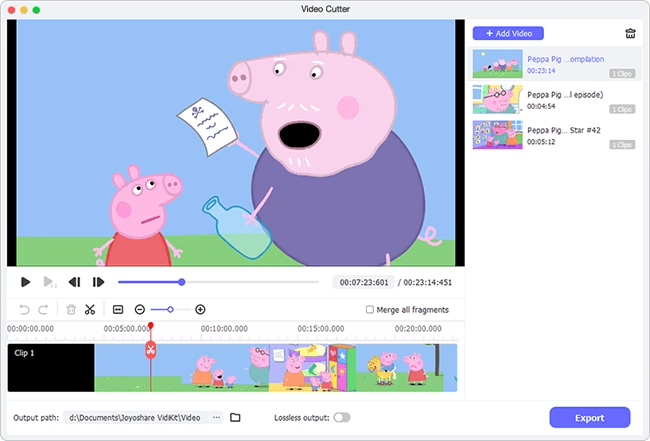
 to take you to edit window. Next, find and enter "Adjust" section to crop video. You can move the white crop frame, adjust the width and height, or reset the crop area size in your own way. Simply hit "OK" to confirm.
Note: You'd better guarantee the aspect ratio of the cropped video is as same as the one you set for your chosen output format. Otherwise, your video will be generated with black bars.
Step 4 Start to export cropped video
After finishing all operations, you can click the "Start" option in the main interface to export it on your local folder. It's available for you to check it later by going direct to the "Open the output folder" button.