For most of Mac users, iMovie is the top priority in terms of editing videos. Sincerely speaking, this reputable tool indeed gives us utmost support to create videos in relatively professional way, like cropping definite area, etc. However, sometimes, it's a bit hard in particular for rookies to do that. Thus, to solve it, we'd like to share a quick guide on how to crop video in iMovie in this post.
Part 1. Complete Guide to Crop Video in iMovie
Straightforward as iMovie, an incredibly good video editor, is, Mac users can directly take advantage of it to sort out multiple video files. To process videos, cropping is one of the most common features users utilize. Next we are going to show you how to crop video on Mac using iMovie.
Step 1 Import target video project

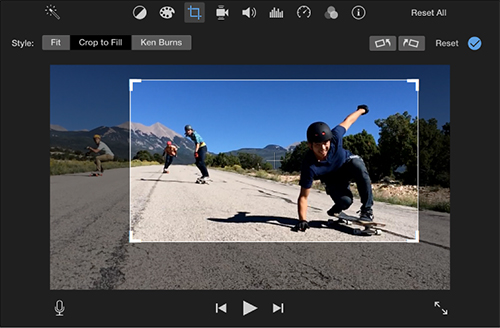
Open iMovie on your Mac and press the "+" icon to create new project. Then you can continue to choose "Movie" and click the "Import Media" button to select the video you want to crop. Once you drag the video clip to the timeline, you will see the interface as above.
Step 2 Head to "Cropping" tab

On the top right part, hit the "Cropping" button and choose "Crop to Fill" tab. By doing that, you can instantly see an adjustable frame located on the top of your video clip.
Note: The frame is constrained to a 16:9 aspect ratio. Besides, "Fit" stands for restoring the original aspect ratio for your video clip when it comes with 4:3 frame, which will bring black bars for the completed video.
Step 3 Start cropping video in iMovie and making saving

No any complicated operation. You just have to move and resize the frame to get a pleasing result. Afterwards, you can click the "Apply" button
 to save all changes you make. You can as well get a chance to undo all adjustments by clicking the "Reset" button and re-edit your video in your way.
Part 2. Simple Way to Crop Video in Joyoshare Media Cutter
Obviously, it's easy to crop video on iMovie, but you should remember to keep on saving the cropped video clip at every step considering iMovie can unexpectedly crash. Under this circumstance, it seems essential to look for an alternative to iMovie. This one, Joyoshare Media Cutter, can be a superior option for you to choose. It performs in high efficiency in what it does, like cutting, cropping, rotating, trimming, merging and editing.
Thoughtfully, this excellent tool is well developed with a preview window to show all visual effects in advance for the destination file. By means of it, you can deal with a wide variety of video formats, such as MP4, M4V, AVI, MPG, MPEG, 3GP, 3G2, WTV, OGV, WMV, ASF, RM, RMVB, DV, DAT, MOV, FLV, MKV, etc. Its innovative video editor also offers ability to insert correct subtitle, embed personalized watermark, make special ringtone, add background music, apply sound effects, etc. based on your own preferences.
Key Features of Joyoshare Media Cutter:
Crop any video file in flexible way
Edit and convert video at 60X fast speed
With auto-play function and preview window
Built in professional video editing tools
Authorize you to customize configuration info for output format
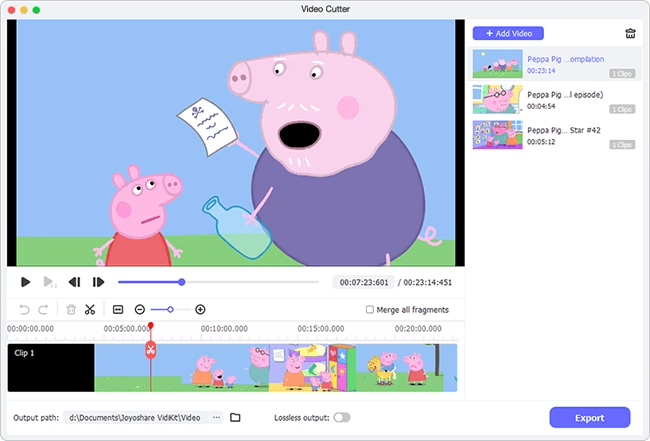
Step 1 Launch Joyoshare Media Cutter to add video
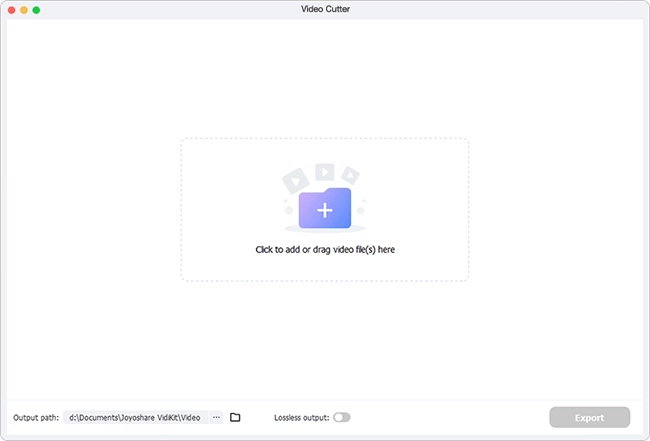
Run Joyoshare Media Cutter and go to import specific video to the main interface. You can open the designated one first and then directly drag it to this program. Or simply click the "Open" button to search one from local folder.

Note: Each time only one video file can be added to crop as Joyoshare Media Cutter is not available for batch mode.
Step 2 Begin to crop the video
You should click the "Show segment list" icon
 to display your video clip and meanwhile hit the edit button
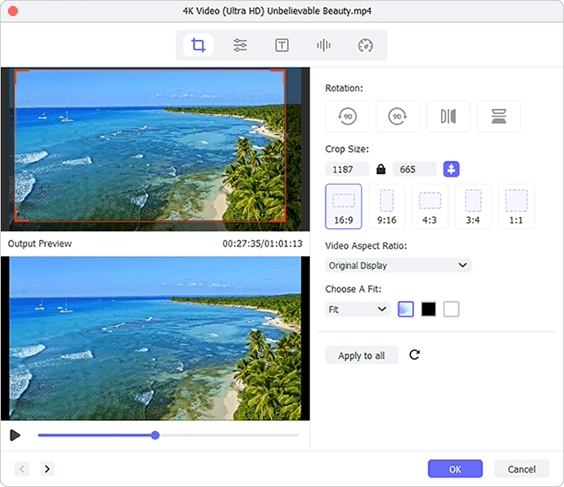
 . Then you can press the "Adjust" tab from the top menu bar in the pop-up window. There are two accessible ways to crop video: reset both width and height value in the "Crop Area Size" section; or zoom in and zoom out the adjustable frame to choose a certain area.
Note: Ensure that the aspect ratio of the cropped video is as same as that of the selected output format. Otherwise, the result will be generated with black bars.
Step 3 Export cropped video

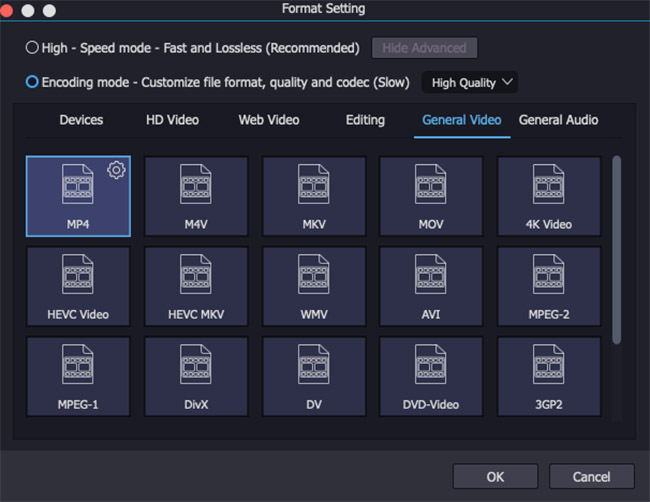
Since you have cropped your video in the edit window, you can turn to hit the "Format" panel to opt for a desired format or a portable device. Under the encoding mode, you are allowed to specify the configuration info, like bit rate, sample rate, codec, resolution, channel, etc. Hereafter, go down to clicking the "Start" button to generate a new video file.


