Every time when you make a YouTube video, will you put an unique watermark to it? Frankly speaking, it's a necessary operation for all of us to add watermark to YouTube video. The reason is that a YouTube branding watermark can reflect the professionality of your video and meanwhile protects its copyright. It can besides significantly impress the viewers with the brand and encourage them to subscribe to your channel. If you aspire to become a popular YouTube video creator, you are suggested to get these useful tips right away.
- Part 1. How to Add Watermark to Created YouTube Videos
- Part 2. How to Add Watermark to YouTube Videos before Uploading
Part 1. Steps of Branding Watermark on YouTube - YouTube Branding Watermark Maker
To be honest, not all YouTube users are aware of its built-in branding feature because it's hidden below the channel "Settings". Actually, this free and available option serves as a custom subscribe function. If viewers hover over the branding watermark on your video while using YouTube on computer, they will directly subscribe to your channel. However, it is mainly used to your previously uploaded videos. Here's how.
Step 1 Log in YouTube account
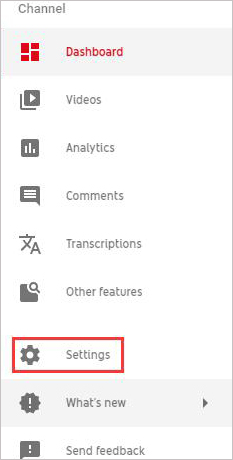
Sign in to your YouTube Studio beta and then lead yourself to the left menu to choose "Settings";

Step 2 Choose video watermark image

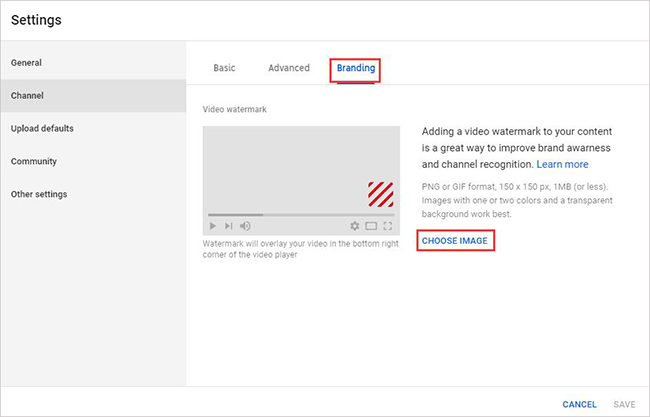
A window will pop up and allows you to go for "Channel" > "Branding" > "Choose Image" to select a ready image as YouTube branding watermark;
Note: You'd better add an image in PNG or GIF format, which should be square and less than 1MB in size. It ought to have a minimum of 150x150 pixels. To avoid distracting video content, it's advisable to use a branding watermark in transparent background or with just one or two colors.
Step 3 Save to add watermark to YouTube video

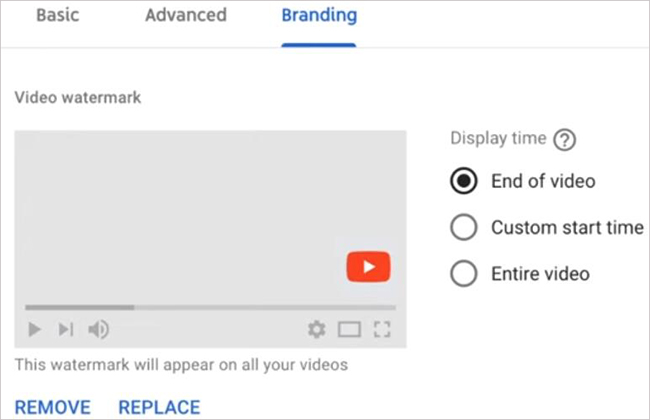
After uploading the image, you have to further choose display time for your branding watermark. There are three options, including "End of video", "Custom start time" and "Entire video". Confirm and select it, then you can simply click the "Save" button to make change. The watermark will overlay your YouTube video in the lower right corner of the video player.
Part 2. Guide to Add Watermark to YouTube Videos - Joyoshare Media Cutter
What if you are in need of adding watermark to videos before uploading to YouTube? In this case, applying Joyoshare Media Cutter to do this job is a wise choice. It is ideal enough to help cut unnecessary sections, rotate videos in the right direction, crop unwanted parts and add logo or watermark to videos.
More than that, it's flexible to apply video or sound effect as you want, insert subtitle file and adjust parameters, like resolution, bit rate, contrast, saturation, hue, sample rate, etc. The edited video can be converted to any format you want, such as MP4, YouTube, Vimeo, Facebook, M4V, MOV, AVI, WMV, ASF, H.264, etc. Or you can transfer it to compatible devices, for example, iPhone, iPad, Apple TV, PSP, Xbox 360, Windows phone, Motorola Droid, etc.
Key Features of Joyoshare Media Cutter:
Rotate, crop, trim and cut YouTube videos before uploading
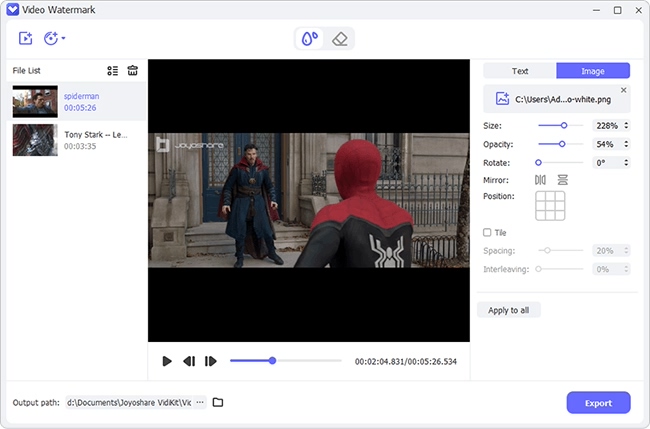
Put text and image watermark to YouTube videos professionally
Be developed with built-in video editor and video player
Support all common, popular and special video formats
Offer lossless mode to fast split video at 60X conversion speed
Joyoshare Media Cutter has both Windows and Mac versions. To begin with, you should download and install this program on your computer. Then follow the steps below to learn how to make a watermark for YouTube videos.
Step 1 Import video to Joyoshare program
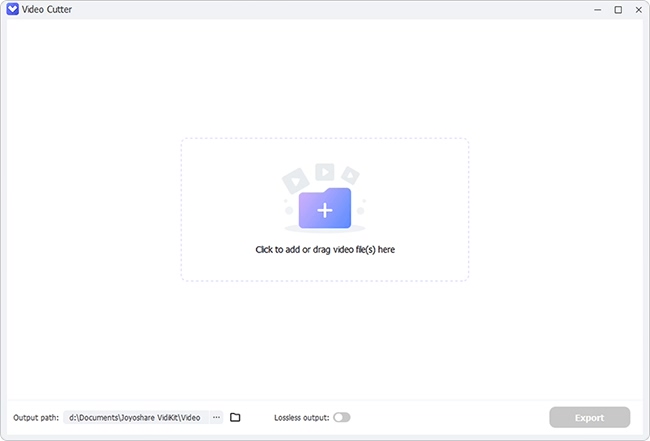
Open Joyoshare Media Cutter and press the "Open" button to import your video. Or you can go direct to drag and drop the video to the main interface.

Note: If there are lots of videos to be cut, merged or watermarked, you can adopt Joyoshare Video Joiner. It supports dealing with unlimited videos at a time while Joyoshare Media Cutter only works for single video.
Step 2 Add logo or watermark to YouTube video
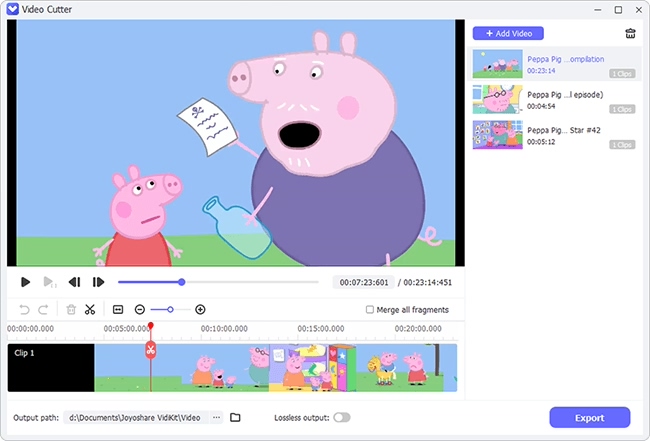
Once loaded, your video will be played automatically. You can now slide the yellow handles in the timeline or set the temporal interval to get rid of needless segments. Afterward, click the edit button
 to reach editing interface. Simply get access to "Watermark" section, press "+" button and add branding/logo watermark. Or you can enter the brand name to put watermark in text and use the font
  function to set color, style, etc. Unlike YouTube, Joyoshare Media Cutter enables you to handily decide watermark location and size in your own way. If need, you can additionally adjust the transparency.
Step 3 Export video to YouTube
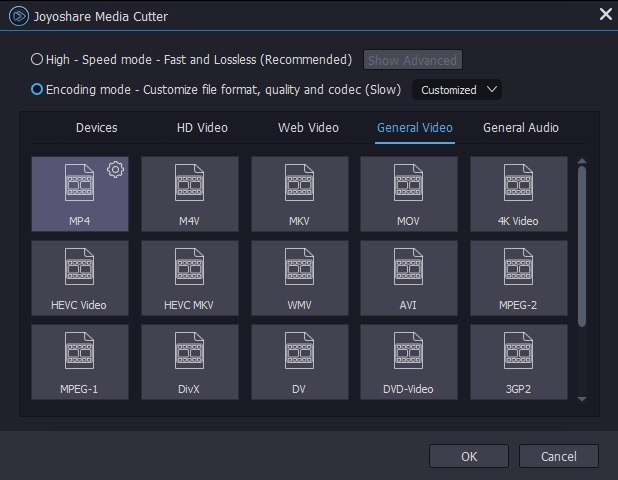
Since everything is done without problem, you can lastly go to the "Format" panel to set "Encoding mode" and choose "YouTube" under "Web Video". After that, click "OK", get back to main interface and tap on "Start". This program will work to add watermark to your YouTube video and transfer it to compatible YouTube format.

