In order to make a PowerPoint presentation more intuitive and impressive, many users can insert a video. Indeed, it's not ideal enough to add the whole file if the video size is too large, which, as a result, lets it a must to trim video in PowerPoint for better organization. How can you do that by yourself? Just keep reading in this post to check all guides on Windows and Mac. Also, aiming at different needs, we kindly offer optimum solutions below.
- Method 1. Trim a Video in PowerPoint on PC and Mac
- Method 2. Recommended Way: Trim a Video for PowerPoint High-efficiently
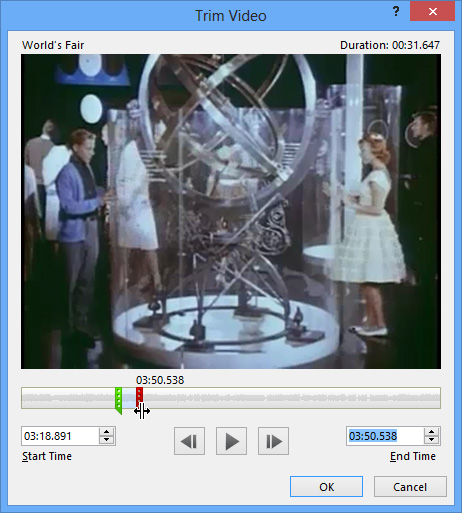
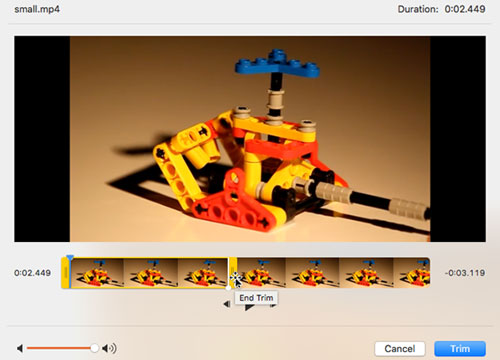
Part 1. How to Trim a Video in PowerPoint on Windows and Mac
Q:"Can't trim video in PPT? Is my version missing features or something? All the videos and articles I've seen about trimming video for PPT 2016 refer to a mythical (Video Tools) Playback tab that I don't have. What am I doing wrong? I'm very frustrated." - Eric from Microsoft Community
Part 2. Alternative Solution: Trim Video in PowerPoint Effectively
Q:"I know how to trim a video that I have put in PowerPoint, the problem that I have is that the entire video is still embedded in the presentation and this creates huge files that take time to save and load. Is it possible to not just trim the video but to cut out the unused portion of the video so that it is not saved in my presentation?" - Charles from Microsoft Community
Needless to say, video embedding slows down the loading of PowerPoint and, worse, can cause crashes. However, we can't completely remove the useless video content from the PPT, which makes a lot of users a little headache.
There's no doubt that one way to get the best of both worlds is to use tool to trim the unnecessary, keep only the essential, and then import them into the presentation. Here Joyoshare Media Cutter is exactly what you need. It can trim off the superfluous without quality loss and even cut out the middle of the video to effectively merge whatever sections you want.
Why Choose Joyoshare Video Trimmer:
Trim videos on Windows 10 & Mac 10.15
Losslessly trim kinds of videos, audios and Live Photos
Accurately cut videos with 60X high speed
Video editor to crop, rotate, watermark, apply effect, etc.
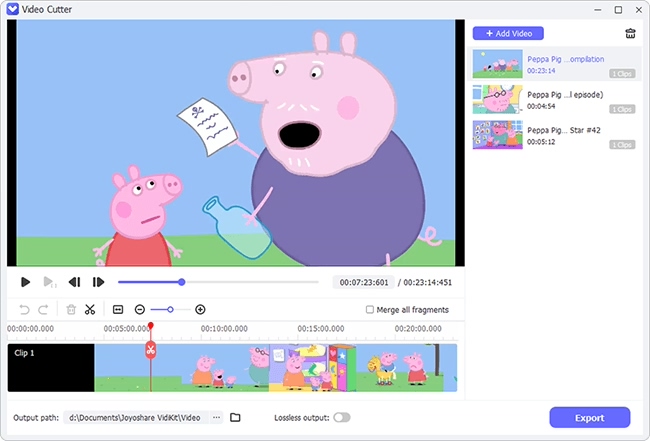
Step 1 Import a video to Joyoshare program
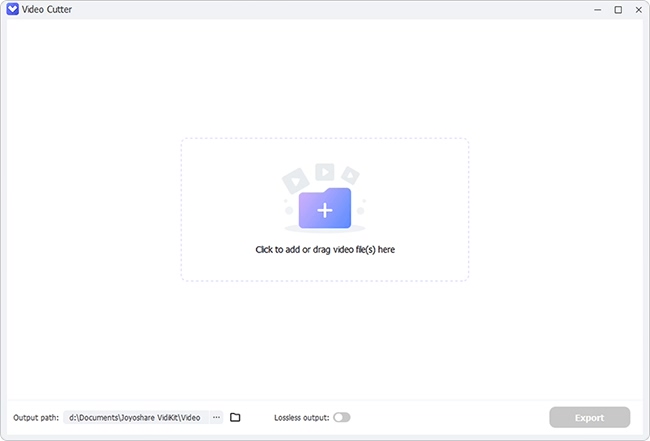
Directly open Joyoshare Media Cutter on your desktop and drag the video to the specified area as shown from the prompt in the center of the main screen. Or just click the "Open" button in the lower left corner to import from the local of your computer.

Note: This program is for the processing of a single file. It allows only one video to be imported at a time.
Step 2 Choose "High-Speed" mode and output format
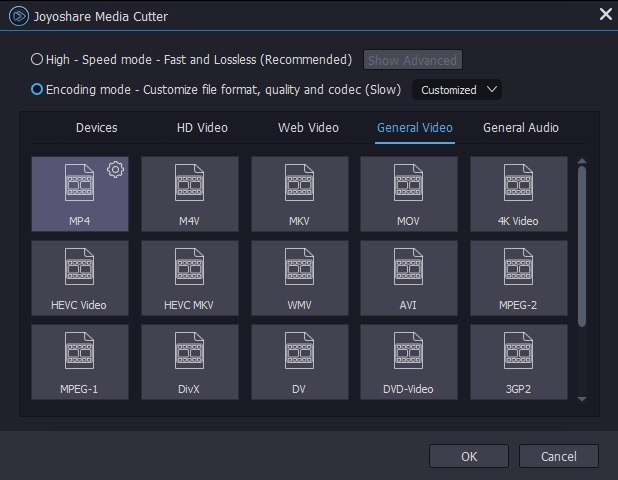
Now click on the "Format" option to enter the settings interface. Herein, "High-Speed" mode is recommended for you to ensure lossless quality and fast trimming. Besides, you should preset output format and confirm "OK".

Note: "Encoding" mode is used to edit videos, which allows trimming and more custom operations. You can also change parameters such as resolution, codec, etc. in the gear icon
 of your selected format.
Step 3 Trim a video for PowerPoint
To trim the video, you can simply drag the yellow slider on the timeline to determine the desired portion. Or play the video in Joyoshare Media Cutter and pause wherever you'd like to trim, then using shortcut buttons, "Set Segment Start Time" and "Set Segment End Time". Sure, one more precise way is to type the time that is accurate to millisecond in the temporal interval to trim.

Note: To get rid of the middle part of a video, you can tap the "+" button to generate more sections to trim and tick "Merge Segments" option to combine.
Step 4 Save trimmed video on computer
As long as the video segment you need is extracted and confirmed, you can press the "Start" button to process 60X trimming task. Once it's finished, click "Open The Output Folder" to have a close look.
