Q:"I have some audio recordings, which keep some of the guitar music I played. I want to cut and trim undesired recording track off. Could please help me?" - Avery
Like Avery, you probably create your own recordings for calling conversations, meetings minutes, homemade songs, etc. However, what counts is how to sort out these recordings so that they can be better saved and shared. This is exactly what we're going to talk about with you in this article. Right now, let's get started to show online and offline methods to trim audio recording effortlessly.
Part 1. How to Trim Audio Recording Offline with Media Cutter
To trim audio and video recordings in a dependable and professional manner, Joyoshare Media Cutter is highly recommended. It's considered as a good option to cut and merge any audio/video without quality loss. Alternatively, it also comes with advanced editing functions to allow you to trim, crop and rotate recording, add attractive effect, insert subtitle, embed watermark, add background music and so on.
Another important point that makes Joyoshare Media Cutter a well-liked program is its full compatibility to popular formats and portable devices. Specifically, your edited audio recording can be saved as MP3, M4A, M4B, M4R, AAC, OGG, FLAC, APE, ALAC, WMA, etc. or be transferred to iPhone, Apple TV, iPad, PSP, Xbox 360, LG Optimus, Motorola Droid, BlackBerry Bold, etc. Best of all, it offers ability to adjust parameters in your own way, including codec, sample rate, bit rate and channel. It can also work at a maximum speed of up to 60X.
Remarkable Features of Joyoshare Audio Cutter:
Trim Audios without quality loss
Extract audio from video without any hassle
Support multiple common formats and popular devices
With built-in editing tools to better manage audios & videos
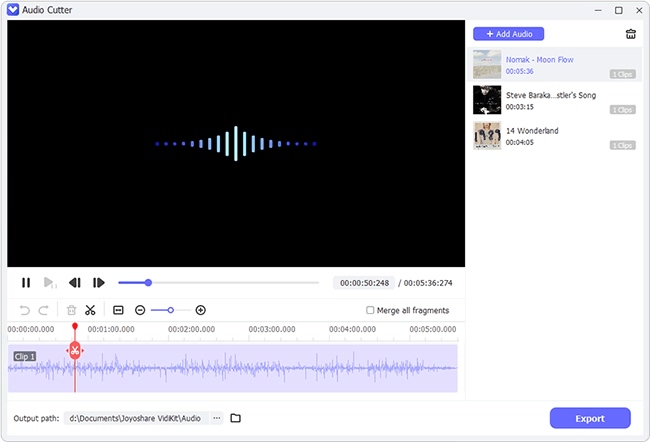
Step 1 Add audio recording to Joyoshare

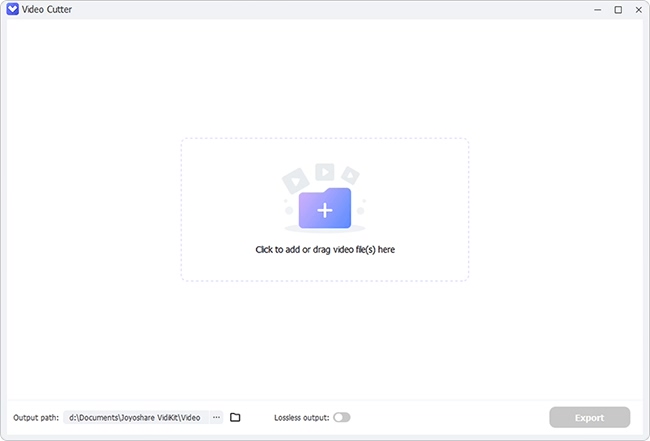
Download and install Joyoshare Media Cutter on computer. Get it launched to import audio recording file. You can drag it to the main interface as directed or simply click on the "Open" button to browse and select one from local folder.
Step 2 Set temporal intervals to trim audio

Move the handles to set yellow section as above screenshot shown. Or you can define both start time and end time as you want in an exact way. If you want to get more audio recording segments, just press on the "+" button.
Step 3 Select mode and start to trim recording

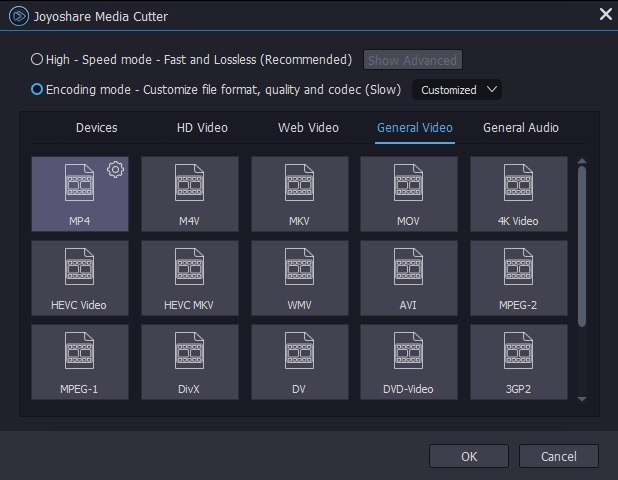
The critical step is to set trimming mode. You can mark the first "High-speed mode" to trim your audio recording fast and losslessly after entering the "Format" panel. Or tick the "Encoding mode" to trim audio and customize parameters. Notably, if you're going to edit audio recording, you must conduct it under "Encoding mode". Afterward, simply click the "Start" button to trim voice recording and head to history folder to check the destination file.
Part 2. How to Trim Voice Recording Online with Audio Trimmer
Audio Trimmer is an online audio and MP3 cutter. It is well designed to trim audio files in a walk and is perfect for beginners. Next you can take a close look at following instructions.
Step 1 Upload audio recording file

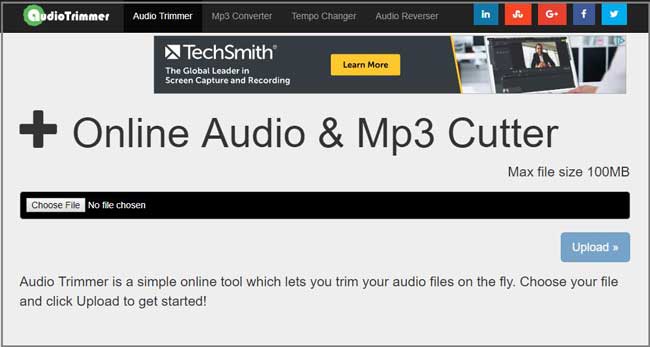
Navigate to audio trimmer website and click "Choose File" to upload an audio recording from your computer's local folder (The maximum file size cannot exceed 100M). After your selection, the audio recording will be played automatically.
Step 2 Select section to trim

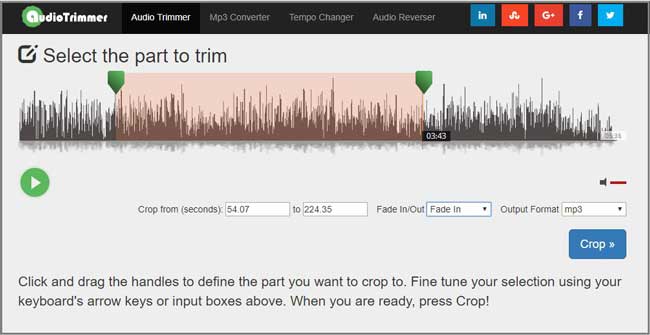
Slide the green handles to set the portion you want to trim. Or directly type in specific time points. Better yet, it's available to add fade in/out effects to make trimmed audio natural. You can also choose to output recording as MP3 or M4R.
Step 3 Begin to crop/trim voice recording
Press the "Crop" button to start to cut your recording online. Soon after, you can download the completed one locally with a "Download" button.
See Also: How to Cut an MP3 File
