When you are recording a song or other audio tracks on PC, it will probably end with unexpected noises in the background, such as the microphone sounds, mouse clicks, etc. So it's necessary to find out a reliable way to make the audio clearer by extracting the noisy sounds out of the file. The good news is that there are many software like Sony Vegas or Adobe Premier Elements could completely remove background noise from audios. But the problem is they are too complicated to operate, especially for the beginners. Don't worry though. In the following article, we are going to introduce two most popular yet simple ways, including free tools to help you easily remove noise from your audio files.
- Part 1. How to Cut Off Unwanted Noisy Part from Audio
- Part 2. How to Remove Background Noise from Audio for Free
Part 1. Remove Unwanted Noise from Audios with Joyoshare Media Cutter
Firstly, you meet Joyoshare Media Cutter. As the name suggests, it's a dedicated media trimmer specialized in splitting audio as well as video files on your computer. To be more specifically, this smart media cutting tool is able to cut any large audio track into small pieces by removing the unwanted parts for you while keeping the original sound quality.
As an one-stop audio splitter and converter, Joyoshare Media Cutter lets you remove unwanted noises from any audio file in any format and then save the audio cutting to other popular formats, including MP3, WAV, FLAC, AAC, OGG, M4R, etc. Thanks to the built-in editor, you can precisely cut off the audio noise by setting the start and end time of the specific duration. Apart from that, it's also an audio merger with which you can delete multiple noising parts and merge the other parts into a new audio track.
Key Features of Joyoshare Audio Cutter:
Remove unwanted noise from any audio
Save audio cuttings to common audio formats
Cut audio tracks precisely with slider bar or time editor
Join multiple split audios into one
Now simply install the free trial version of Joyoshare Media Cutter on your Mac or Windows and follow the guide below to see how it works removing noise from your audios.
Step 1 Add audio files to Joyoshare Media Cutter
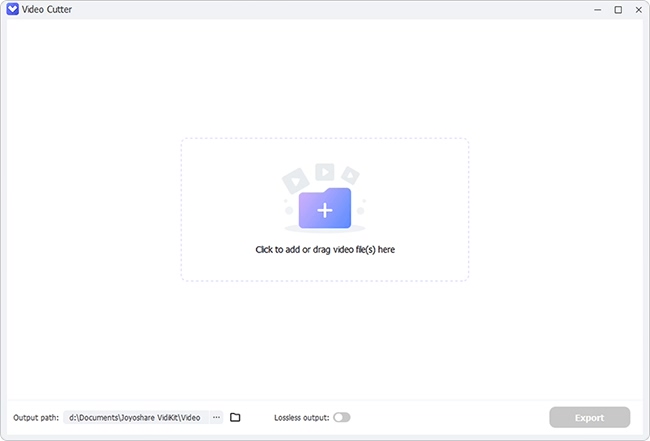
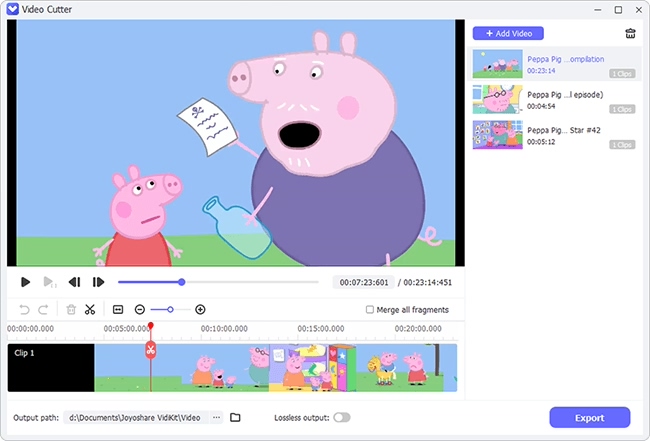
You are offered with two methods to import the audio files to Joyoshare. Firstly, you can click the Open button to load the files. Or you can directly drag the audio to the main cutting interface. As it doesn't support batch trimming, you can only add one audio track each time.

Step 2 Select the noising duration that you want to cut off
Once added, you can set the interval which contains the noisy sound that you want to cut off. You have two choices to elect the segments being cut. One is to move the slider in progress bar and the other is to set the starting and stopping time manually and precisely. If you want to cut multiple parts of one audio file, you can click the "+" button get it done.

Step 3Choose output format
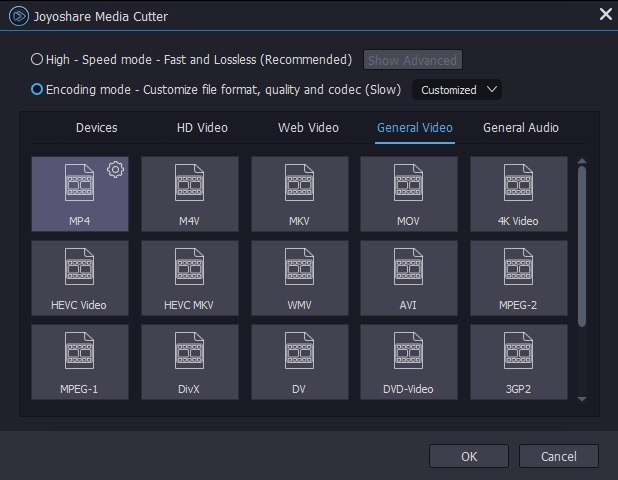
Now click the "Format" button, you'll be led to the window where you can select output audio format as well as output devices. Currently it supports almost all popular media formats and devices.

Step 4 Start to trim noisy parts from your audio
After selecting the output format, go back to the main window and click "Convert" button. Then your audio will be cut in just a few minutes with unwanted noise removed. Then in the history folder, you'll find the new audio without noise so that you can share it to your friends.
Part 2. Remove Background Noise from Audio with Freeware
If you are in limited budget and prefer to free audio cutter, then you are suggested to use this method with a freeware called Audactiy. It's a free open source digital audio editor and recording software for Windows, macOS/OS X, and Linux. The following guide will show you how to get rid of background audio noise with Audacity for free.
Step 1 Import your audio file into Audacity
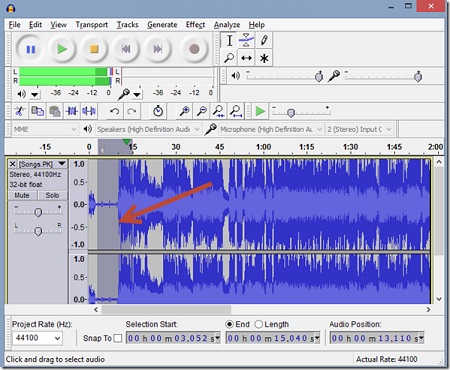
Add the audio track you want to cut off the noise from to Audacity. Then listen to the entire audio file and make a note of the area where you hear the background noise. Make use of Audacity itself to listen to the track and make a selection through a simple click and drag way on the wave graph.

Step 2 Customize noise removal settings
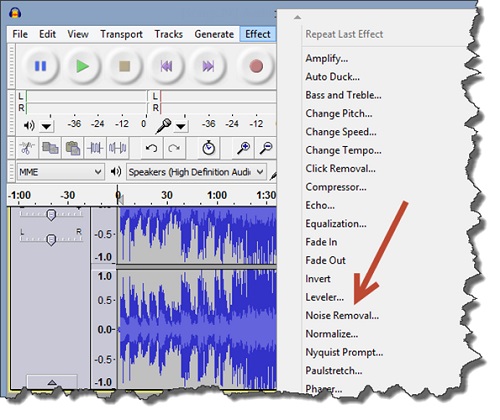
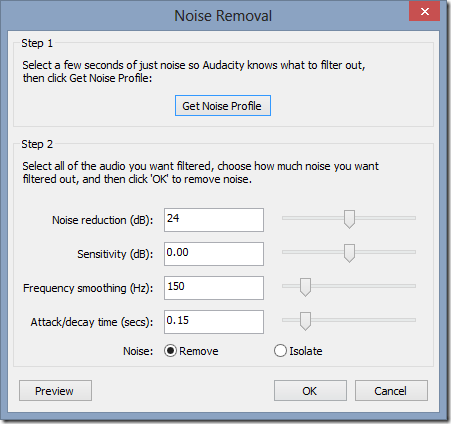
Once you selected the noisy part, simply navigate to the Effect menu and select the option Noise Removal. Then you'll enter the window that lets you adjust relevant settings regarding the noise removal. You are recommended to try the default settings if you are the beginner.

Step 3Remove background sound noise
Now all you need to do is click on the OK button and let the tool do its magic. Audacity will remove most of the background noise from the soundtrack and you can go ahead and save it as a new MP3 file on your hard drive.

