It's convenient to cut videos before saving on your device or sharing with other to reduce the file size. This easy task can be done greatly at present by using a tool called Final Cut Pro. It functions to remove your unwanted sections and only keep the segment you need left. The whole process can preserve the high quality of your video clips. To let everyone gets to know the steps to cut a video in Final Cut Pro, here we clearly offer more details.
- Part 1. How to Cut Videos in Final Cut Pro
- Part 2. Recommendation of an Alternative to Final Cut Pro
Part 1. How to Cut Clips in Final Cut Pro
The Final Cut Pro is a competitive video cutting and editing program that only runs on macOS. If you open it on your computer, you may feel shocked because its interface is technical-looking and, to some degree, makes you a bit confused. Don't worry. Follow us to learn how to split clip in Final Cut Pro now.
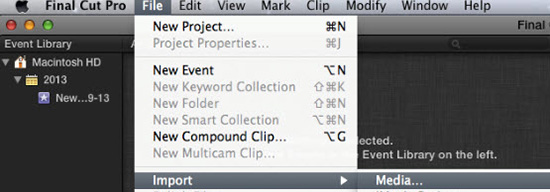
Step 1 Import video to Final Cut Pro

Get Final Cut Pro launched on your Mac and head to its top menu bar "File" > "Import" to add video that you are going to cut. Alternatively, you can quickly click on the "Finder" and navigate to the proper directory to find the video file to add by dragging.
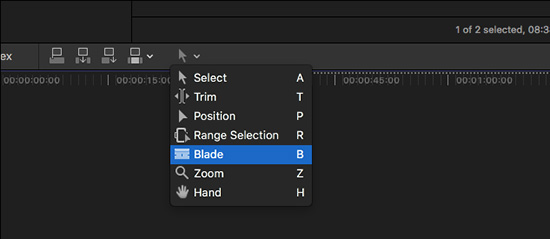
Step 2 Begin to cut video in Final Cut Pro

Move the imported video to the timeline in Final Cut Pro and click the tools menu to select "Blade" option. When you're using the Blade tool, the mouse will turns to a razor shape. You can move the skimmer across the timeline, locate at where you want to cut in the video clip and click. After cutting, there is a dotted line in the video clip, which shows your file is trimmed into two parts.

Part 2. Best Final Cut Pro Alternative - Joyoshare Media Cutter
Considering Final Cut Pro often crashes due to its large size, we specially select an outstanding yet easy-to-operate substitute for you. That's Joyoshare Media Cutter. By getting the most out of this tool, you can precisely cut videos in any formats in a quick and simple way.
The most important thing is that this lossless video cutter can initiate a trimming assignment at 60X amazing speed without re-encoding and keeps 100% original high quality. If you need to edit videos in addition to cut, you are further allowed to crop, flip, watermark, rotate, add subtitles and apply effects handily. Its straightforward and clear layout will facilitate you completely.
Why Recommend Joyoshare Media Cutter:
Cut video clips losslessly with 60X high speed
Adjust resolution, bit rate and more parameters
Trim videos accurately to get rid of specific parts
Convert videos to any formats and extract audio from video
With advanced video editing tool to enhance videos
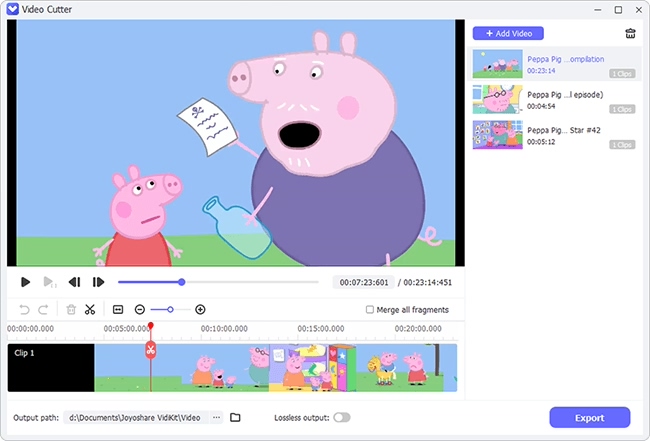
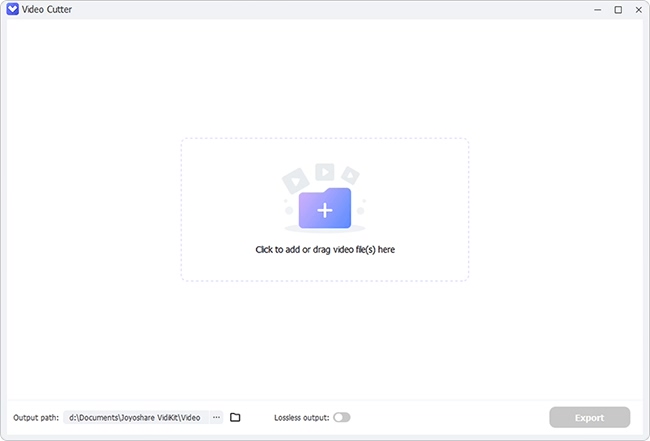
Step 1 Add target video clip

Run the installed program of Joyoshare Media Cutter on your computer. Next, load the video you would like to cut to its main interface by clicking the left-bottom "Open" button or directly dragging and dropping.
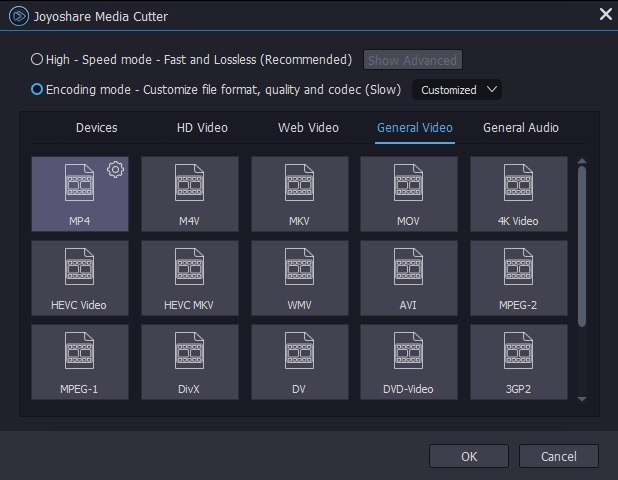
Step 2 Choose cutting mode and output format

Before cutting the video clip, you should confirm which mode you want. If you only have to cut it, simply select "High-Speed" mode to conduct a lossless process. However, if you desire to edit the video, just mark "Encoding" mode (it enables you to change parameters). After that, set an output format and click "OK" to confirm.
Step 3 Start to cut and save the video

To cut video in this Final Cut Pro alternative, you can readily move the yellow slider or set start time & end time for the temporal interval. Hereafter, press on the "Start" option to finish cutting and saving processes.
