Q:"Just started to use. Is there an easy way to trim or cut a clip on the timeline in Sony Vegas?" - From COW Forums
Are you a noob to use Sony Vegas and haven't figured out all the features, even the basics, like splitting? Never mind, in this article, we will tell you how to master and cut video in Sony Vegas without difficulty by guiding with each steps clearly. If you're just in the free trial and want a better option after learning, you can also go further to check its alternative here.
Part 1. How to Cut in Sony Vegas
Things to note: Firstly, make sure the program of Sony Vegas is updated to the latest version. Secondly, re-launch the program if you are disabled to cut video or preview it. Thirdly, download video audio drives online to make update if the video is failed to save or becomes blank.
Step 1 Open video in Sony Vegas Pro
Run the newest version of Sony Vegas Pro on your computer. Next, go to the top left corner of the interface and find "File" > "Open" to locate and add your desired video file. Once it's loaded, drag and move it to the timeline.
Step 2 Make Sony Vegas cut video
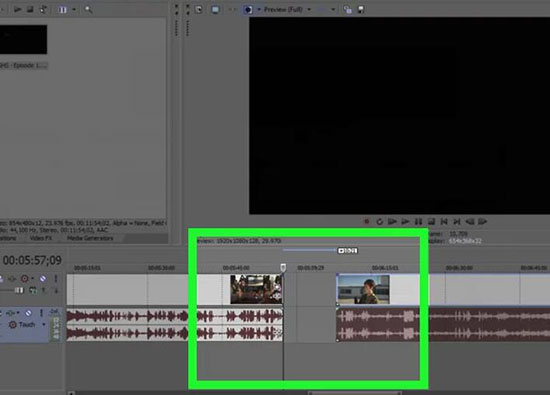
Hit the "+" button to enlarge and zoom in your video in the timeline so that you can position each frame more precisely. Now, play the video to know a general location you'd like to cut. After that, move the cursor to double click and mark the time point with a vertical line. You can utilize forward/back button to better find wanted place. To cut and split, you can press "S" with keyboard. The video will be divided into two parts so you have to delete one.

Step 3 Save video in Sony Vegas
Having cutting videos in Sony Vegas, you are allowed to preview in real-time. If there is nothing to change anymore, click the "Save" button to export it to your local folder on computer.
Part 2: How to Cut Video in Sony Vegas Alternative
If you can't afford Sony Vegas or think it's too complicated, you might as well give Joyoshare Media Cutter a chance. This alternative has excellent ability to load, identify and post-process your videos. Adopted advanced trimming technology, it even cuts videos in a high-accurate manner. Besides, there are editing tools to crop, flip, merge, rotate, watermark and specify configurations handily.
Key Features of Joyoshare Media Cutter:
- Full compatibility to detect any kinds of videos audios
- Position key frames and adjust temporal interval to cut precisely
- Keep 100% original high quality and cut at 60X speed
- Output videos to devices, web videos, audios, HD videos, etc.
Step 1 Start program to import a video
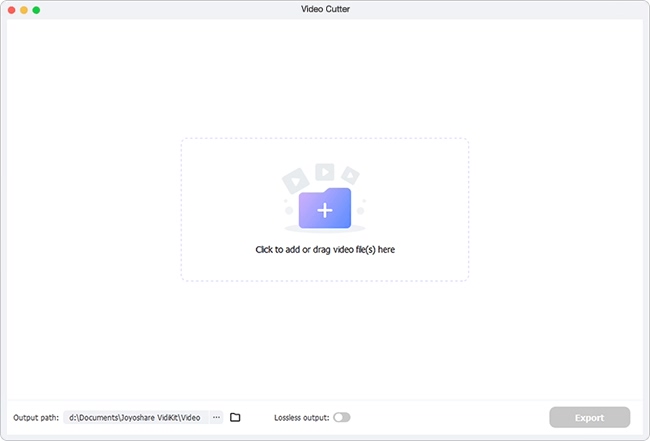
Double click Joyoshare Media Cutter program on your desktop or find with search tool to launch it. Afterward, drag and drop as instructed to import a target video file. Also, you can press on the "Open" button to add it as you like.

Step 2 Finish mode selection
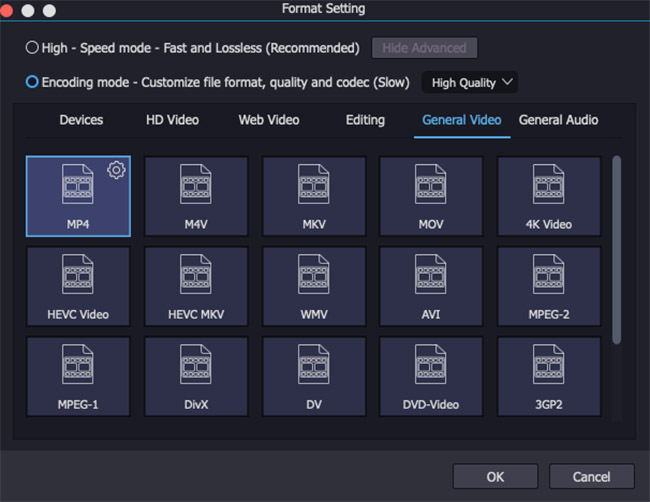
There will be a pop-up window appeared after you tap the "Format" tab. If you prefer a lossless and fast cutting process, you're suggested to select "High-Speed" mode. However, if you need to edit and customize file in addition to cutting it, the second "Encoding" mode is more suitable. Then, confirm the output format and close the window with "Ok".

Step 3 Initiate video trimming task
For high-speed mode, play the video to watch it in preview window and check specific time points on the timeline. Next, you can cut with shortcut buttons - "Set Segment Start Time" and "Set Segment End Time". Or type in both start time and end time. More simply, move the yellow sliders and trim out unnecessary sections quickly. For encoding mode, just find "Edit" > "Trim".

Step 4 Save and export trimmed video
As long as you cut all portions you want, you can tick "Merge Segments" to combine them. Next, click on the "Start" option on the bottom right to save and output your trimmed video file on designated storage location. When the progress bar reaches 100%, you'll see a striking orange mark on "Open The Output Folder".


