As one of the best non-linear video editing post-production software, DaVinci Resolve is so fabulously powerful that both professionals and amateurs are attracted by it and have a desire to split or edit video clip with it. But few are people who actually work with it in an accurate manner. In this regard, the article has a simple discussion on how DaVinci Resolve split clip and gives an admirably succinct account of its economical and practical substitute as well as method of operation.
- Part 1: How to Split Clip in DaVinci Resolve
- Part 2: How to Split Clip in DaVinci Resolve Alternative
Part 1. How Does DaVinci Resolve Split Clip
DaVinci Resolve is a fairly robust video editing program, providing unique solution to 8K video editing, color correction, video/audio post production. Also, different methods of editing videos are offered. To make video splitting in DaVinci Resolve quick, below shows the easiest method.
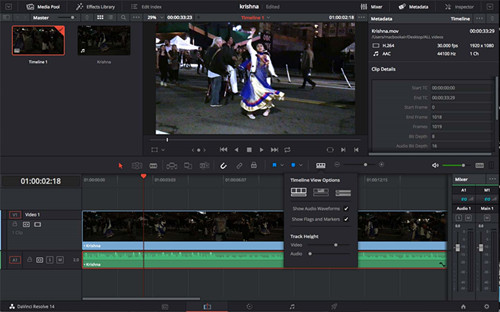
Step 1: Install and launch Davinci Resolve on your computer. Next, go to "File" - "Import File" - "Import Media" to add your video clip to the timeline;
Step 2: Then, slide the red timeline to the place where you need to split the video clip. Now, just click "Split" icon or "Ctrl \" on Windows ("Cmd /" on Mac) to split it;
Step 3: Alternatively, select the blade tool (press shortcut key "B" on the keyboard) - "Trim" tool. Afterwards, move red timer and mouse cursor to wherever you want to do a cut.
Part 2. How Can the Alternative to DaVinci Resolve Split Clip
Beyond all doubt, DaVinci Resolve is a comprehensive and advanced video editing software. However, priced at $299, it proves too costly for most people. Consequently, a cost-effective alternative to it - Joyoshare Media Cutter is introduced here. It's also an exceptional video and audio editing tool, which is equipped with various editing options.
Besides the ability to cut or split video clip without altering original quality, it as well has the gift to convert video to other formats, splice split clips togehter, make your video clip more attractive by adding special effects and background music, inserting customized watermarks and subtitles, adjusting the aspect ratio, brightness, and saturation, etc. And furthermore, it gives its full compatibility with dozens of media file formats, including MP4, WMV, AVI, DVD, DV, MOV, 3GP, ASF, 4K Video, M4A, M4V, web videos, and more.
Key Features of Joyoshare Media Cutter:
Cut and split video into parts at 60X speed
Offer two modes to process video and audio files
Extract audio from video and remove noise from audio
Accept a variety of general formats and device-compatible formats
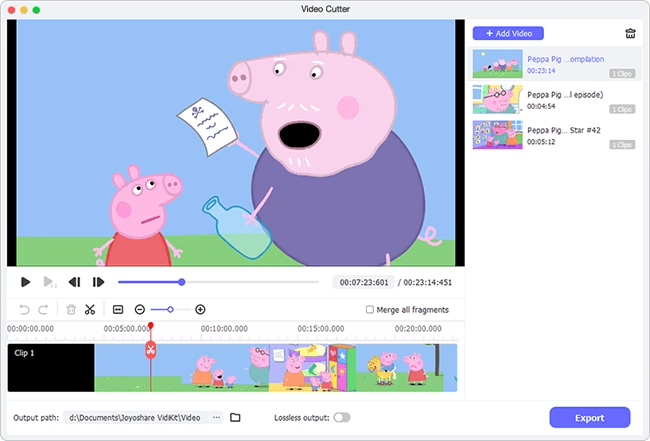
Step 1 Add video clip to Joyoshare Media Cutter
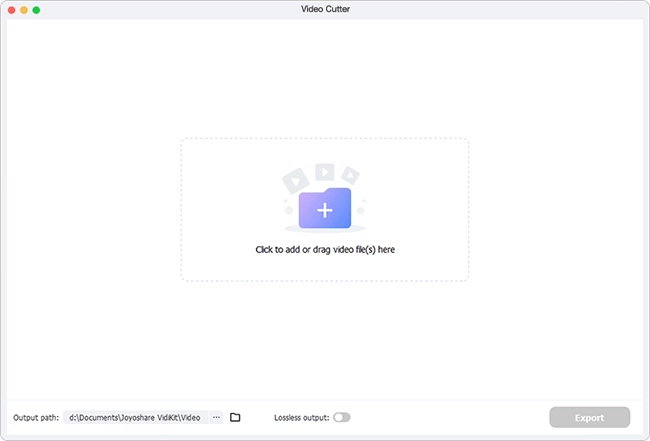
Depending on your computer operating system, please choose the proper version of Joyoshare Media Cutter to download and install. Then, just run it and click "Open" to import your video clip, or you drag and drop clip to its main interface.

Step 2 Select a mode to cut/split clip
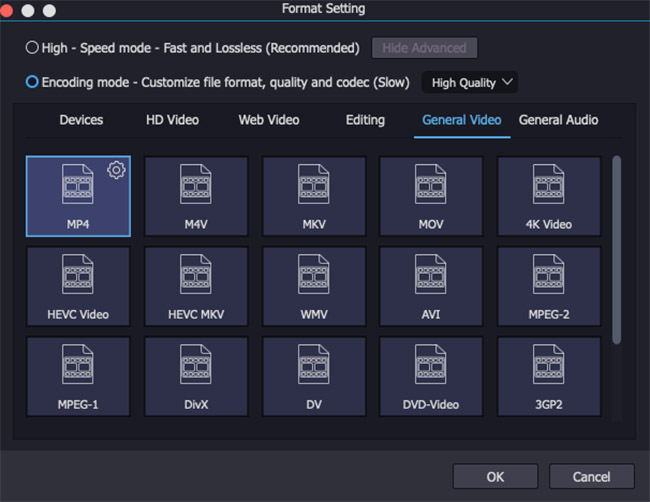
Tap on "Format" and a window of format setting appears, in which you ought to choose a mode to split your video clip based on actual needs. "High-speed mode" stands for a lossless mode to cut or split videos at 60X quick speed. With "Encoding mode", not only can you define parameters, such as codec, resolution, frame rate, bit rate of the output video clip, but also have the permission to enhance the video with editing features.

Step 3 Start to cut/split video clip
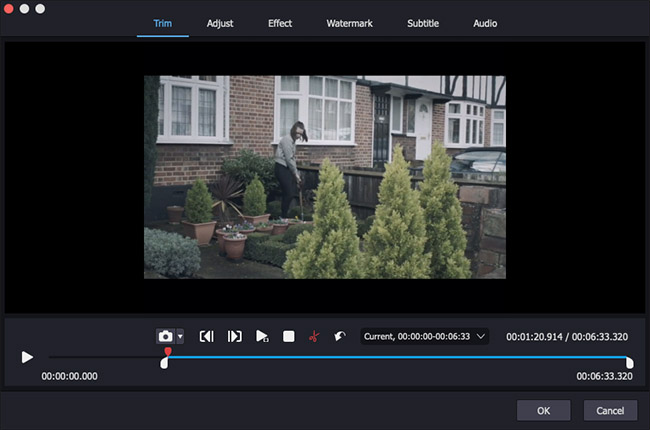
Once your selection of mode and output format is done, touch "OK" to quit the format window and return to the main interface. Now, you can play the video clip in "Free Mode" or "Simple Mode". After that, move the yellow timeline or set up "Start Time" and "End Time" to cut. To cut video with great precision, use "Previous Frame" or "Next Frame" to assist you.

In addition, for splitting video clip, you click on "+" and the same clip will be automatically added again. What you do is just determining another video segment you desire with the same operation. Check "Merge Segments" option to merge these split clip together if need be.
Step 4 Edit video clip (only in encoding mode)
Prior to exporting the split video clip with "Start", users who prefer the "Encoding mode" can continue hitting on "Edit" to crop clip, change aspect ratio, insert synchronized subtitles, apply visual and sound effects, make watermarks, etc.

