You may happen to watch a video in your social platform. When the background music rings, you fall in love with it. Apparently, compared to the video, you are willing to save the audio only. How to do it and store on your own folder in the form of MP3? An optimal solution is cut video to MP3 with a reliable tool, like Joyoshare Media Cutter. This hassle-free software offers you a quick guide as below in 3 easy steps.
- Step 1. Select A Reputable Video Cutter Converter
- Step 2. Make Preparation for Video to MP3 Conversion
- Step 3. Start to Cut and Convert Video File to MP3
Part 1. Choose the Best Tool to Cut and Convert Video to MP3
Joyoshare Media Cutter is exactly such a 2-in-one program that enables you to not only cut your large video into small pieces and move needless portions, but also convert your video to another format you want. It can be video formats, like ASF, MOV, M4V, MP4, WMV, FLV, F4V, SWF, MKV, AVI, DV, VOB, 3GP, 3G2, DivX, etc. However, if you just need to export audio track, you can save it as MP3, WAV, WMA, AAC, AC3, M4A, M4R, FLAC, AIFF, AU, MKA, APE, OGG, etc. Most of popular mobile devices are supported as well, such as iPhone X, Galaxy S8, Xbox 360, Sony TV, Blackberry Bold, Windows phone, etc.
Thanks to the advanced acceleration processor and dedicated editing tools, you can get a straightforward way to cut, trim, crop, merge, rotate your video at 60X faster speed. If you are professionals who desire high-quality video when change video to mp3, you can reset resolution, aspect ratio, brightness, bit rate, frame rate, etc. freely. For audio, adding special sound effect is also available.
Key Features of Joyoshare Media Cutter:
Eliminate useless portions from original video
Convert imported video to MP3 in fast-lightning way
Support transferring to a wide range of popular devices
With excellent video editing tools to process required files
Extract audio from video in high quality
Create ringtone for iPhone and Android phones with ease

Part 2. Setup All Necessary Options with Joyoshare Media Cutter
Joyoshare Media Cutter comes with ease of use. In case you have no idea on how to manipulate it at every step clearly, you might as well fit out your computer with it in advance to get familiar with the operation. Briefly, it can be made up of 3 main parts: cut, edit and output settings. Now let's convert video to audio MP3.
Step 1 Add given video file to Joyoshare Media Cutter
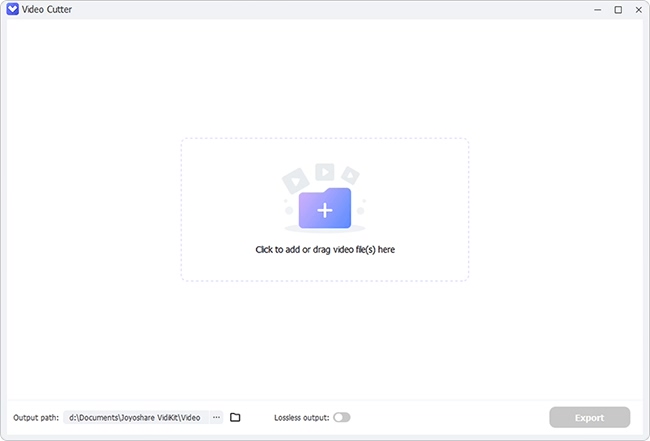
Opt for whichever video you like and import it to Joyoshare Video Cutter Converter. You can do it via 2 different methods: 1) Click the "Open" button to browser your computer's local folder and search your beloved one; 2) Get a selected video open and drag it to the main interface.

Note: Joyoshare Media Cutter cannot give you option to execute batch mode for your video files. If you have multiple video files, you can go for trying Joyoshare Video Converter.
Step 2 Cut unnecessary fragments off to shrink the size
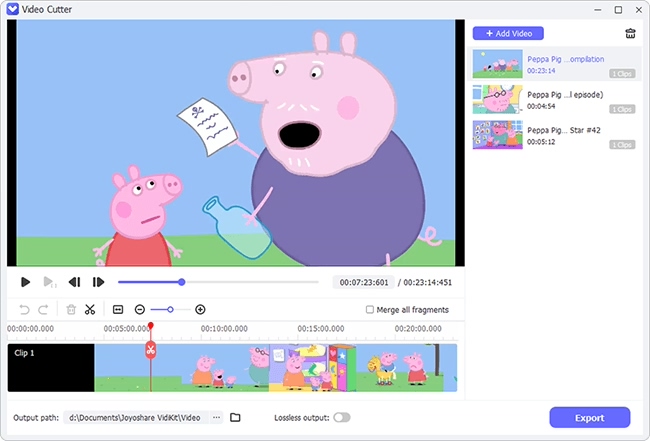
Once the required video is loaded completely, this program will auto-play it for you. With the high-exact timeline, you can know the precise time points for unpleasing sections. Afterwards, you can move the yellow handles to keep essential pieces left. Or you can manually fill in the temporal intervals.

Note: Press "+" icon can help you generate more video cuts. Assuming there is more than one clips you cut, you ought to combine them together by ticking the "Merge Segments" option.
Step 3 Make further edit for the extracted audio track
Get down to clicking the "Show segment list" icon
 at the lower right corner to bring up all displayed video cuts. Then you can press the edit button
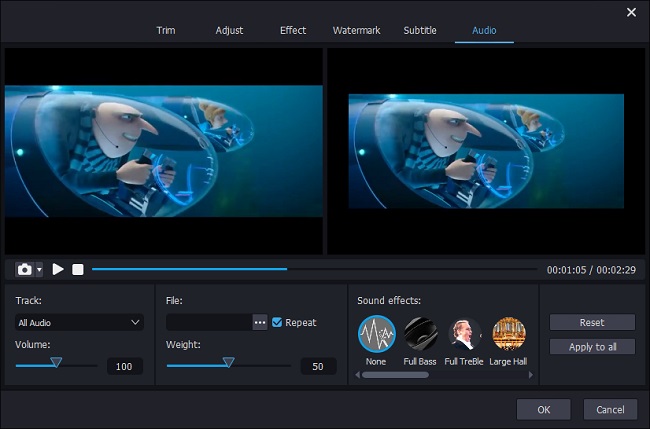
  and tab "Audio" section from the top menu list.
Joyoshare Media Cutter empowers you to get accessible track, add background music, adjust volume and weight directly. To get better enjoyment, it's also a good idea to add sound effect, for instance, "Full Bass", "Full Treble", "Large Hall", "Pop", "Rock", "Flat", "Sharp", "Man" and "Woman". Certainly, you can skip this step if you wouldn’t like to edit your audio track.
Part 3. Begin to Cut Video to MP3 on PC
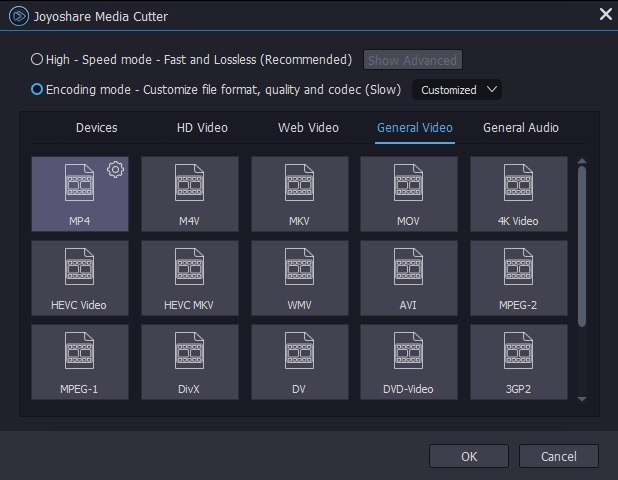
Hereafter, you can set about choosing output format by hitting the "Format" panel. Head to click the "Encoding mode" so that you can select any desired format. Hit "MP3" from the "General Audio" bar. The customized method entitles you to reset related parameters for the export MP3, including codec, channel, sample rate and bit rate. Lastly, just click the "Start" button and wait for a moment; you can get a MP3 file in your destination folder.


