Q: I have a single video clip, from which I want to remove some unwanted parts and leave the rest. I want to learn the easy way to deal with that type of work in Adobe Premiere Pro CS6. So I am looking for a step-by-step tutorial. Please write in details if possible. - From CreativeCow Forum
For those who are absolutely new to Premiere Pro, how to cut video in Premiere will not be a stupid question, because Premiere is such a complex and powerful video editor. We need some help materials and simple guides to master this program. Here we will focus on the easiest way to cut out parts of the video clip and try to answer the aforementioned question. Then let's learn how to cut video in Premiere Pro fast and effectively.
Part 1 How to Cut Video Using Adobe Premiere Pro
Adobe Premiere Pro is a well-known video editing app, designed for professional video editors to create best productions. Next let's see how to use it to remove some useless parts of a video in just a few clicks.
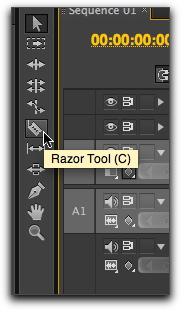
Now click the "Razor Tool" in the Tool palette and choose the part of video clip to remove by clicking on a start point and an end point. Go back to the "Selection Tool" in the Tool palette, click on the selected part of video you'd like to remove and then right click, and choose "Ripple Delete". Then the part of clip is removed successfully.
Step 1 Launch the program and create a new project

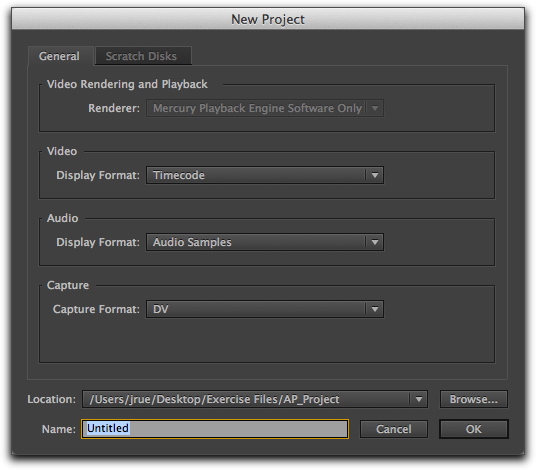
First of all, you need to open the Adobe Premiere Pro CS6 and run the program. Select "New Project" when you launch Adobe. Rename your new project and find a location for your project.
Step 2 Import your target video file

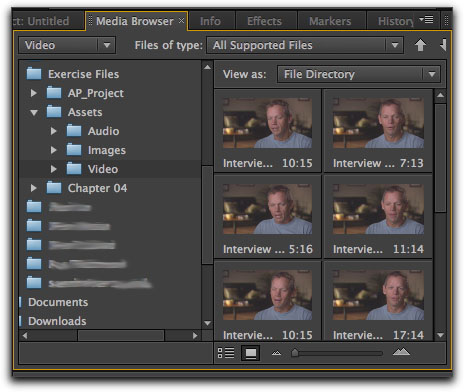
Then click the "Media Browser" to find the video file you want to cut, just drag and drop it into Premier's Project pane in the lower left of the Premiere's main interface. Choose your target video clip and it will be previewing on the Source pane and then move it to the Timeline for cutting.
Step 3 Cut the video and remove the unwanted part

Part 2 Trim Video with Premiere Alternative - Joyoshare Media Cutter
There we provide the best guidance on how to cut video in Adobe Premiere, however, this program seems to be too complex and complicated for some novices. And the price of the software is also too expensive. Thus we here introduce you the best alternative to Premiere - Joyoshare Media Cutter.
Joyoshare Media Cutter is an all-in-one video cutter and joiner, and editor as well. You can use it cut large videos into smaller fragments and remove the unnecessary parts of the video, etc without any quality loss. You can edit your video with abundant video editing tools, such as cropping, trimming, adding special video and audio effects, inserting subtitle, texts and watermarks, etc.
The software supports tons of input and output media file formats, such as M4V, MP4, AVI, MKV, WMV, ASF, H.264, MPG, MPEG, 3GP, 3G2, VRO, OGV, PMVB, MP3 and more. You can also exported your new video onto your new iPhone X, or other popular portable devices like Galaxy S8, Xbox 360, PSP, Sony TV, Windows Phone, and so forth.
Why Choose Joyoshare Media Cutter:
Trim large videos easily and losslessly
Support multiple media file formats and devices
Powerful video editing features
60X faster cutting and conversion speed
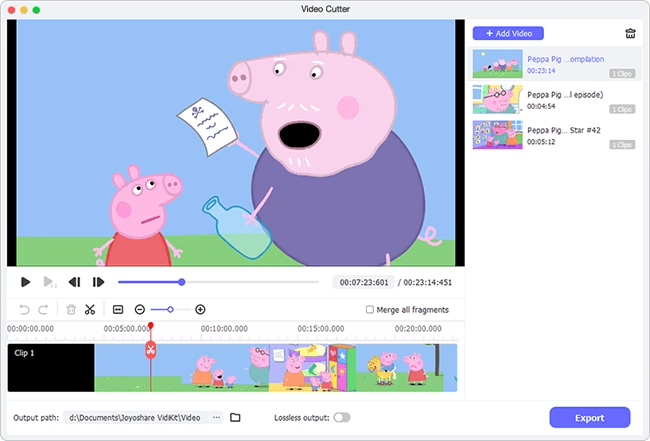
Next, we will tell you how to cut videos and remove the unwanted parts of video clips with Joyoshare Media Cutter in the simplest way. We take Joyoshare Mac Media Cutter as an example.
Step 1 Run Joyoshare and open the target video

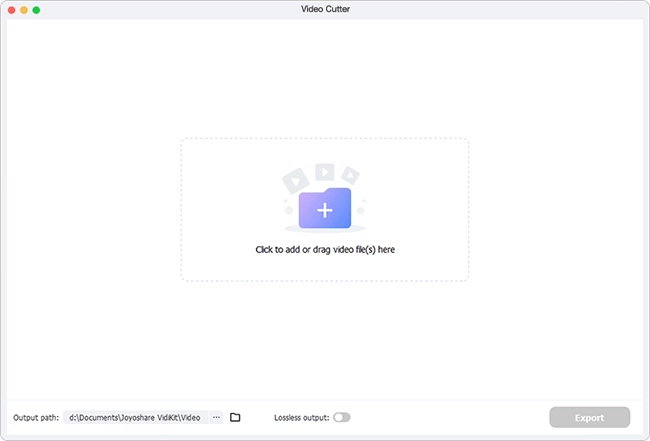
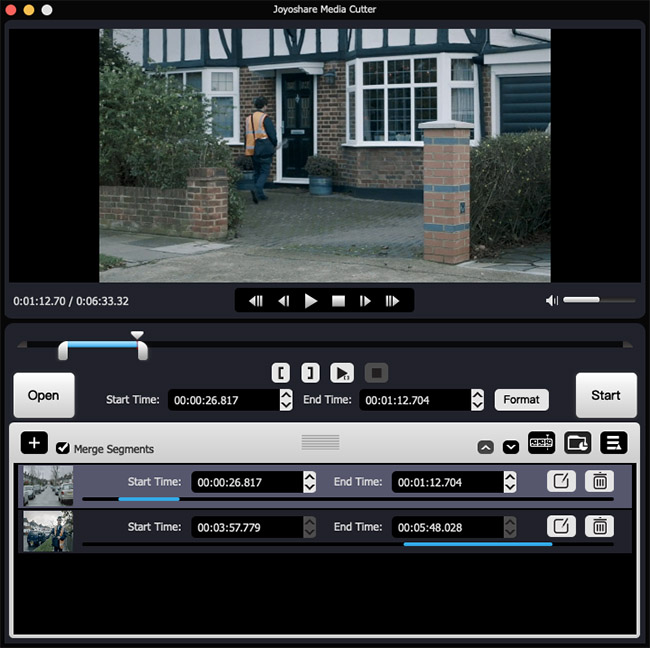
Launch Joyoshare Media Cutter for Mac first, and then add your target video file into the programs. You can click the "Open" button to add the video clip, or just drag the video and then drop it into Joyoshare.
Step 2 Choose the output mode

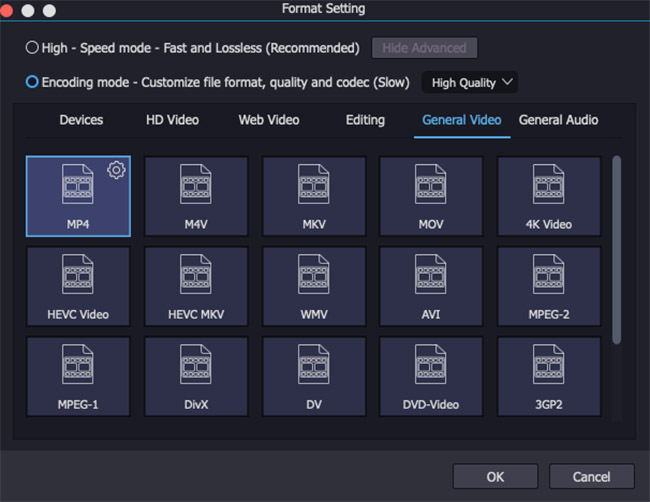
Click the "Format" button to select an output mode for your new video. There are two modes for selection. The "High-speed mode" enables you to cut and merge video fast and losslessly and the "Encoding mode" makes it possible for you to change the file format, quality and codecs.
Step 3 Cut and remove the useless part of the video

Now select the cutting segment that you want to retain by moving the slider or manually setting the starting point and end point. Similarly, click the "+" button to choose another part of video that is useful. Then tick the "Merge Segments" box, and click the "Start" button to cut and merge the video segments. Wait a few seconds till the process is done. Now the unnecessary part of the video has been removed.
