Q: "Need to cut/crop WAV files: I'm looking for a simple program that will allow me to precisely select a part of a WAV file and remove it. What I'd like to do is play the file to the point where I want to cut it, stop or pause the playing, mark the start point, then find the end point and mark it, then delete the selection. Does anyone know a good program for this purpose?" -Cnet Forum
Having a look at the above-mentioned case, we can easily know that there will be various requirements from different users. To solve this problem in considerate way, we here briefly introduce a comprehensive cropping program in this post and attach detailed guide on how to cut a WAV file at every step.
- Part 1. Uptimal Solution to Split A WAV File Losslessly
- Part 2. Complete Instruction to Cut A WAV File Instantly
Part 1. Joyoshare Media Cutter-What's It?
Coming with powerful ability to crop any audio files into small segments, Joyoshare Media Cutter is considered as one of the most top-notch splitting software in current market. It can do well in splitting your WAV into short length. More notable is that there is no any quality loss of your destination audio tracks. At the same time, Joyoshare WAV Cutter is able to fulfill any cutting process at up to 60X faster speed.
Alternatively, this intelligent trimming tool offers capability to generate your destination audio in any other format, like MP3, FLAC, AIFF, WMA, AU, M4A, AAC, AC3, etc. If you would like to customize an new audio track according to your own preference, apart from output format, you can also set up quality, codec, bit rate, etc, as well.
To fit for more users' needs, this comprehensive tool is accessible to merge different audio or video portions into a new file. However, you should bear in mind that the distinct sections are supposed to come from one common original source. When you apply it to manage your video files, you are empowered to extract audio from video at your own will.
Key Features of Joyoshare WAV Trimmer:
Cut WAV files without damaging original quality
Accomplish cutting task at up to 60X faster speed
Produce destination audio in any format
Have ability to combine different video/audio
Extract audio from original video seamlessly

Part 2. How to Trim A WAV File in High Quality
Step 1 Import a WAV file to Joyoshare Media Cutter

Having equipped your computer with Joyoshare WAV Cutter, you can directly launch it to carry out a cropping assignment. It is flexible for you to add the required WAV audio file to its main interface. There are two available methods provided to make it.
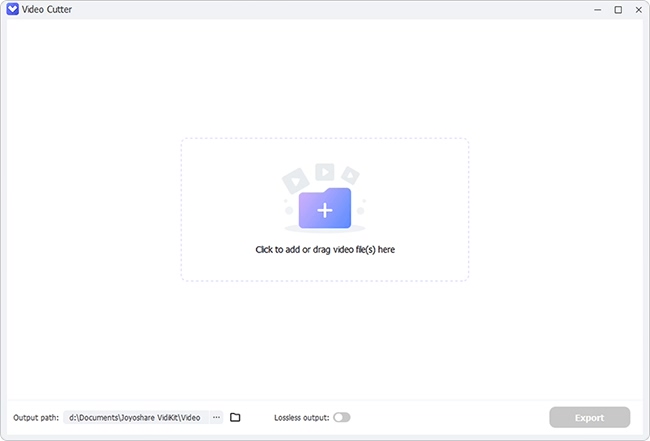
The first way is to open your local folder and straightly drag a specific WAV file to this program. The other way is also feasible. You can simply hit the "Open" button located at the bottom left corner to select any WAV file. If your WAV audio is too large, you'd better choose the second method. It can work faster.
Note: Only one WAV file can be imported in this Joyoshare Media Cutter. That is to say, this handy splitting tool cannot support batch mode currently.
Step 2 Decide cutting selection

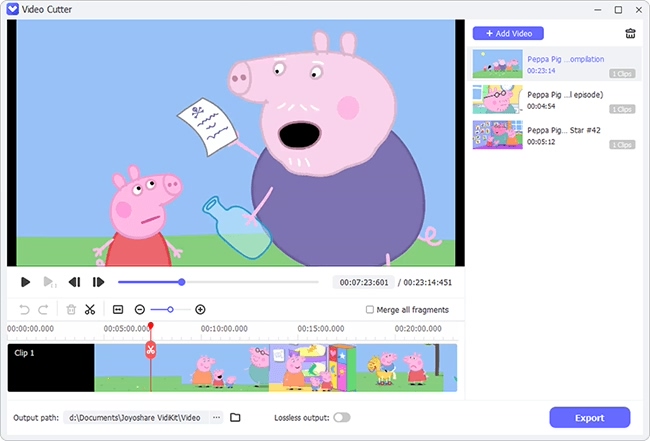
In order to enhance the accuracy, Joyoshare Audio Cropper is designed with well-arranged timeline and slider. It is convenient for you to move both beginning handle and end handle to choose an exact point. What delight you is that this smart tool will play your input WAV file automatically. Hence, it will be clear for you to know each spot precisely. Of course, you can also enter definite start time and end time to set a temporal interval as you like.
Note: Joyoshare Media Cutter is also good at merging different fragments into a new one. What you need to do is to hit the "+" button to generate more than one segments. Meanwhile, you have right to change the temporal intervals according to your needs. After you tick the "Merge Segments" option, you can press "Start" to get the combined file.
Step 3 Select output mode and destination format

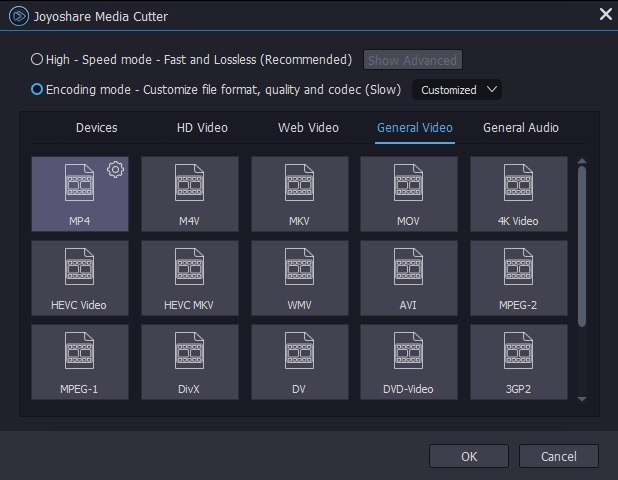
Once a trimming selection has been determined, you can continue to press the "Format" panel to set up relevant cutting options. There are a wide variety of output formats you can pick up, such as MP3, M4A, AAC, AC3, OGG, AIFF, WAV, WMA, M4B, MKA, etc.
It depends on you whether to keep output format as same as the original one or save it into a new one. Besides, if you go forward to choose "Encoding mode" rather than "High-Speed mode", you can get an access to customize the quality, codec, bit rate, etc, only by pressing the gear icon at the top right corner of each format.
Step 4 Start to cut WAV file
Now, it's your time to click the "Start" button to let Joyoshare M4A Splitter work for you. After few seconds, you will see all your destination WAV files in the pop-up window. Play them one by one to check whether it is qualified. If not, delete the imperfect one as you like. Certainly, you can repeat above steps to generate more manageable files.


