Q:"How to add a new Face ID on my iPhone 11? I want to share my device with my girlfriend." - from iPhone Forum
Face ID, a facial recognition system developed by Apple, is first introduced to iPhone X in 2017. Since then, the follow-up iPhones including iPhone X/XR/XS/XS Max/11/11 Pro/11 Pro Max and even iPad Pro (3rd generation) are designed with safer and faster Face ID as the unlocking system instead of Touch ID.
For this new feature, many users have a query that they wonder if Apple allows a second Face ID to be added for sharing the device with trusted friends. On this question, the following gives detailed reply and explains how to do it on the iPhone.
- Part 1. Something You Need to Know about Face ID
- Part 2. How to Add a Second Face ID on an iPhone
- Part 3. How to Add a Second Face ID without Passcode
Part 1. Something Worthy of Attention about Face ID
Below are some facts about Face ID. Get to know them before acting, twice as much can be accomplished with half the effort.
1. Face ID is designed to replace Touch ID as the unlocking system on iPhone X and later. Besides unlocking a device by biometric authentication, it also allows making payment, accessing data, and more. Note that it is only applicable to all new iPhone models. For iPhone 8 and former, not Face ID but Touch ID can be enabled.
2. Unlike Touch ID allowing users to add five different fingerprints for authentication, Face ID feature only allows adding two different appearances on the same iPhone. When you would like to add a second Face ID on your iPhone, the general recommendation is to set your face as the main Face ID and then set another face as an alternative Face ID.
3. Does wearing glasses affect facial recognition? Do users need to add a face with glasses as a second Face ID? It is totally uncalled-for. With powerful biological recognition techniques, the system will record changes of your face every time when you fail to unlock your device with Face ID. It will learn how your face change for a successful recognition of your face next time.
Part 2. How to Add a New Face ID on the Same iPhone
After knowing that Apple allows users to add an alternative face as a second Face ID on the same iPhone, this section will focus on how to add it easily and quickly. The steps are as follows.
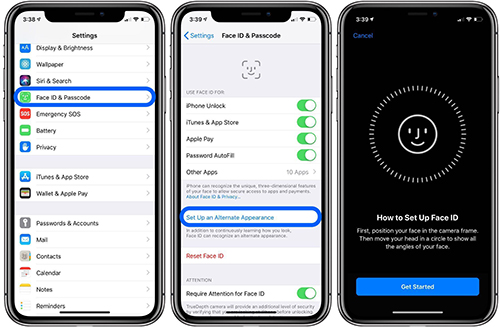
Step 1: First of all, head to "Settings" and then to "Face ID & Passcode";
Step 2: You will be required to enter passcode to continue;
Step 3: Afterward, choose "Set Up an Alternative Appearance" and next tap on "Get Started";
Step 4: The iPhone will scan the face of the person with whom you want to share device. Do as prompts on the screen while scanning;
Step 5: Once finished, click "Continue" to scan the face again. When the iPhone says "Face ID is now set up", just press on "Done" in the bottom.
Note: In case you have not set up any Face ID before, prior to adding an alternative face, you need to go to "Settings" - "Face ID & Passcode" - enter passcode - "Enroll Face" to add your face as the first Face ID.
Part 3. How to Add a New Face without Passcode
Through the above, presumably everyone knows that adding a new Face ID in "Settings" needs to type the iPhone screen passcode for authentication. Based on this, consider a scenario in which you feel like adding a second Face ID on your iPhone but forget the passcode for authentication. In this case, you must remove the forgotten passcode if you intend to set up a new Face ID.
How to delete forgotten passcode on an iPhone. Here, the best method is suggested to you. That is to make use of a mind-blowing unlocking program named Joyoshare iPasscode Unlocker. Such a tool is specially designed for iOS passcode removing on many necessary occasions, like forgetting passcode, iPhone is locked, etc. More impressively, it has the capability to professionally deal with 4 kinds of screen locks covering 4-digit/6-digit passcodes, Touch ID, and Face ID.
Key Features of Joyoshare iPasscode Unlocker:
Applied to many different situations
Remove passcode from iPhone with ease
Suitable for both Windows and Mac operating system
Compatible with nearly all iOS device models and iOS 13
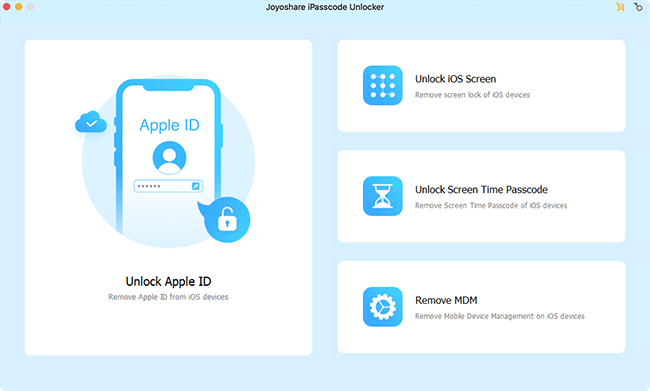
Step 1 Connect the iPhone to Joyoshare iPasscode Unlocker

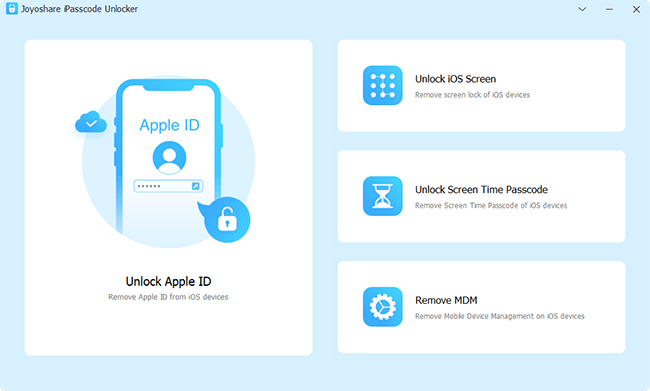
Download the installation of Joyoshare iPasscode Unlocker from Joyoshare download page. Next, please install it on your computer and open it. After this, use an original USB to connect your iPhone to the computer. Until the program recognizes your iPhone, go on with the "Start" button.
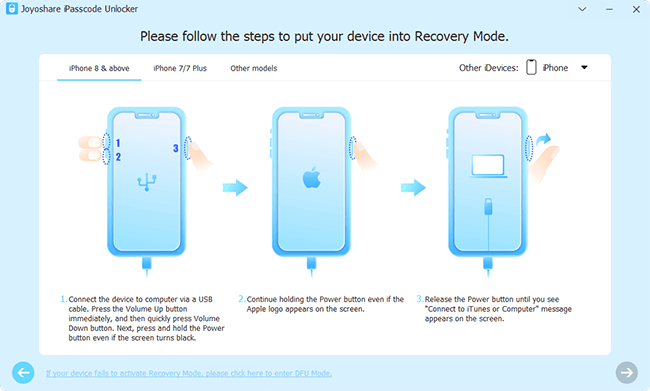
Step 2 Put the iPhone into recovery/DFU mode

Select your iPhone model and then manually set the iPhone into recovery mode or DFU mode according to the corresponding instructions on the screen.
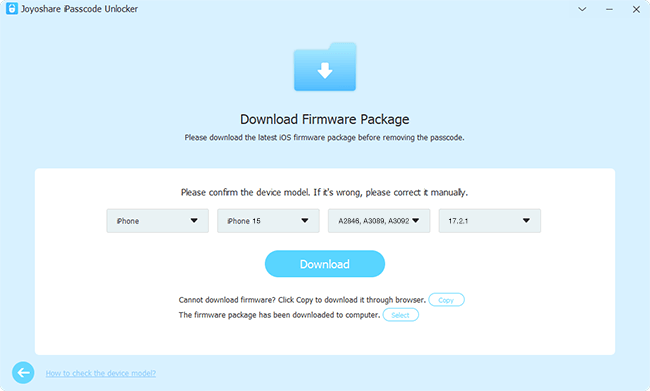
Step 3 Download and verify the firmware package

Confirm all basic info of your iPhone that is detected by Joyoshare iPasscode Unlocker after the iPhone enters into recovery or DFU mode. Please make sure there are no mistakes. After this, tap on "Download" to download and verify the latest firmware package.
Step 4 Add a new Face ID without passcode

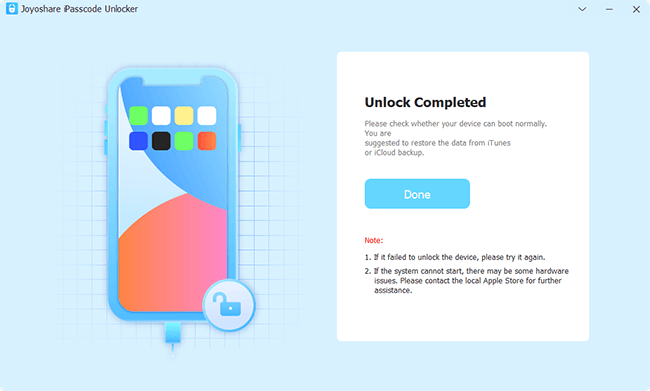
Once the firmware package is successfully verified, please touch the "Unlock" to make it unzipped. Soon afterwards, Joyoshare iPasscode Unlocker will remove all the existing screen locks on your iPhone. Like this, you can set up Face ID without entering any passcode.
Note: This action will wipe off all data on your iPhone, you have the need for backing up iPhone with iTunes or iCloud before doing so.
