Currently, the HEIC conversion is evoking heat discussion worldwide. Hence, some users are not clear about how to find a smart converting tool to convert HEIC to JPG or more popular formats? In order to give you an intuitive presentation, this review will firstly introduce three converting programs that are widely used by a large number of users at present. Then you can have a specific concept on their pros and cons. Now, follow my step to see what they are.
1. iMyFone HEIC Converter:
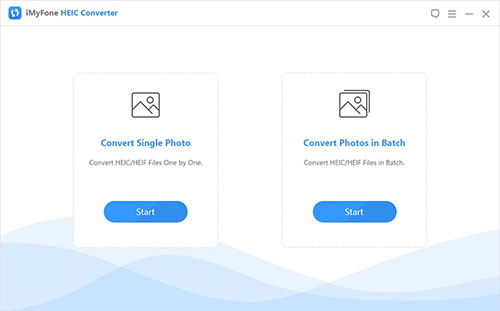
iMyFone is a PC app that can be used to convert iOS 11 images from HEIC to JPG offline with no cost. To realize wonderful performance, it enables you to convert HEIC images one by one or in batch at a time. iMyFone HEIC Converter can output your images in high quality and complete conversion quickly. It entitled you to adjust quality based on your requirement. Most importantly, as an offline converter, it can well prevent any leakage of your images.
However, the limited output format cannot satisfy users. Aside from JPG/JPEG, you may want to get more options. What's worse, there is only Windows version you can utilize. Once the free trial expires, it will require you to register or have a license code by sharing it to other social media. You also have to choose a targeted folder to save converted files, which seems a little troublesome.
Pros:
Convert HEIC to JPG
Support conversion individually or in batch
Allow quality-adjusting
Avoid any leakage of images
Cons:
With limited format: JPG/JPEG
Operating interface is not simple enough
Only has windows version
Ask you to select folder to save converted photos
Require you to register or have a license by sharing it to social platform
2. iMazing HEIC Converter:
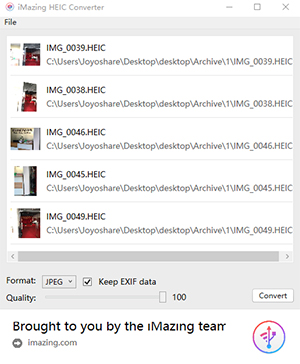
As a totally free HEIC converting tool, iMazing HEIC Converter can give you a hand to initiate conversion directly without requiring any registration. It permits you to drag and drop HEIC files or folders to the conversion interface. At the same time, it will keep EXIF information and support color profiles, like wide-gamut. You can slide its button to adjust quality by yourself.
Easy-to-use and handy as iMazing HEIC Converter is, it can only save converted files as JPG and PNG. One terrible point is that some HEIC images, like photo bursts and live images cannot be recognized as valid files. So it is not feasible enough to support all kinds of HEIC images. Besides, it also time-consuming to show HEIC images to be converted in main interface after you added files. If you want to delete unwanted files, you can only re-launch it. There is also no history list to let you locate your destination images.
Pros:
Convert HEIC to JPG and PNG
Make adjustment to quality
Keep EXIF information
Easy-to-use and totally free of charge
Cons:
Can only support JPEG and PNG
Come with no history list to locate files
Need to choose a storage location
Add files to main interface slowly
Cannot recognize all kinds of HEIC files
Re-launch it if you want to delete unwanted HEIC photos
3. Apowersoft HEIC Converter:
You can utilize Apowersoft HEIC Converter to convert HEIC photos either online or offline. However, you should note that there is only Windows version for desktop usage. Similar to other converters, it has access to convert HEIC photos in bulk. Each time, you can import 60 pieces for offline version while 30 pieces for online version. Essentially, Apowersoft HEIC Converter can delete converted images completely after you finished the conversion process, making privacy information protection possible.
Of course, it also comes with shortcomings. You can only fulfill HEIC to JPG conversion as there are no other available formats. If you prefer to use desktop app, you can only have a Windows version. With regard to online conversion, it also not convenient to download converted images from cloud to your own computer one by one.
Pros:
Support HEIC to JPG conversion
Preserve EXIF metadata
Protect privacy information
Provide both online and offline solution
Allow batch conversion as well as single conversion
Cons:
Support limited format: JPG
Fail to recognize some HEIC images
There is only Windows version for desktop usage
Have to download converted images from cloud one by one

Now let's see what Joyoshare HEIC Converter can do for you.
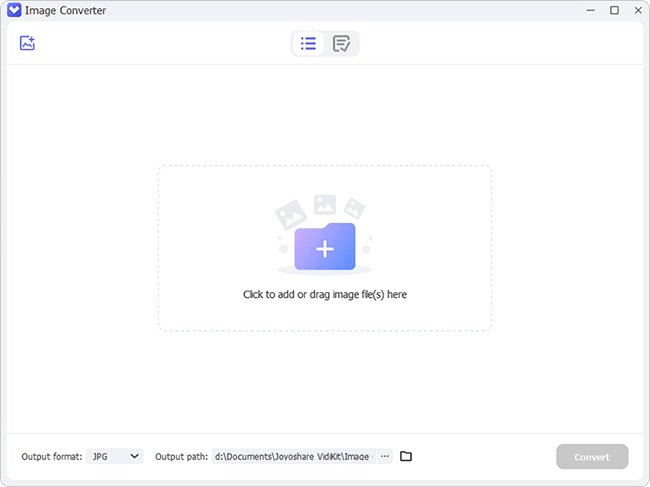
Joyoshare HEIC Converter is specialized in converting iOS 11 photos from HEIC to JPG. With more accessible options, it also offers ability to convert HEIC images to PNG, GIF, BMP, TIFF and WEBP. You can also take advantage of this professional tool to import HEIC files in two ways. Directly drag them from local folder to converting interface or simply click the "+" button on the left bottom corner. Furthermore, by adopting the advanced processing core, it is able to convert HEIC images piece by piece or in bulk.
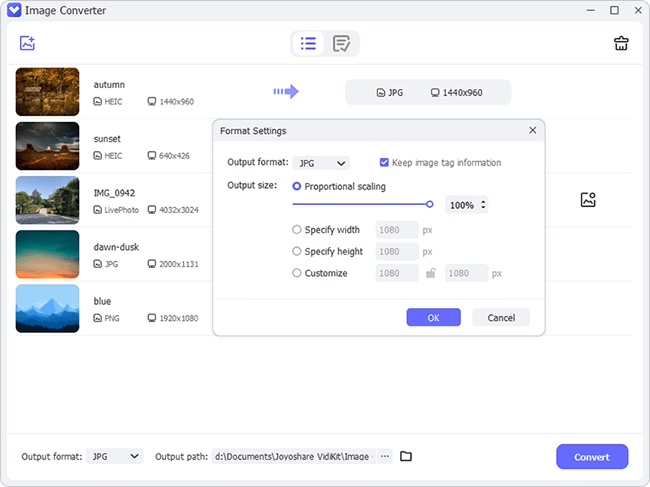
With user-friendly and easy-to-operate interface, it can be used to adjust quality and keep EXIF information as you like. You can enjoy both Windows and Mac version depending on your actual needs. Powerfully, Joyoshare HEIC Converter creates a perfect platform to recognize all types of HEIC images in smart way. It also includes full support to output all HEIC images, customize resolution and keep aspect ratio. You can covert numerous images without damaging original quality. Certainly, considering the conversion process is down offline locally, it is safe to keep all your images.
Key Features of Joyoshare HEIC Converter:
Convert HEIC images to JPG in high quality
Support more output formats: PNG, GIF, BMP, TIFF, etc
Have ability to recognize all types of HEIC
Keep EXIF information completely
Allow quality-adjusting, resolution-setting, ratio-keeping
Step 1 Sync HEIC images to your PC
Make sure that you have transferred and synced HEIC files to your computer firstly.
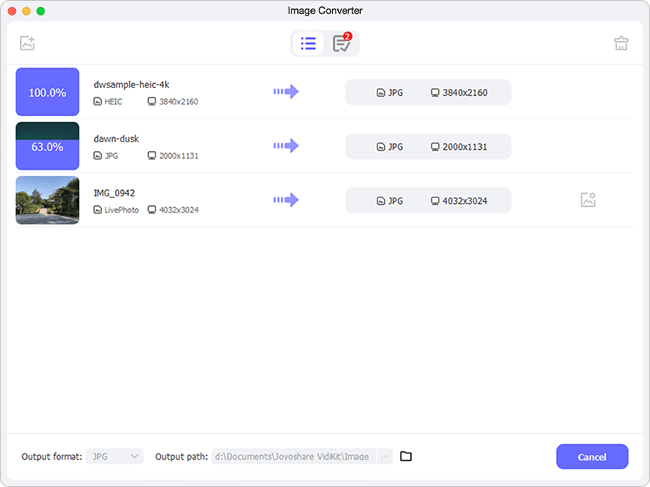
Step 2 Add HEIC files to conversion list
It is practical to drag and drop HEIC files or folders to the main interface. Or you can go straight to hit the "+" button.

Step 3 Setup conversion options
By pressing "Format", you will see all accessible settings. It allows you to choose format, put designated number to customize resolution. Certainly, you can adjust quality, decide whether to output all images, keep aspect ratio and preserve EXIF information at your will.

Step 4 Start conversion process
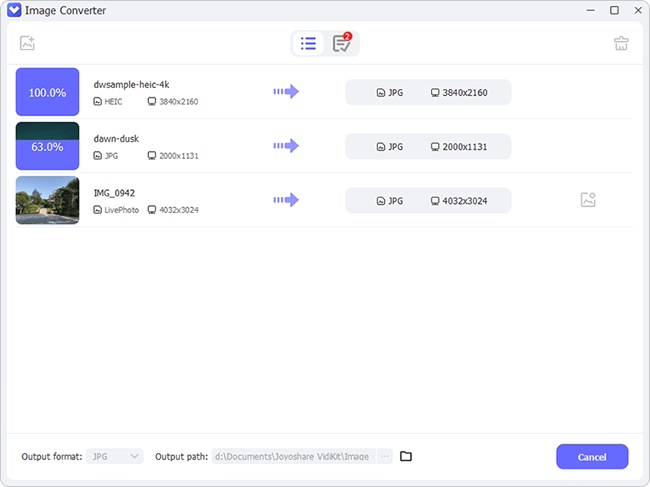
Hit the "Conversion" button to let Joyoshare HEIC Converter work for you. Any converted files can be located in "History folder".

