It would be amazing to record a video, upload it to Google Drive and share it with anyone in a few clicks. But then, many people do not know that they can use screen recording programs to record and upload video. With the help of a valuable video recorder for Google Drive, it is now possible to record a video in high quality without any challenging procedures. Today, you will look at the different tools to help you to do that with ease in this article.
- Part 1: Top 4 Recording Tool for Google Drive
- Part 2: How to Record and Upload Video to Google Drive
Part 1. 4 Best Video Recorder for Google Drive
1 School Video Recorder
You can record video for Google Drive using School Video Recorder. This tool helps you capture your computer's webcam to create a video, which you can save to Google Drive. The benefit of this software is that you can access it using a web browser. Therefore, you can skip the installation of the software to a computer to record a video. It is suitable for students using the Chromebook and laptops, as it helps them share their videos easily with their teachers.
- Pros:
-
Uploads videos while recording
Streams directly from web browser to Google Drive
Records webcam with audio
- Cons:
-
Susceptible to virus
Not compatible with a few mobile devices
2 Video Recorder for Google Drive
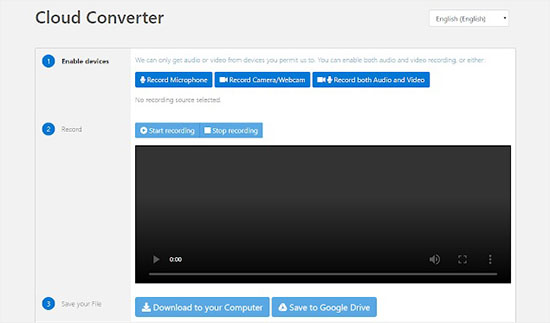
Video Recorder for Google Drive is a tool that helps one record both audio and video right from a web browser. There is no software to install to use this recording tool. It is the best recording tool for Google Drive because it provides support to save the file to the computer or Google Drive. Additionally, you can preview the recorded video before saving it.

- Pros:
-
It does not require any installation
Functions on any web browser
Records webcam
- Cons:
-
Slow on a few computers
No technical support
3 Screencastify
Screencastify is an extension available for Chrome, which helps users record videos, edit, and share screen recordings. You can use it to record video for Google Drive and it is helpful for students, teachers, sales team, customer support, and more. In addition, this tool will help create visualizing tutorials, demos, presentations, and more. Likewise, you can share the recorded video on YouTube directly from Google Drive.

- Pros:
-
Exports files into MP3/MP4
Technical support is available
Customer support
Quick video processing
- Cons:
-
Limited editing capabilities
4 Loom for Chrome
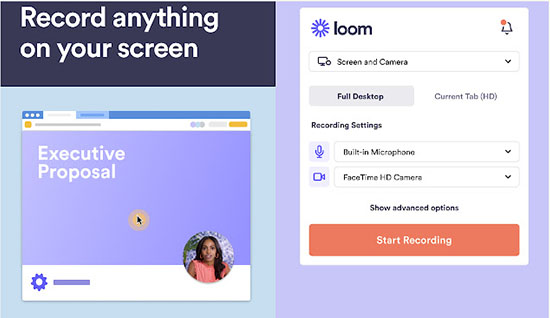
Loom for Chrome is a video messaging for work. This video recorder for Google Drive is suitable for attending to customer service, creating troubleshooting issues, code review, onboarding new employees, and more. This tool helps get the messages quickly and share them with ease. It captures screen, audio, and webcam to create instant videos and helps create shareable links for the recorded videos that you can send through email.

- Pros:
-
Web extension available for Chrome
Suitable to create demo, tutorial, product walkthrough, and customer support videos
Ideal for individuals and teams
Editing features available
CTA helps drive engagement
- Cons:
-
Limited editing features
Requires multiple retakes of a scene
Part 2. How to Record and Upload a Video to Google Drive
- Record Google Hangout, Google Voice call, Google Meet, etc.
- Save video in formats compatible with YouTube, Vimeo, Facebook and more
- Dual mode for you to record
- Cut and skip unwanted content and ads during recording
- Enhance video by customizing codec, quality, frame rate and more
Step 1 Start Joyoshare VidiKit
Download the trial copy, install, then launch it by clicking the desktop icon. Click the Record - Screen Recorder to get more recording options. You will notice the following screen. To record screen and audio together, you can select the Record video and audio mode.

Step 2 Adjust Recording Settings
Click the gear icon to alter the recording settings. You can choose the video format, resolution, shortcuts, hotkeys, watermark, and cursor options. To create recording task, hit the Record time options and set stop and start time.

Step 3 Set Recording Area
Click the "+" button in the capture area to select the recording area and customize the capture area or choose from a preset resolution value, such as 320x240, 640x480, 1280x720, and more.

Step 4 Record, Save and Share Video
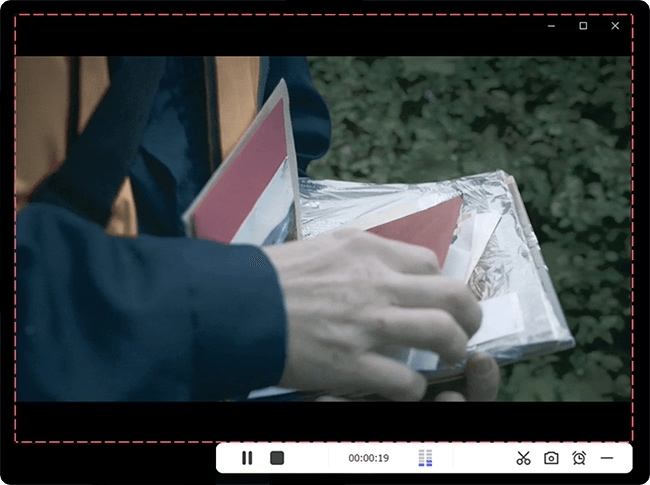
Open the program you want to record, start it, and press the blue Rec button to record the video. Click the "Stop" button, preview the recorded video, edit recording. After completion, you can secure the file in Google Drive and share it with others instantly.

Joyoshare VidiKit - Screen Recorder, a one-stop platform for capturing and editing videos, is the best video recorder for Google Drive because it can capture screens, internal and external audio. Alternatively, its built-in editor with rich features makes it easy to edit videos easily. You can rename, edit and trim your recordings according to your need. Likewise, one can save the file in any video format and share it across social media sites, including Google Drive.

Conclusion:
A video recorder for Google Drive is an excellent way to record videos and share quickly without installing software. However, these online or web browser extensions are third-party applications and cannot handle a compelling task when needed. Joyoshare VidiKit is an enjoyable application for all-purpose use. Not only can you record videos in 4K without any lags, but you can also use the powerful built-in editor to make changes before saving the file. Before deciding, look at your requirement, computer hardware, the length of the videos, editing requirements, and more.
