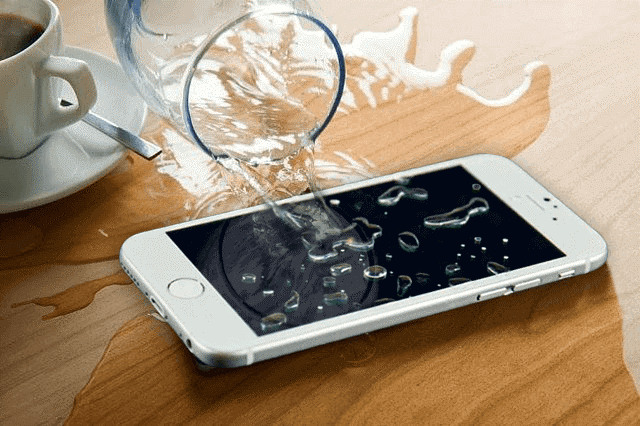
An iPhone is one of the most prized possessions for many. We naturally have to spend a good amount to buy one, and once we do, we do everything to take the best care of it, use the best screen protector, phone cover, and then flaunt our phones with pride. However, what if an accident happens, what if you drop your phone in a bucket of water or it gets wet in the rain?
Quite naturally, your heart will sink with it, and you will have ten different thoughts running in your mind. What will you do now? Will your iPhone work ever? Is it damaged forever? Will you be able to repair it? Well, relax, as the chances are bright that you will be able to fix your iPhone. If you are now wondering how then continue reading and discover 10 tips on how to fix a water damaged iPhone.
1. Find out if your iPhone is damaged
Firstly you need to figure out if your phone has suffered from any water damage, and for the purpose, you need to look for the iPhone water damage indicator. Depending on the model you use the indicator can be in a different place. If you have an iPhone4 or 4s then the indicator will be in the charging port. If you use iPhone 5, 5C, 5S, 5SE, iPhone 6, 6s, 6s Plus, or iPhone 7 or 7s then the indicator will be in the SIM card tray slot. The water damage indicator is basically a small white tab which will turn red if it is too wet and can prove harmful for your device. If you notice this indicator has turned red then your phone probably has a problem and you need to follow the tips given below.

2. Resist the temptation to turn your phone on and undress it
If your iPhone is wet you just should not turn it on to check if it is working. No matter how strong the temptation you cannot turn your phone on as doing so will only damage the internal components, and result in a short circuit. You should not try using the device in any other way apart from trying to switch it off, and even that can be a little risky as you are trying to activate your phone, but you anyhow need to switch it off after it is somewhat dry so that you can follow the other steps given below.
Next, you need to remove the case of your iPhone. Also, if your water damaged iPhone screen has a protector then you need to remove that as well as because you want no liquid to stay trapped between the case and the chassis.
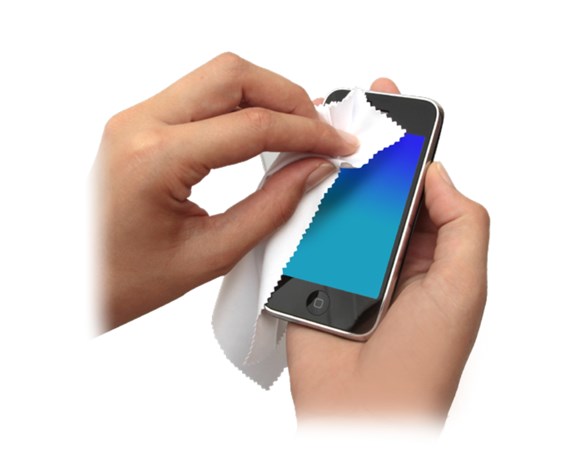
3. Start drying your phone
Now, the next thing you need to do is to dry your precious phone. To begin with, use a clean material and gently wipe your phone giving more attention to its earphone, switches, and power ports. You must remember to be really gentle when wiping these areas dry as you do not want to end up pushing more moisture into the device. Shake the phone gently so as to get rid of any liquid that may have stayed behind.
4. Remove the SIM tray
After drying your phone remove the SIM tray and your SIM card and try to get rid of any liquid trapped inside through its opening. Chances are bright that water may have entered your phone through the SIM port. You should gently shake your device with the SIM card opening facing downwards so that it removes any remaining liquid.
5. Never use a hairdryer
If you use a hairdryer you may get rid of the water present outside but you will not be able to remove any liquid present in the interior parts of your phone. It will only likely condense the trapped liquid, spreading it more in the internal part, and thus resulting in further internal harm.
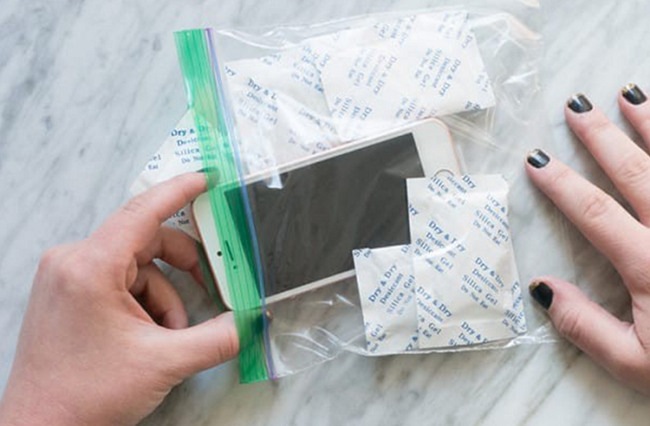
6. Wrap it in silicon
If you are lucky enough and have a big plastic container filled with silica bags that come along with almost every electronic object, then put your phone inside this box. Just cover your phone well with the silica bags and close the box, and let it stay that way for about 48 hours. Do not move the box, and do not keep opening it, trying to check if everything is fine, not at least if you do not intend to cause any condensation damage.
7. Using rice also helps
If you do not have silica bags with you, no worries, you can bury your iPhone in a sealable plastic bag or sealed box containing uncooked rice for 48 hours. Even in this case, do not open the box and the rice will most likely attract all the water out of your device.
8. Backup your data
If your iPhone dries off and starts running you should know it likely will not be the same again. Regular crashes, battery issues, failed startup, and instability is what you will likely experience after your phone has suffered water damage. So, once you get to start your phone following the above-given tips you should back up your data right away.
9. Recover your lost data if necessary
Once your phone is water damaged, the data on your phone may be lost. To help you retrieve missing data rom your water damaged iPhone you need a smart and professional iPhone data recovery program, and the best that you can use for the purpose is Joyoshare iPhone Data Recovery. This software helps you restore any lost data directly from the iOS devices, iCloud and iTunes backup, with a high success rate. Apart from photographs, it supports over 20 kinds of lost files for recovery like text messages, contacts, notes, call history, voicemail, calendars, and so on.
See also: How to Recover Photos from Water Damaged iPhone
10. Visit an Apple store
Chances are bright that after following these tips you will have fixed your iPhone. However, if you think that your phone is not working yet, then without wasting any time visit an Apple store or an iPhone repairing center. If you have to choose this option then only visit an authorized store to make sure your phone gets fixed the right way.
The Bottom Line
Now that you know how to save a water damaged iPhone, make sure to follow these tips when in need. Once you have fixed your phone and it is working fine it will be best to invest in a waterproof iPhone case so that you do not have to face such a problem ever again.