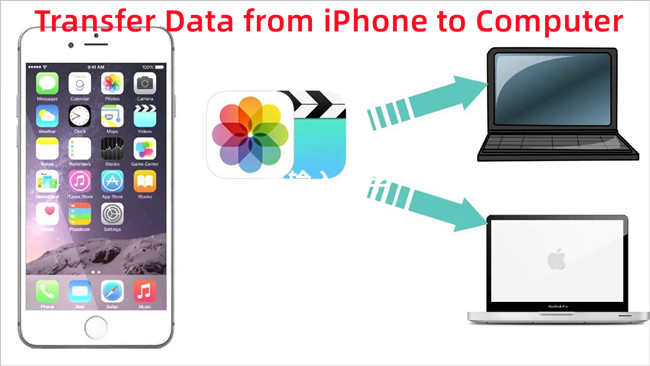
When your iPhone is full of various files, photos and videos, the processor speed and performance of your iPhone might become low and not smooth enough. It greatly influences the experience when using your iPhone. However, you don't want to delete any important data. At that time, the idea that comes into your mind is to transfer data from iPhone to computer to free up some storage space. What's more, it's beneficial to keep a backup of your iPhone on the computer in case of some emergencies. Obviously, there are lots of people who are also hassled by this trouble. Hence, many similar questions are raised on all kinds of question-and-answer platforms, such as Quora. If you have this concern as well, you can read this all-inclusive guide to try the effective methods.
- Part 1. Transfer Data with Reliable iPhone Data Recovery Tool [HOT]
- Part 2. Transfer Data via Apple Official Software
- Part 3. Conclusion
Part 1. Transfer Data from iPhone to PC with Professional Tool
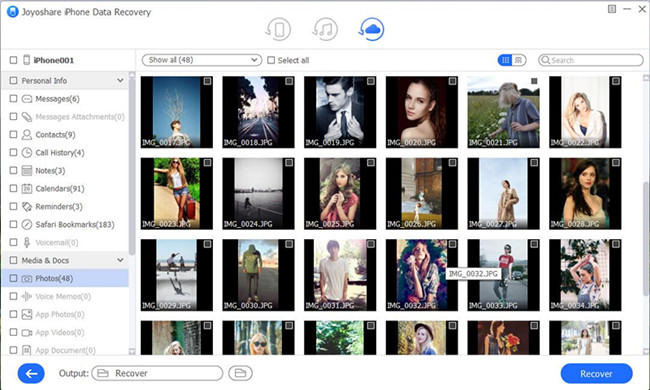
First and foremost, the most professional and effective way is to resort to data recovery software. Joyoshare iPhone Data Recovery is prominent in providing the features of previewing data in real time and choosing file types selectively. It can not only recover data from any iOS device without backup but also can extract data from iTunes and iCloud backup. What's more, it can support over 20+ types of files, such as photos, videos, notes, iMessages, app data, etc. Hence, no matter what kinds of files you want to transfer, this functional tool can fulfill your expectations perfectly.

- Make data transfer from iPhone to computer easily and quickly in three simple steps
- Freely scan and preview your data without any limitation
- Intuitive and detailed guide is easy to operate for inexperienced users
- Allow users to select the output format randomly, including from HEIC to JPG
- Highly compatible with the newest iPhone 13 and iOS 15
Mode 1. Transfer Data from iPhone Directly
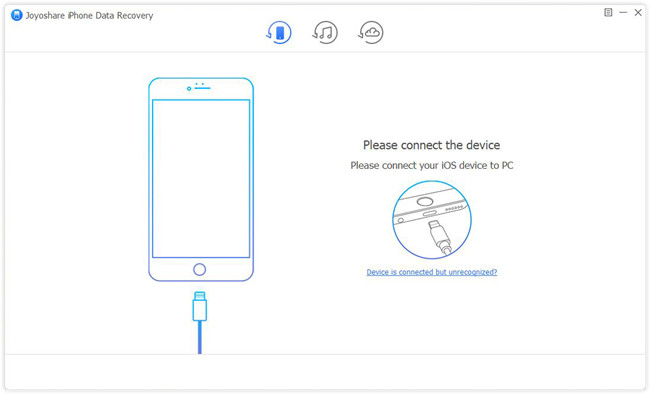
Step 1 Choose "Recover from iDevice"
Launch Joyoshare iPhone Data Recovery on your computer and connect your iPhone to a computer with an original USB cable. Select the first recovery mode – "Recover from iDevice". If the iPhone is the first time to connect with computer, you need to trust computer in time.

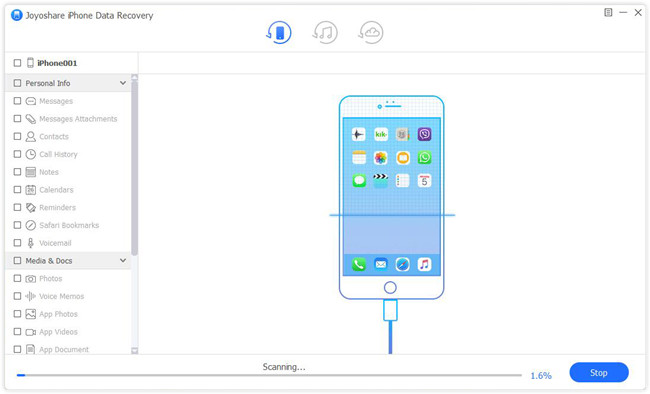
Step 2 Select and Scan Data
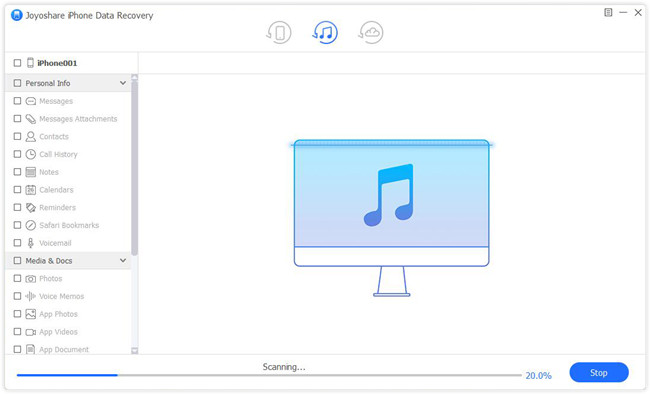
The program will display all data types on the interface, and you can tick data you want to transfer to computer. After deciding on file categories, click the "Scan" button to proceed to the next step.

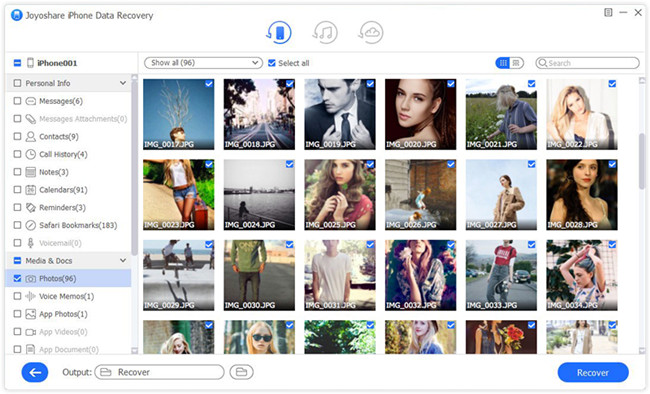
Step 3 Preview and Transfer Data without Backup
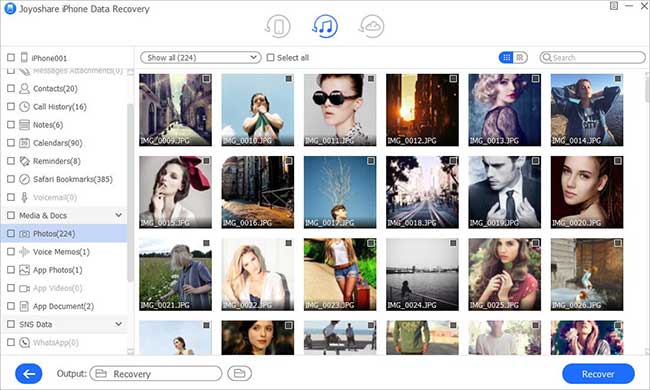
When the data files on your iPhone are classified into categories in order, you can preview them in detail and choose what you want to transfer. Click on the "Recover" button to save them on computer.

Mode 2. Transfer Data from iTunes Backup
Step 1 Choose "Recover from iTunes"
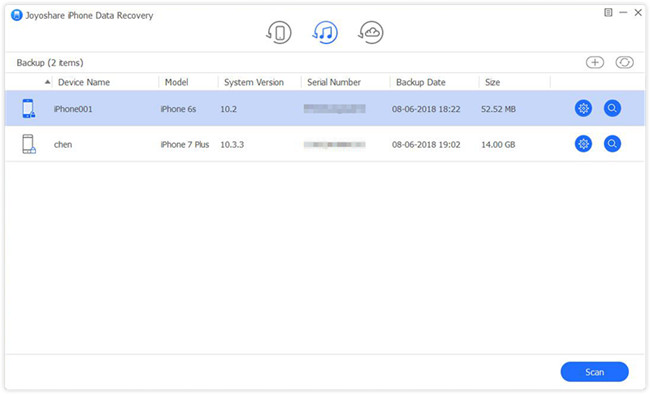
After running Joyoshare iPhone Data Recovery, choose the second recovery mode – "Recover from iTunes". Then the software will detect iTunes backup files automatically. Select the backup file you want to transfer.

Step 2 Scan iTunes Backup
After selecting the proper backup file, you can click the "Gear" icon to check and confirm data types you want to operate. Afterward, hit the "Scan" button and wait for some seconds.

Step 3 Transfer Data from iPhone to Desktop
In this step, you can look through all recoverable data and tick desired files that you want to transfer. Alternatively, you can directly hit the "Recover" button to extract them on computer.

Mode 3. Transfer Data from iCloud Backup
Step 1 Log in to iCloud
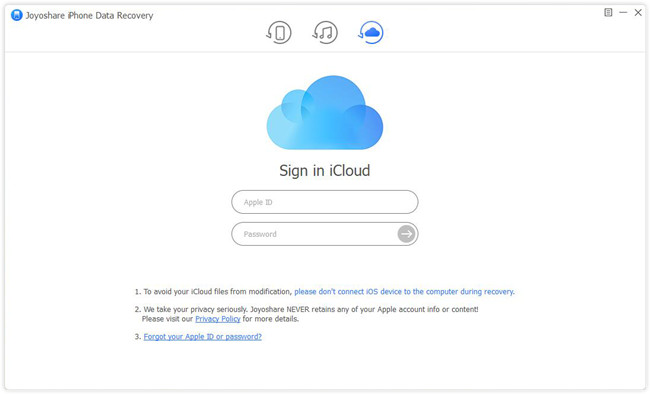
Similarly, open Joyoshare iPhone Data Recovery and choose the third recovery mode – "Recover from iCloud". Insert your Apple ID and correct password to log in to your iCloud account.

Step 2 Download and Scan iCloud Backup
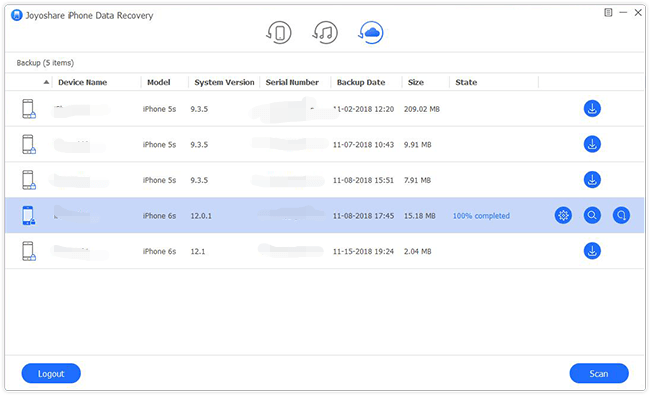
You can choose the latest backup to download or just find a backup file you want to extract. Likewise, hit the "Gear" icon and pick up designated data types. Then click on the "Scan" button.

Step 3 Transfer Data Successfully
The tool will detect and classify your iCloud backup. Then you can preview all data selectively and choose the files as your wish. Tick data you want to transfer and click the "Recover" button to output them on the computer. It is applicable when you want to access and view iCloud backup.

Part 2. Transfer Data via Apple Official Software
Option 1. Transfer Data via Apple iTunes
As an official way provided by Apple, iTunes integrates many functional features to help iOS users use their devices more conveniently. However, it is worth noting that you only can transfer part of app data that can be shared between your iPhone and computer. The feature of letting iPhone data transfer to PC only can be used when your iPhone connects to a computer or under the same WIFI connection. The whole procedure is presented as follows:
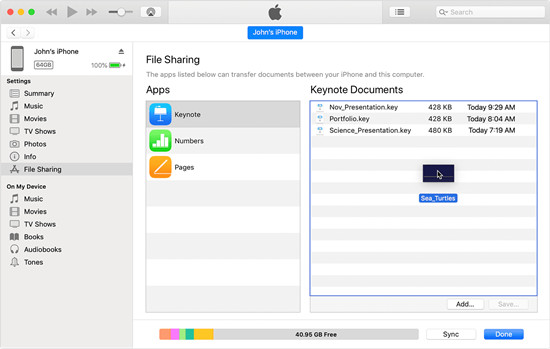
- Step 1: Launch the latest version of iTunes and connect your iPhone with computer via Apple USB.
- Step 2: Locate the device icon, find the "File Sharing" tab, and choose apps in the list.
- Step 3: Choose the files you want to transfer to PC and click "Save to" option.
- Step 4: Designate a location on your computer to save these files.
Option 2. Transfer Data via Apple iCloud
There is no better way than iCloud to transfer data, especially when you have synced files in advance. There are more data types that can be chosen in iCloud than iTunes. Furthermore, it is free to use for all iOS users. Undoubtedly, it is the most suitable method when you have iCloud backup.
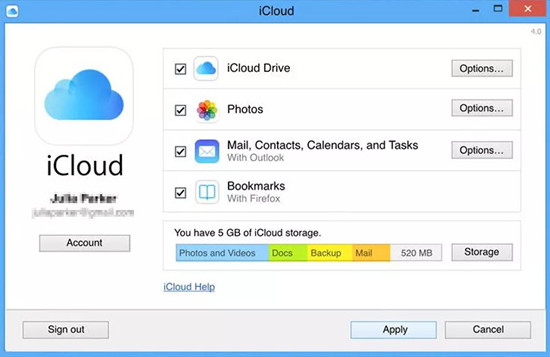
- Step 1: Download and install iCloud on your computer. After opening it, you can enter your Apple account by inserting your Apple ID and correct password.
- Step 2: Choose options that you want to transfer displayed on the interface.
- Step 3: Hit the "Apply" button and then you can access these files under the File Explorer.
Part 3. Conclusion
These methods are all tested and applied by numerous iPhone users. Hence, you can try one of the solutions based on personal consideration. If you want to transfer data from iPhone to computer without charging any money and have no requirement of previewing data selectively, I recommend you choose iCloud to achieve your wish. Otherwise, Joyoshare iPhone Data Recovery is the best choice to transfer all data files selectively. You can preview whether your desired data is recoverable and only transfer important data within three steps. Alternatively, you can also directly recover all data in the shortest time.
