Q:"Oh my gosh, I really need help. I stupidly got my photos, messages and contacts lost owing to improper operation. Is there a way to recover them? I am afraid I cannot find solution as iPhone SE is not popular model. Help me, thanks." - Jerry from Apple Forum
Indeed, photos, messages and contacts are common yet important data files we use every day. As is often the case, lots of data will be attached with them, which will be sort out by us frequently. Just like Jerry, it's easy to get them lost when manage files. But you should keep calm even if you are using iPhone SE. Here we will guide you to know how to recover iPhone SE data at every step.
- Part 1. Retrieve Lost Data from iPhone SE Directly
- Part 2. Restore iPhone SE Lost Data from iTunes Backup
- Part 3. Recover iPhone SE Lost Data from iCloud Backup
Best iPhone SE Data Recovery – Joyoshare iPhone Data Recovery
Aiming at recovering deleted/lost data files from iPhone SE with absolute safe guarantee, you should take advantage of a professional data recovery. After taking diverse elements into consideration, we here highly recommend Joyoshare iPhone Data Recovery. This competitive program is specialized in finding more than 20+ types of iOS data from iPhone/iPad/iPod touch, or from iTunes and iCloud backup.
Remarkably, Joyoshare iPhone Data Recovery contributes to protect iPhone SE existing data from being overwritten, damaged or lost during retrieval process. In addition to iPhone SE, this one-stop solution also allows you to restore data from a series of iOS devices with complete compatibility to the latest iOS 12. Its real-time decryption & preview feature can handily facilitates you to see any scanned audios, videos and photos before recovery and selectively choose whatever you need. Plus, another good news is that you can use it to convert HEIC images to JPG without hassle.
Key Features of Joyoshare iPhone Data Recovery:
Recover iPhone SE data securely
Support the latest iOS version
Possible to convert HEIC to JPG
Restore up to 20+ kinds of iOS data
Get data back from multiple scenarios with 3 recovery modes
Part 1. In-depth Tutorial to Restore iPhone SE Data without Backup
Joyoshare iPhone Data Recovery can do a good job in data recovery. It includes full supports to retrieve data not only from iPhone SE, but also from iPhone X, iPhone 8 Plus, iPhone 8, iPhone 7 Plus, iPhone 7, iPhone 6s Plus, iPhone 6s, iPhone 6 Plus, iPhone 6, iPhone 5s, iPhone 5c, iPhone 5, iPhone 4s, iPhone 4. Now let's see how it works.
Step 1 Connect iPhone SE to computer

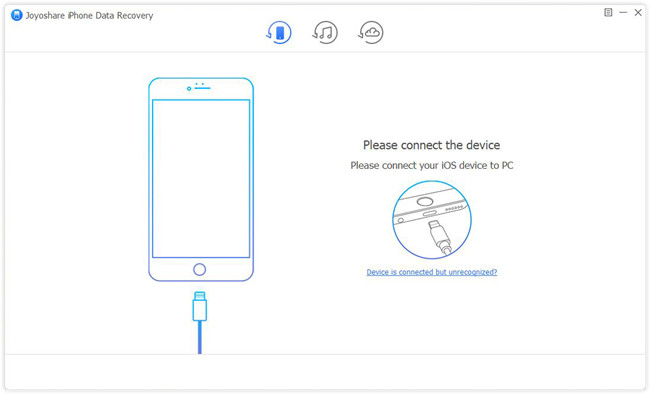
Download and install Joyoshare iPhone Data Recovery from its official website. Launch it directly and connect your iPhone SE under "Recover from iDevice" recovery mode. Bear in mind that at this step you should "Trust" computer via iPhone SE.
Step 2 Select data types from iPhone SE

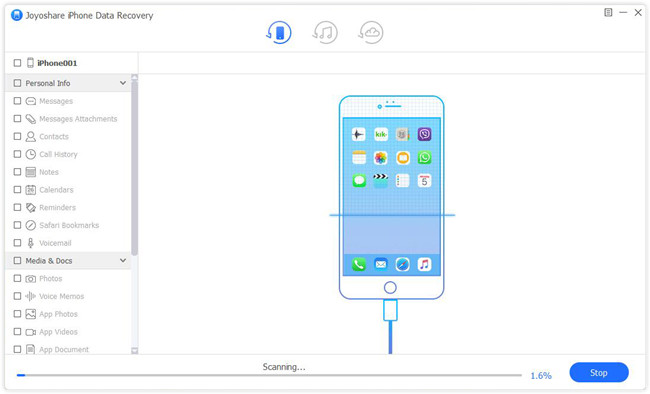
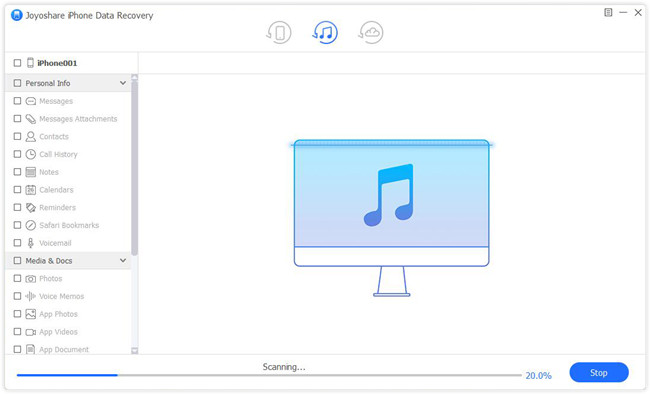
As long as your iPhone SE is recognized successfully, some relevant device info will be shown on the left side while both deleted and existing data will be classified on the right. You have to choose data types for later scan, like "Messages & Attachments", "Photos", "Contacts", "App Photos", etc. Then simply tap on "Scan" button to start scanning files from iPhone SE.
Step 3 Get ready to recover iPhone SE data

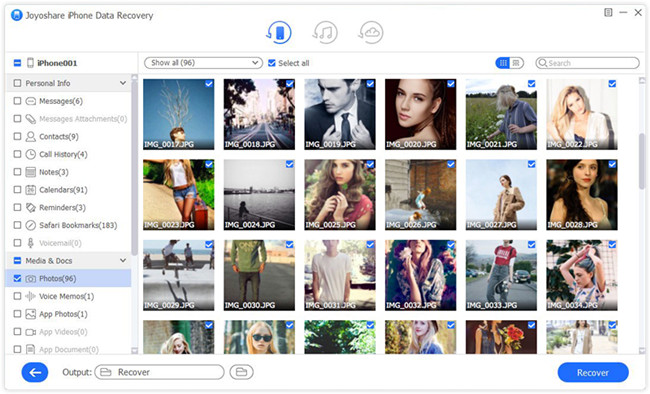
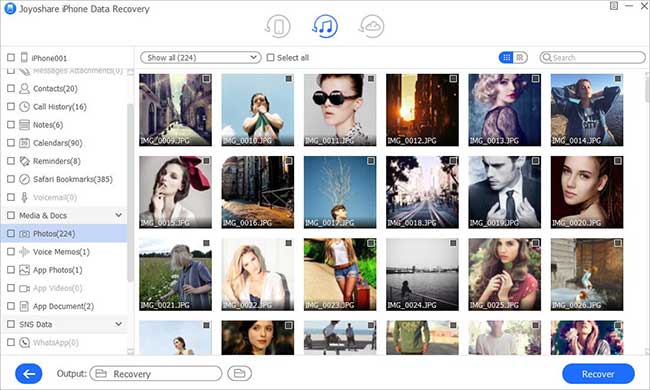
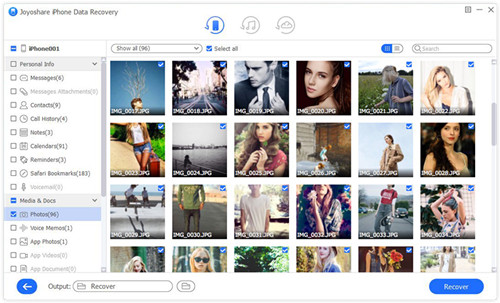
It will take you a while to finish the scan process. Afterwards, all scanned content, the deleted as well as the existing, will be displayed orderly. Filter out needless files or search required data by using search tool. You can also look through all items in the way you like. After you preview and selectively get what you want, go ahead to click "Recover" button to export data to computer.
Part 2. Quick Guide to Recover iPhone SE Data from iTunes Backup
Situation is that some of your iPhone SE data files have been synced to iTunes. In this case, you can go straight to restore deleted/lost photos, messages, contacts, from iTunes backup.
Step 1 Run Joyoshare and switch recovery mode

Get Joyoshare iPhone Data Recovery run initially and lead yourself to the top menu bar to choose "Recover from iTunes" recovery mode.
Step 2 Fetch data from iTunes backup

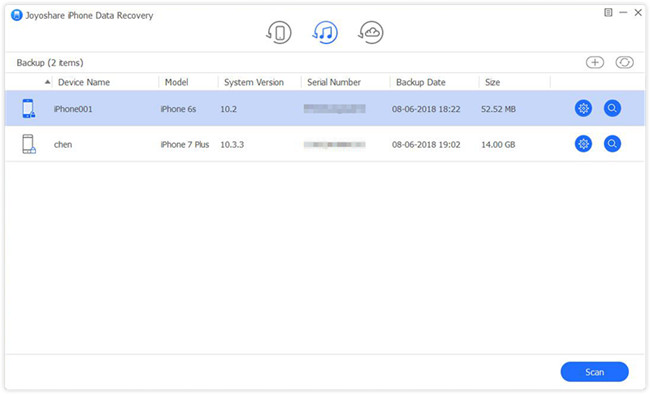
If you have synced different iOS devices with iTunes already, you will see a file list that contains all possible iTunes backup. Opt for the one you think comes with needed data and hit the gear icon
 on its right side to select data files. Press "Scan" button to initiate a scanning process.
Step 3 Retrieve messages/photos/contacts from iTunes backup

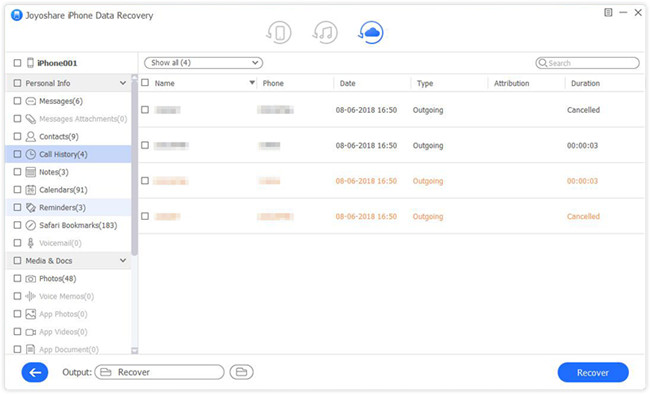
Go to preview accessible categories after Joyoshare iPhone Data Recovery stop scanning iTunes backup. At this moment, you can tick specific items from "Photos", "App Photos", "Contacts", "Messages & Attachments", etc. Next hit the "Recover" button to save them locally.
Part 3. Full Instruction to Retrieve iPhone SE Data from iCloud Backup
Even though you can straightly get your data files from iCloud backup via iPhone SE, you are supposed to undertake the risk of data loss, damage or overwrite. However, if you take the aid of Joyoshare iPhone Data Recovery, it can perform as a good medium to protect iPhone SE data. Here's how.
Step 1 Sign in iCloud

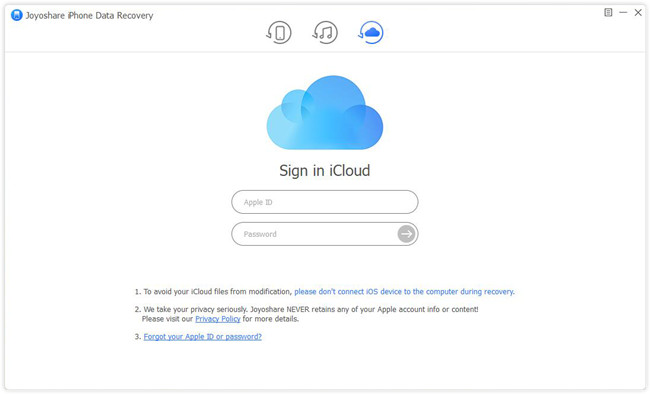
Let Joyoshare iPhone Data Recovery run and go forward to choose recovery mode of "Recover from iCloud". You have to type in Apple ID and related password to log into your iCloud account. Be relaxed. Joyoshare will never keep records for privacy info and content.
Step 2 Download & Scan iCloud backup
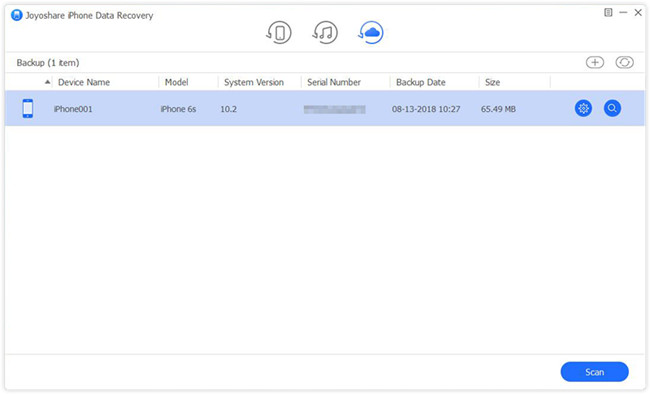
Similarly, Joyoshare will bring up all iCloud backup files for you to choose. Pick up a definite one and hit "Download" button to download it as temporary file. You ought to confirm data types once tap on the gear into. Then go for "Scan" button to begin to extract data from selected iCloud backup.

Step 3 Restore iPhone SE files from iCloud backup

When the scanning task comes to end, go to preview found results at your own will. You can get detailed items from each folder, like checking the box for desired items from "Photos", "App Photos", "Contacts", etc. Hereafter, press "Recover" button to store iPhone SE data on local folder.
