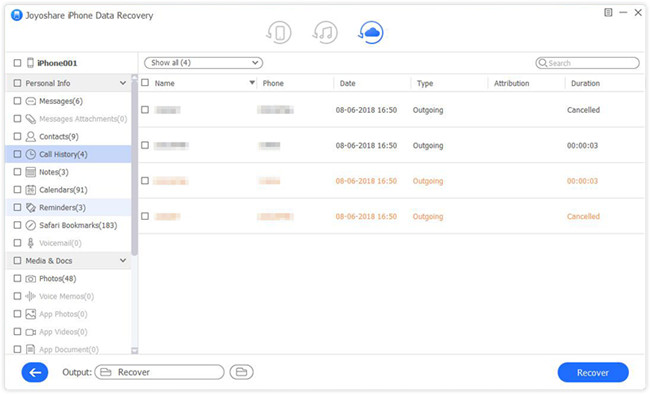
Q:"Help please! I just looked at my 'Notes' app on my iPad, and one of my notes has vanished. It's about a year's worth of work. How do I recover deleted notes on my iPad?" – Flyboy from Apple Discussions
When this question came up, the first refection in your mind is perhaps heading to your iPad "Notes" app to check whether there is something lost located on "Recently Deleted" folder. Sure, this way can work. But it's worth noting that only iOS 9 or later users are entitled to do it and notes will be deleted permanently after 30 days. Well, you are likely to ask "Is there any other feasible ways to recover deleted notes on iPad?" Bring your doubts to join us in the quest for answers together.
- Method 1: Find Deleted Notes from iPad Directly
- Method 2: Recover Notes on iPad from iTunes Backup
- Method 3: Restore Notes on iPad from iCloud Backup
Part 1. How to Recover Deleted Notes on iPad without Backup Using Joyoshare
Truth is that you can go straight to get lost or deleted notes from your iPad as long as there are no running problems. What you can do is to take advantage of a sought-after iPad notes recovery, named Joyoshare iPhone Data Recovery, which can release you free from any data loss situations, such as virus attack, water damaged, factory reset, system crash, upgrade error, screen broken, etc.
As a all-round data recovery program, it is well designed with broad compatibility to a huge array of iPad/iPhone/iPod touch models, even for iPhone XS/XS Max/XR. Notes excluded, there are more 20 types of iOS data supported under 3 intelligent recovery modes, like photos, calendars, reminders, call history, voicemails, contacts, videos, Safari bookmarks, WhatsApp/Viber/Kik messages, etc. Alternatively, you can benefit yourself from its real-time decryption & preview feature, after which selective recovery is allowed thoughtfully.
Key Features of Joyoshare iPhone Notes Recovery:
Recover deleted notes from iPad with/without backup
Preview audios, videos, photos, etc. in real time
Fully compatible with the latest iOS version
Support restoring 20+ data types from different scenarios
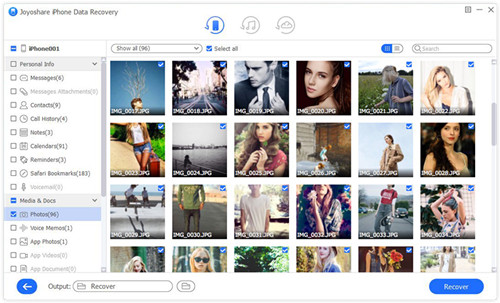
Now you can look at more details to familiar with recovery steps. No matter what models your iPad is, iPad Pro, iPad Air, iPad mini, or iPad, Joyoshare iPhone Data Recovery can support it well. Next we will take Windows version as an example.
Step 1 Keep iPad connected with computer

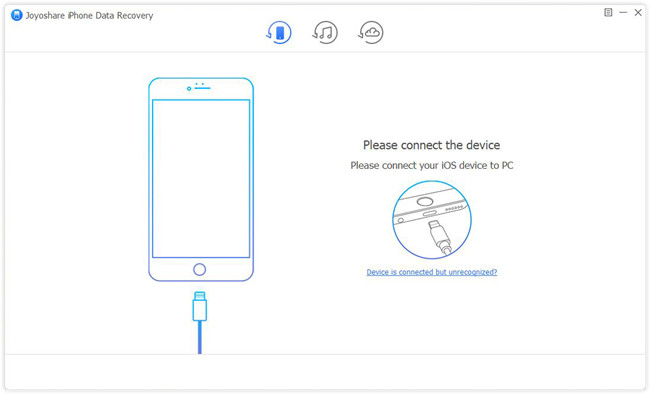
Go to Joyoshare download page to finish iPhone Data Recovery installation. Use an original USB cable to connect your iPad with computer after run this program. Do remember to "Trust" computer so that iPad recognition can be done smoothly.
Step 2 Select data types from iPad

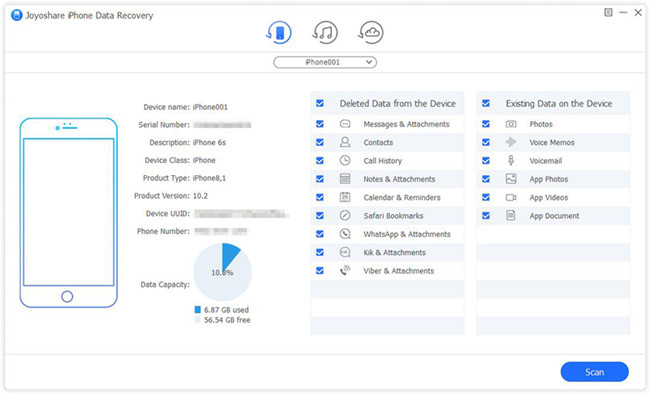
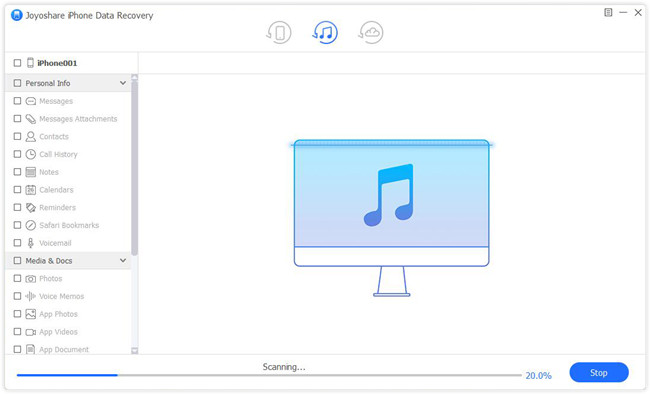
Having detected iPad successfully, Joyoshare will show device info and data types together under "Recover from iDevice" mode for you to choose. By default, all data files are checked. But you can only tick "Notes & Attachments" box. Then click "Scan" button to start to scan iPad data.
Step 3 Retrieve deleted notes from iPad

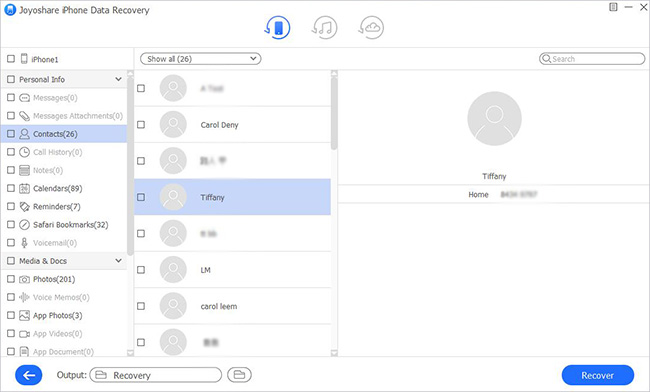
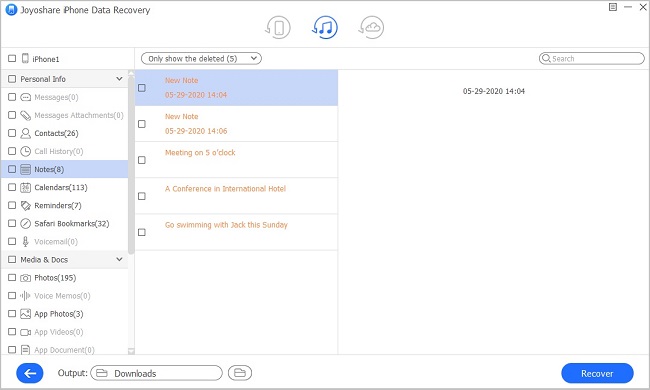
Once the scan process comes to end, you can see both deleted and existing data. Preview them in the way you like. You can go forward to "Notes" category directly and check needed items. Follow that, tap on the "recover" button at the right bottom.
Part 2. How to Retrieve Deleted Notes on iPad from iTunes Backup
On condition that you have synced your iPad data with iTunes before data loss, you can get one more chance to find your missing notes as well. Check out the instruction as below:
Step 1 Run Joyoshare and change mode

Get Joyoshare iPhone Data Recovery launched on your computer and switch the recovery mode to "Recover from iTunes". After that, all synced iTunes backup files will be detected right away.
Step 2 Extract iTunes backup data

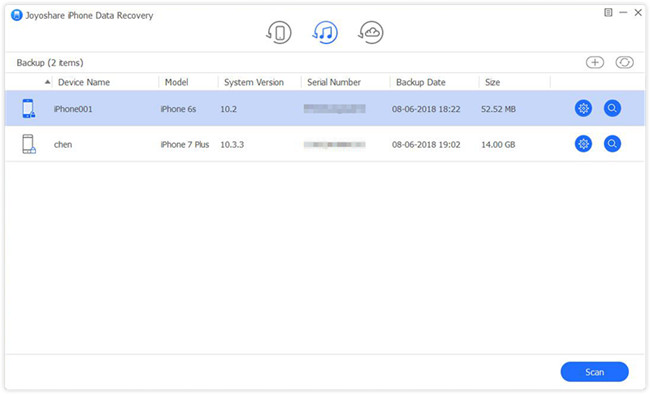
As per the device name, model, backup date and more info, choose the most relevant iTunes backup files. Hereafter, press the Gear
 icon behind it to confirm what data type you'd like to recover, like "Notes & Attachments". Continue to hit "Scan" button to initiate a scan task.
Step 3 Preview and recover notes from iTunes backup

It will take you a while to complete scanning iTunes backup file. Afterwards, all recoverable notes will be taken to "Notes" folder. From the left column, access desired category and mark needed items according to your actual requirements. With a simple tap on "Recover" button, the selected files will be output immediately.
Part 3. How to Restore Deleted Notes on iPad from iCloud Backup
Likewise, iCloud, a storage service, can come in handy to help you save iPad data. If you have turned on "iCloud Backup" option on "Settings", this method is also worth a try. No worries. Joyoshare will act as a medium to protect your data.
Step 1 Open Joyoshare and sign in iCloud

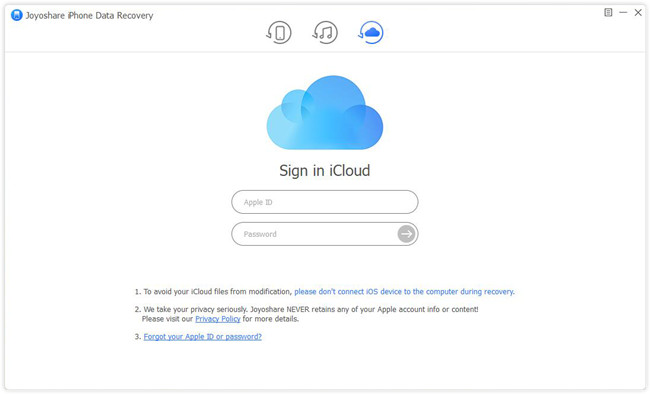
Run Joyoshare iPhone Data Recovery and navigate to "Recover from iCloud" mode. Enter your Apple ID and password to log in iCloud account, during which no records will be made.
Step 2 Get data off iCloud backup

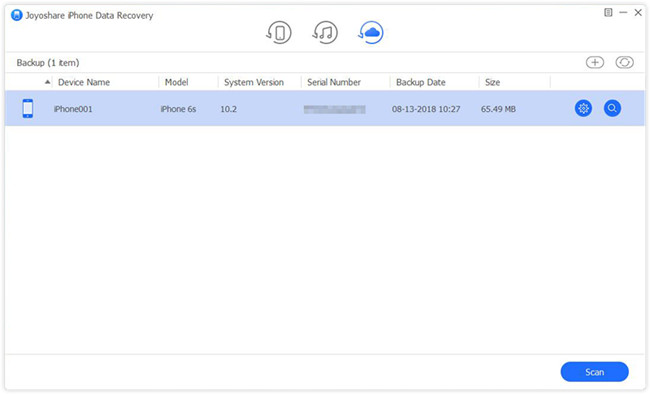
The iCloud backup files you create before will be displayed in a list orderly. Think about which one may contain your lost notes and get started to download it. Then it's time to pick up data types you want and press "Scan" button to find iPad data.
Step 3 Retrieve iPad notes with iCloud backup

All found data will be classified in the left categories once the scan assignment ends. You can filter out unnecessary data by choosing "Only show the deleted" or search specific files with a "search" tool. When you have ticked designated iPad notes, you can set about recovering them on local folder with a "Recover" button.
