With the power of Apple Message app, it's quite convenient for you to text messages, send videos and share photos to any iOS users. However, with the abundance of content, the iMessages saved on iPad are becoming more and more important accordingly. You might suddenly lose them for some reason and begin anxiously looking for solutions to recover deleted iMessages from iPad. If you're exhausted by doing it, now is the perfect time to stop and start the recovery mission.
- Part 1. Retrieve Deleted iMessages from iPad Directly
- Part 2. Retrieve Deleted iMessages from iPad via iTunes Backup
- Part 3. Retrieve Deleted iMessages from iPad via iCloud Backup
Part 1. How to Recover Deleted iMessages without Backup on iPad
It is Joyoshare iPhone Data Recovery that has outstanding performance in iOS data recovery. In addition to iMessages, it also well supports more 20 types of iPad data, including photos, videos, notes, contacts, voice memos, Safari bookmarks, call history, etc.
Thanks to its advanced data decryption technology, aside from recovering from iOS devices, you can even get access to restore data from both common and encrypted iTunes and iCloud backups. Most of all, there are lots of appealing features offered for you to preview contents in real time, have a quick search or retrieve iMessages entirely or selectively in any different data loss scenario.
Key Features of Joyoshare iPhone Data Recovery:
Compatible with all models of iPad (iOS 12 included)
Recover messages from iPad, iTunes or iCloud safely
Support two-factor authentication and real-time preview
Protect current existing data on iPad without damage and overwrite
No doubt, not every iPad user happens to be lucky enough to have a backup file on iTunes or iCloud. On this occasion, you can learn a guide below to retrieve these important iMessages without backup straightly from iPad.
Step 1 Plug iPad into computer

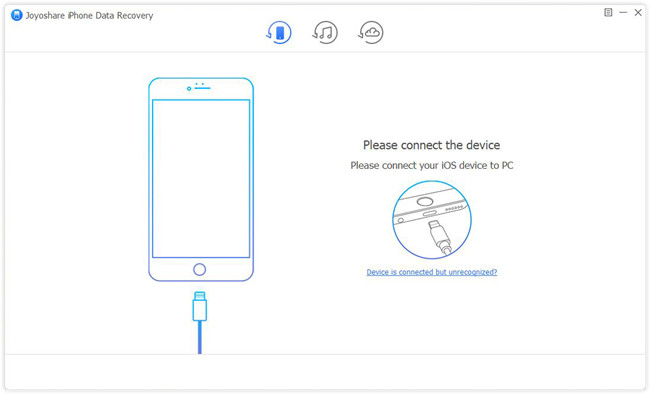
First of all, you have to equip your computer with Joyoshare iPhone Data Recovery. Simply get it run and connect iPad with a matchable USB cable under "Recover from iDevice" mode. Don't forget to "Trust" computer if you haven't authorized it before.
Step 2 Select data from iPad

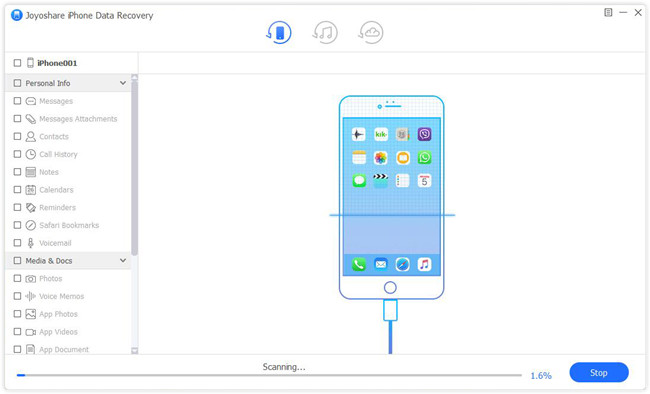
After the detection and recognition, Joyoshare will display both device info and supported data types at the same time for you to choose. Just uncheck all data checkboxes and only mark "Messages & Attachments" and more desired types to scan.
Step 3 Get deleted messages on iPad come back

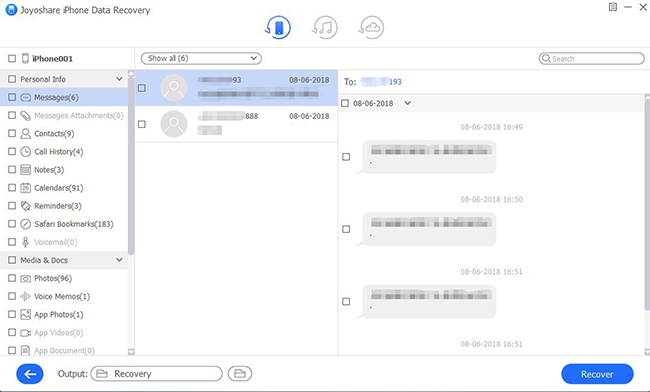
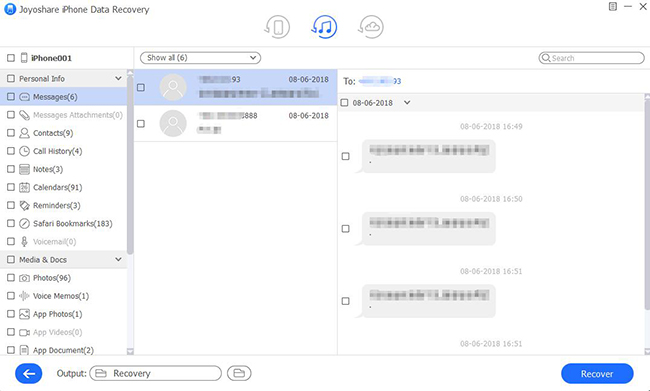
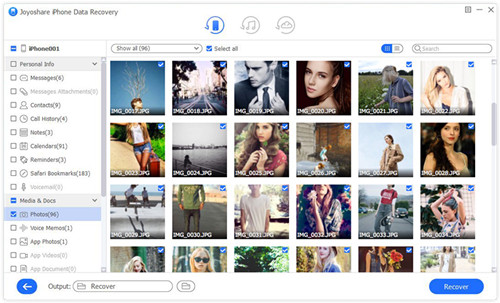
Wait for this program to finish scanning and then go to preview all recoverable items in the way you like. Head to "Messages" category to select conversations you need and simply click on the "Recover" button at the right bottom.
Part 2. How to Retrieve Deleted iMessages on iPad via iTunes Backup
Amazingly, this iPad data recovery software gives liberty to extract data, iMessages included, from your previous iTunes backups. It only requires follow three steps. Let's have a check together.
Step 1 Select "Recover from iTunes" on Joyoshare

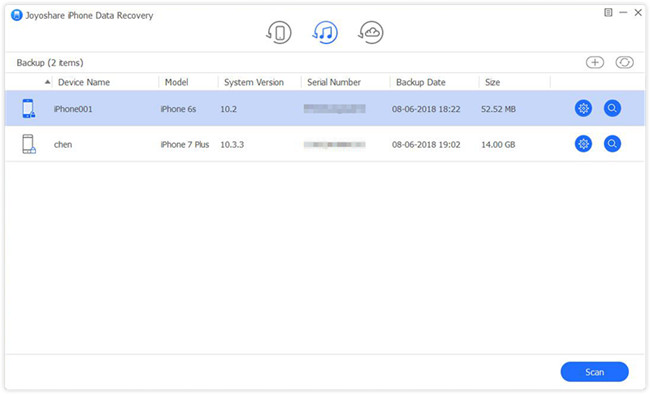
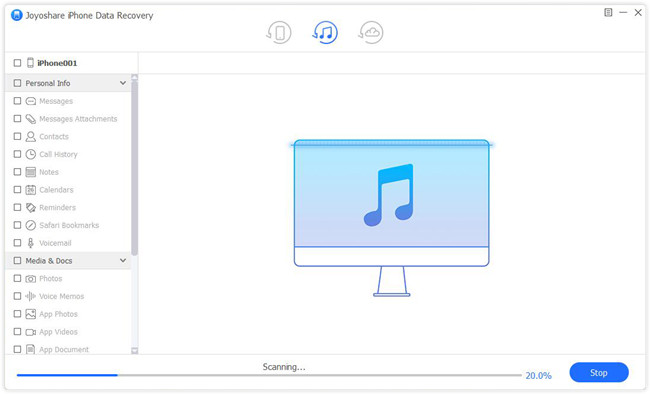
Launch Joyoshare iPhone Data Recovery on the desktop screen and go to the top navigation section to switch recovery mode as "Recover from iTunes". Soon after, this program will detect and show all iTunes backups.
Step 2 Search iPad iMessages from iTunes backup

Think about which backup file is most likely to contain the data you need. Choose it and press the gear "Setting" icon behind it to select data types. Next go to tap on the "Scan" button to start scanning process.
Step 3 Preview and restore deleted iMessages on iPad

After the scan, all recoverable results will be classified orderly and displayed clearly in your sight. Look through data saved on the "messages" category, tick needed items and click the "Recover" option to output them.
Part 3. How to Recover Deleted iMessages on iPad via iCloud Backup
Pretty luckily, with the exception to aforementioned two methods, you have one more chance to know how to restore deleted iMessages on iPad by using an iCloud backup. Don't hesitate; just take a close look here.
Step 1 Log in iCloud on Joyoshare

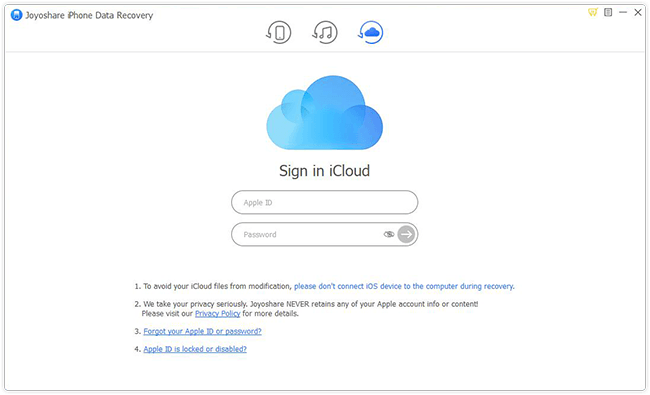
Open this program, set "Recover from iCloud" and sign in iCloud as the request. Additionally, input the random code if you have enabled Apple's two-factor authentication.
Step 2 Download and scan selected iCloud backup
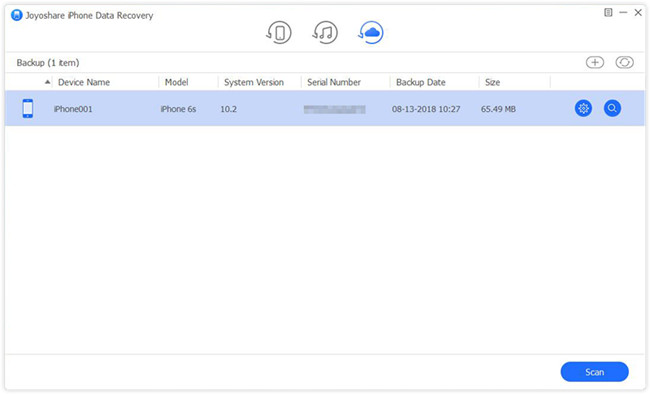
Choose the most relevant iCloud backup from the list. Download it, confirm data types and go forward to press the "Scan" button to begin iCloud backup scanning assignment.

Step 3 Restore iPad iMessages to computer

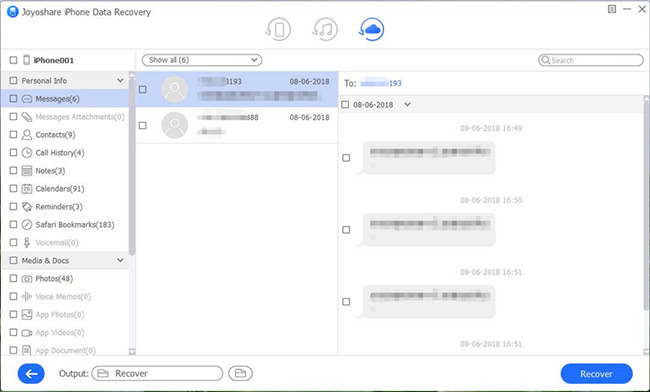
Smartly use different options to select necessary data from the results. Preview them one after another before recovery and tick the checkboxes to confirm. Then press the "Recover" button to export to your computer's local folder.
