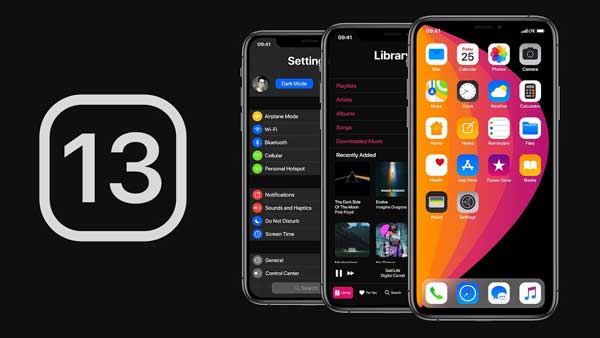
When a new iOS version is released, it's no surprise that many Apple users can't wait to try out the new features and improvements it brings. As the latest version, iOS 13 is no exception. However, after you update, unexpected data loss may occur due to unknown errors, compatibility problems, software glitches, etc. On this occasion, what can you do to recover deleted data on iOS 13 device without wasting a lot of energy? In this article, 3 solutions to rescue lost iOS 13 data are shown completely.
- Part 1. Info about iOS 13
- Part 2. Recover Deleted Data on iOS 13 Device - No Backup
- Part 3. Recover Deleted Data on iOS 13 Device - iTunes Backup
- Part 4. Recover Deleted Data on iOS 13 Device - iCloud Backup
Learn More about iOS 13:
If you're an iOS 13 user, you should know in advance what versions of iOS 13 are available and what devices are compatible with it clearly. This information is important, and it's something you already learn every time you upgrade to a new version.
| Developed by | Apple Inc. |
| Initial release | September 19, 2019 |
| Versions | 13.0, 13.1, 13.1.1, 13.1.2, 13.1.3, 13.2, 13.2.1, 13.2.2, 13.2.3, 13.3, 13.3.1 |
| Compatible devices | iPhone 6S, iPhone 6S Plus, iPhone SE, iPhone 7, iPhone 7 Plus, iPhone 8, iPhone 8 Plus, iPhone X, iPhone XS, iPhone XS Max, iPhone XR, iPhone 11, iPhone 11 Pro, iPhone 11 Pro Max, iPod Touch (7th generation), HomePod |
Brilliant iOS 13 Data Recovery - Joyoshare iPhone Data Recovery
Recover lost data on iOS 13 from iDevices, iTunes and iCloud backups
Be compatible with all models of iPhone, iPad and iPod touch, and iOS versions
Preview recoverable iOS 13 data in real time to better restore in a selective way
Support photos, videos, call logs, Safari history, WhatsApp messages, contacts, notes, etc.
Solution 1. How to Recover Deleted Data on iOS 13 Device Easily
Pay attention to stopping using the iOS 13 device after loss to possibly avoid overwriting the current data. As long as your device can run to work, there is no problem to get deleted data back without backup.
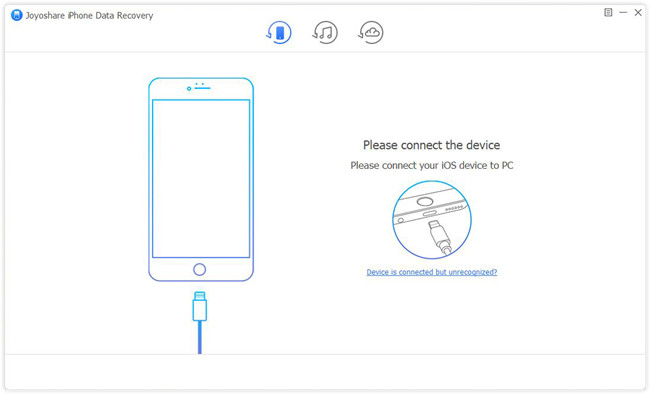
Step 1 Connect iOS 13 device to computer

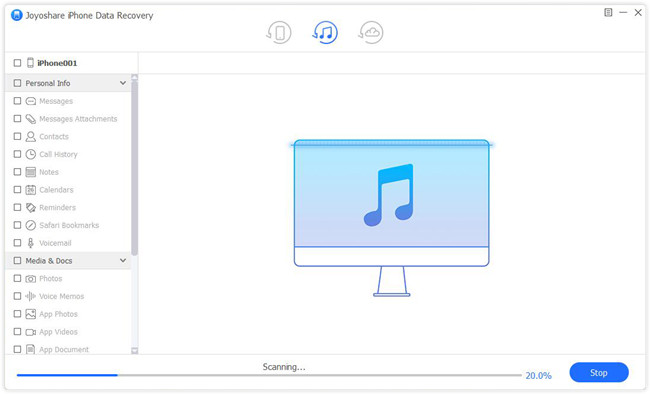
Download from the official website to finish a quick installation of Joyoshare iPhone Data Recovery. Afterward, get it simply run on the computer and meanwhile connect your iOS 13 device in the default 'Recover from iDevice' mode.
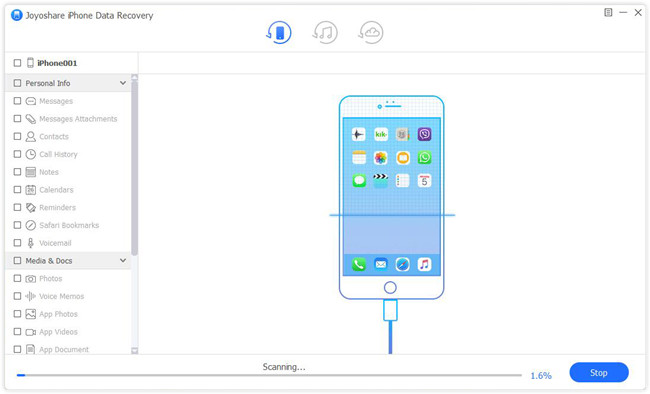
Step 2 Scan chosen iOS 13 data

Right away after recognition, this program will show all device info as well as data types in your sight. There are 20+ data in the right section, which are marked by default. You can directly scan them or only select your desired file types to 'Scan'.
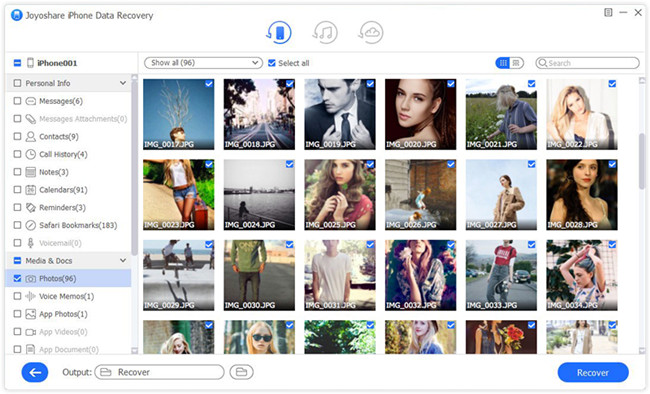
Step 3 Check, select and recover data from iOS 13 device

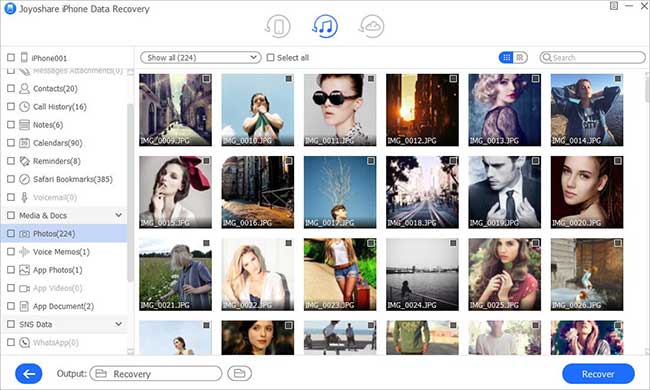
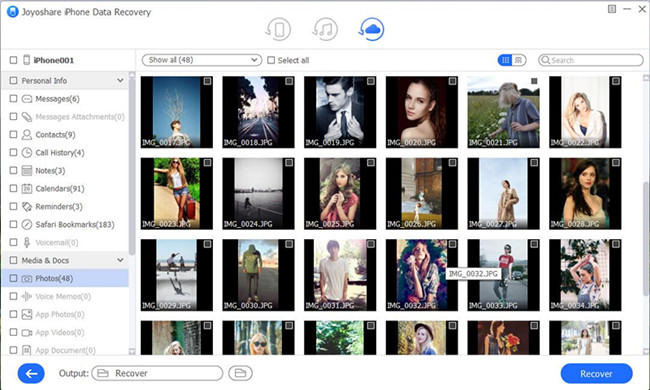
Once the relatively fast scan process ends, Joyoshare iPhone Data Recovery will place all found iOS 13 data in the results page to let you preview. Browse them in related categories in the left column and then you can handily choose whatever type you need to 'Recover'.
Solution 2. How to Recover Deleted Data on iOS 13 from iTunes Backup
In general, you might think of iTunes' Restore Backups feature the first time you lose data. It's undoubtedly viable. Nevertheless, compared to that, Joyoshare's Restore from iTunes option is more flexible, which allows preview and partial recovery.
Step 1 Begin with "Recover from iTunes"

This time you just have to run Joyoshare iPhone Data Recovery on the computer where you sync iOS 13 data to iTunes. Next, change to a new mode 'Recover from iTunes' and continue.
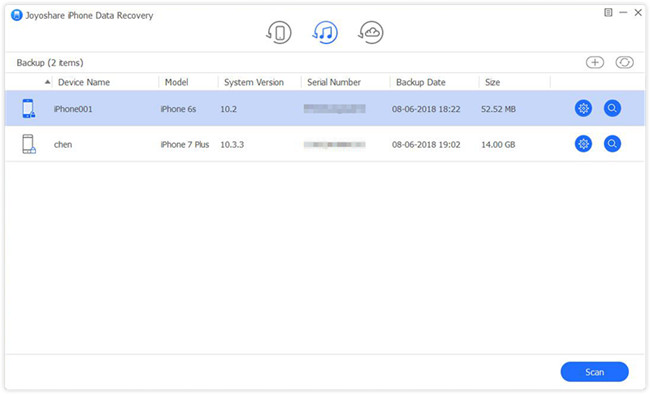
Step 2 Start scanning iOS 13 data

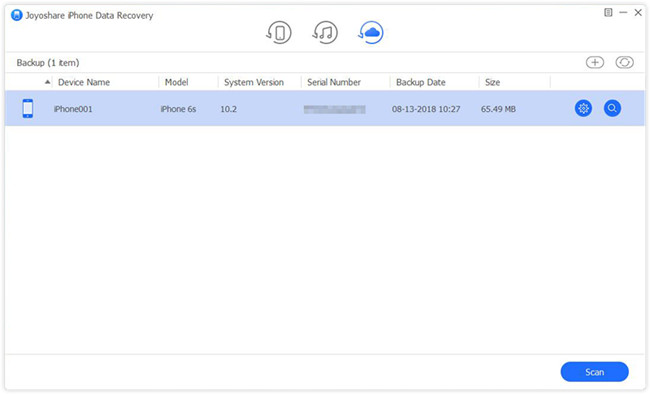
Your local iTunes backup files will be displayed neatly under the second mode you choose. Hereafter, you can check all info, like model, backup date, iOS version, etc. to make sure which one is relevant. Locate on it in the list and hit the gear 'Setting' icon to confirm data types. When all is ready, you can initiate 'Scan'.
Step 3 Restore iOS 13 data from iTunes backup

The data extracted from your required iTunes backup will be shown after scan in corresponding categories. Have a preview in the way you like and head to designated data types to mark items. Lastly, you can click on the 'Recover' option to save on computer.
Solution 3. How to Recover Deleted Data on iOS 13 from iCloud Backup
Hopefully, the iOS 13 data backed up to iCloud account previously can be found and retrieved when data loss happens. The way to recover is also easy and efficient.
Step 1 Sign in iCloud account

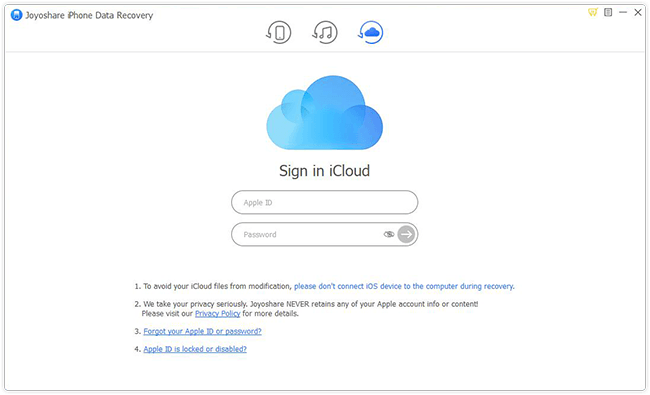
Get Joyoshare iPhone Data Recovery worked on your desktop and toggle mode to 'Recover from iCloud'. You ought to log in the account with your Apple ID and correct password. If two-factor authentication is enabled, additionally type in the random code to verify as well.
Step 2 Download and scan iCloud backup
The backups linked to your applied iCloud account will be detected and displayed. Choose one to 'Download' and then select data types you wish. Next, press on the 'Scan' button to search iOS 13 data.

Step 3 Retrieve iOS 13 data from iCloud backup

Once the scan gets over, you can preview all synced iOS 13 data. Display them in the way you like, filter out files or make a quick search. You are able to select all to restore or just pick up needed data to 'Recover'.
