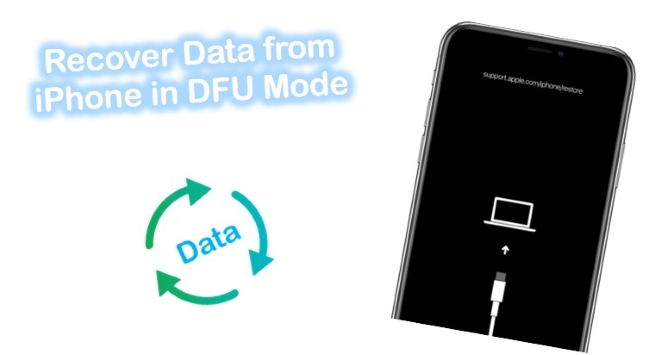
At times we need to put iPhone into the DFU mode for easy jailbreaking, recovering from an earlier jailbreaking, unlocking a SIM, etc., or your iPhone goes into the DFU mode involuntarily such as software updates, etc., which leads to the loss of your iPhone data without backup, what would you do in such circumstances? Do you really understand the meaning of DFU mode? Do you know how to exit the mode of DFU and how to recover data from iPhone in DFU mode? In this article, we're going to help you resolve all these problems. Just keep on reading now.
- Part 1. Selectively Recover Data from iPhone When Stuck in DFU Mode [Easy & Effective]
- Part 2. Basics Ways to Recover Data from iPhone in DFU Mode
- Part 3. What Is DFU Mode?
- Part 4. Easy Ways to Get out of DFU Mode
- Part 5. Closing Words
Part 1. How to Selectively Recover Data from iPhone When Stuck in DFU Mode
Now your iPhone is totally getting out of DFU mode, you can check whether your data has been lost. If your data is lost unluckily, you can simply use your iTunes or iCloud backup to restore them. The other effective method is to use a professional and smart iOS data recovery utility such as Joyoshare iPhone Data Recovery to get them back.
This trusty iPhone data recovery software is competent of recovering deleted iPhone contacts, messages, photos, videos, notes, calendars, WhatsApp/Viber/Kik messages, attachments, etc., and many more from iTunes/iCloud backup or without backup. Besides the data lost due to the device being stuck, it can also salvage lost iPhone data from all possible data loss scenarios like system crash, virus attack, forgotten passcode, iOS upgrade, water damage, and so forth. Before recovery, you're also allowed to preview the items and recover anyone you want.

- Recover up to 20+ types of lost iPhone data
- 100% safe recovery with a highest success rate
- Retrieve data from every possible data loss situation
- A wide range of compatibility for iOS devices (iOS 15 included)
Mode 1. How to Recover Data from iPhone in DFU Mode Without Backup
Step 1 Install and Run the Program, Connect iPhone to PC
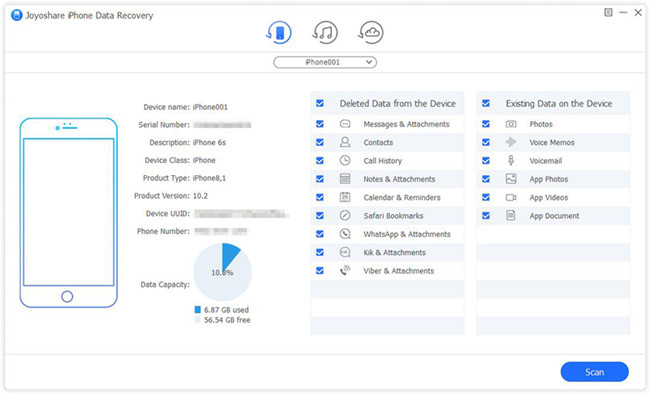
After downloading the program on your computer, install and open it. Then use an original USB cable to connect your iPhone to your PC. Please choose "Recover from iDevice" mode.
Step 2 Begin to Scan Your Data from iPhone Storage
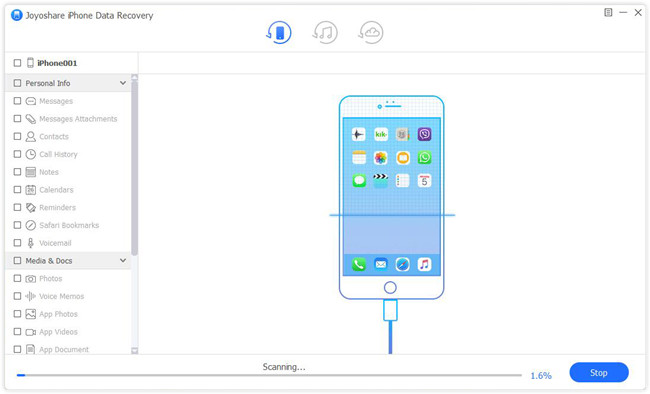
Just click the "Scan" button on the bottom right corner to analyze your device and scan your lost data. Please wait while scanning takes place and ensure keep connecting your iPhone with the PC during the process.
Step 3 Preview and Begin to Recover Data
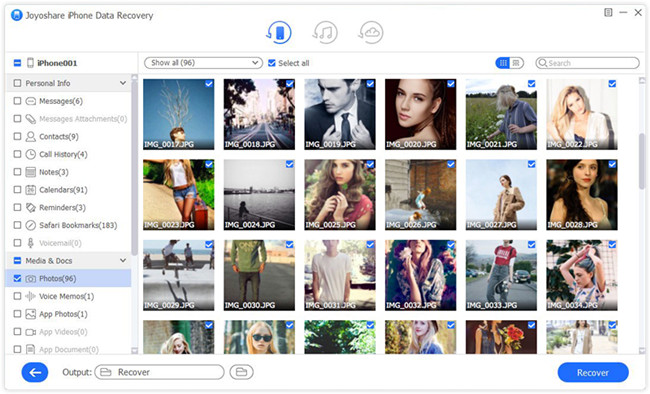
All scanned data will be displayed on the left after scanning. Click "Recover" to start the recovery process. Your computer will automatically save the recovered files.
Mode 2. How to Recover iPhone Data in DFU Mode from iTunes Backup
Step 1 Launch Joyoshare and Select a Recovery Mode
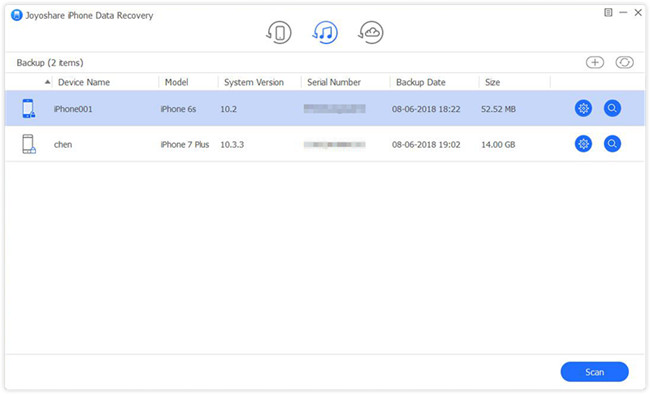
First of all, go to the download page of Joyoshare and choose iPhone Data Recovery to download and install it on the computer. After that, open Joyoshare on the desktop and select "Recover from iTunes" mode from the top menu bar.
Step 2 Opt for Data Types to Recover
Now you can see all the iTunes backup files you have, or add a new one by clicking the "+" button. Then select one that may contain your lost data and click the Gear icon
 to choose the data types you'd like to recover. Next, click the "Scan" button to allow Joyoshare to analyze and find your data from the iTunes backup.
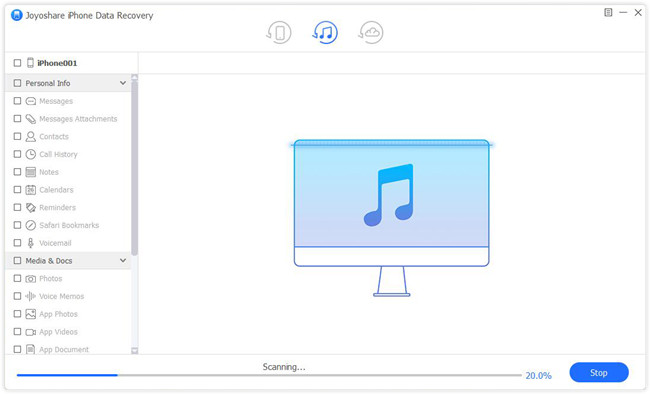
Step 3 Preview and Recover Lost Data
When the scanning process is completed, you'll find all recoverable files displayed orderly in categories. Preview them and tick the ones you want, and then press the "Recover" button on the lower right corner to save them to your computer.
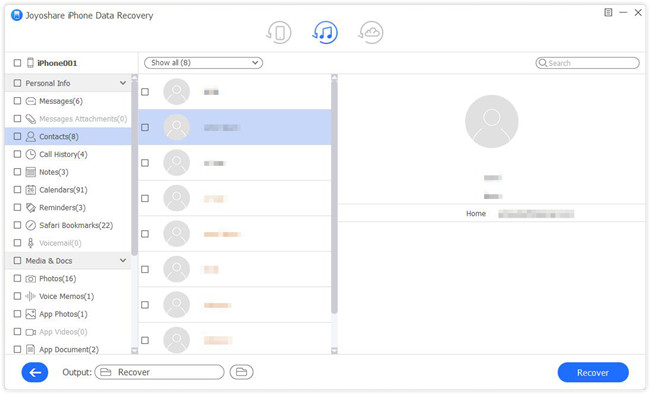
Mode 3. How to Restore Data from iPhone in DFU Mode via iCloud Backup
Step 1 Run Joyoshare and Log into iCloud
Launch Joyoshare iPhone Data Recovery and switch to the "Recover from iCloud" mode. Enter your Apple ID and password to sign in iCloud account.
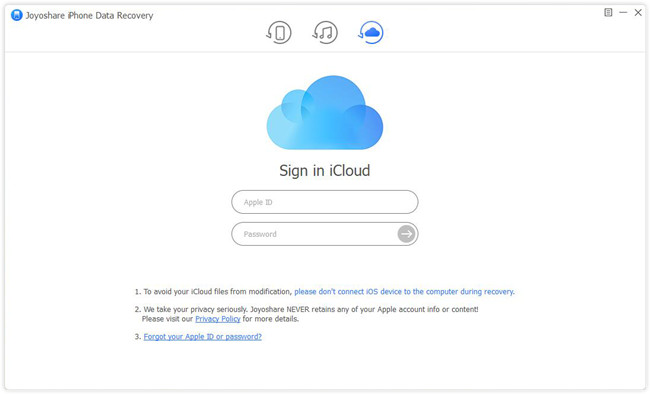
Step 2 Extract Data from iCloud Backup
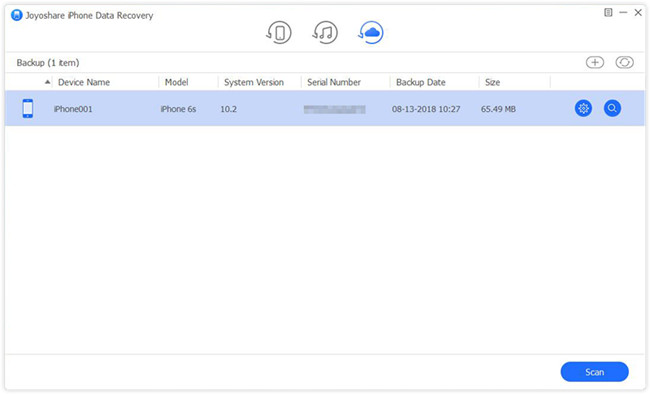
After logging into iCloud account successfully, all your iCloud backup files will be detected here. Choose the most relevant one and click the Download icon to download all the data from this backup. Then click the "Scan" button to start to extract lost files.
Step 3 Retrieve Data from iCloud Backup
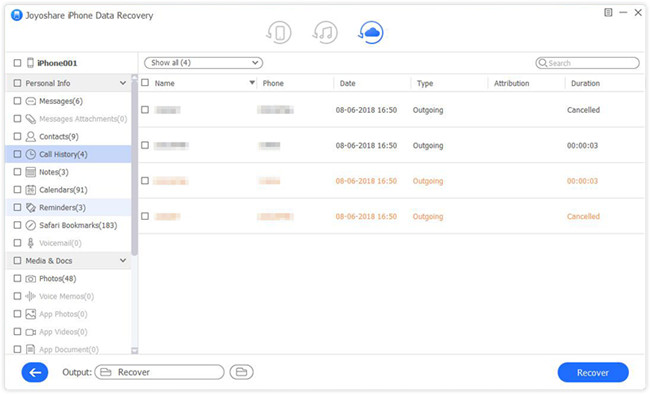
Wait a while until the scanning is done. You can now preview all recoverable files in the same way, or filter out the deleted files by choosing the "Only show the deleted" option from the dropdown menu. Then press the "Recover" button and you'll get all lost data back in a few seconds.
Part 2. Basics Ways to Recover Data from iPhone in DFU Mode
Way 1. Recovering Data from iPhone in DFU Mode with iTunes
It is easier to recover data when you use iTunes as a backup, and 3rd party software is not needed. Restoring a backup file simply requires the iTunes application. To get started, follow the instructions below:
Step 1. If you have backed up your iPhone to iTunes, open it on your computer.
Step 2. Connect a working iPhone to a computer with a USB cable. The computer on the phone should be trusted if prompted.
Step 3. iTunes will show you your device's icon. Click it to access your device.
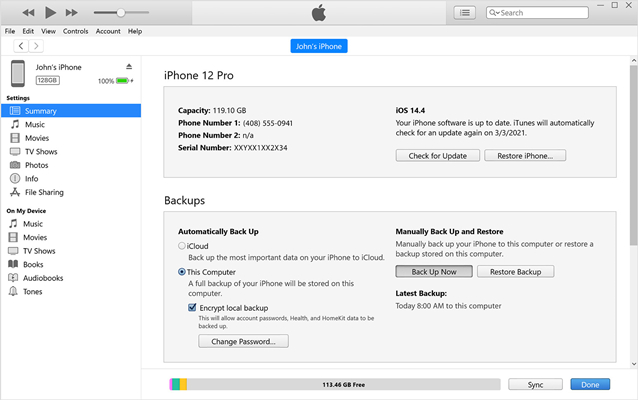
Step 4. Now on the new page, click on the "Summary" on the left panel.
Step 5. Click "Restore backup" under the Backup tab.
Step 6. The most relevant backup should be selected. If you are not sure, choose the most recent backup.
Step 7. If prompted, enter the password to encrypt the backup before recovering data from your iPhone.
Way 2. Recovering Data from iPhone in DFU Mode with iCloud
If your iPhone is synchronized with iCloud, the data recovery service will work. Let's begin by implementing the below-noted steps:
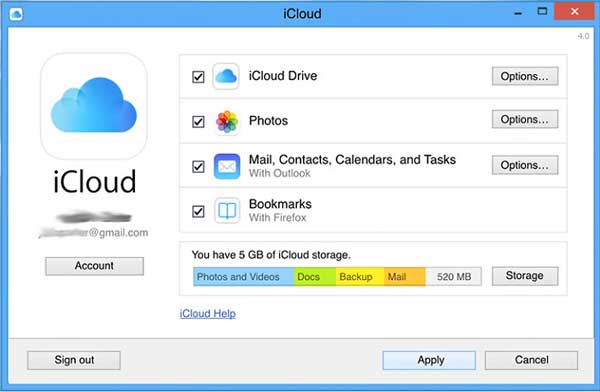
Step 1. You can sign in with your Apple ID and password on the iCloud official website by opening it on your computer.
Step 2. Select Settings. Various types of information will then appear. The next step is to select the iPhone data that needs to be restored at this point.
Step 3. Click on Restore files and then wait until the recovery process finishes.
Note: Files such as photos, music, and apps may take several hours to fix in the background. Keep your iPhone turned on and maintain a stable Wi-Fi connection.
Part 3. What Is DFU Mode?
DFU, short for Device Firmware Update, is a state on your iOS device which can help your device connect with iTunes without loading the OS or booting loader, which can be used to fix some major issues of your device. It is one of the most complicated types of iDevice restores, and the other two are: iTunes restoration and recovery mode restoration.
See also: How to Recover Data from iPhone in Recovery Mode
Part 4. Easy Ways to Get out of DFU Mode
Sometimes we may put iPhone into DFU mode in order to fix some issues such as jailbroken iPhone, etc., sometimes iPhone may be stuck in the DFU mode by itself, no matter how your iOS device goes into DFU mode, we need to know how to exit DFU mode on your iPhone, and here are two easiest methods to help your phone get out of DUF mode.
Option 1. Try to Reboot Your Device
For different models of iPhones, the reboot method is different. Follow the simple instructions below to simply force restart your iPhone.
For iPhone 6s and former, just hold the Home button and Lock button until the device reboots.
For iPhone 7/7 Plus, hold down the Volume Down button and Side button until the device reboots.
For iPhone 8/8 Plus/X and later, quickly press the Volume Up button, then quickly press the Volume Down button, and then hold down Side button until the device reboots.
Option 2. Exit DFU Mode via iTunes
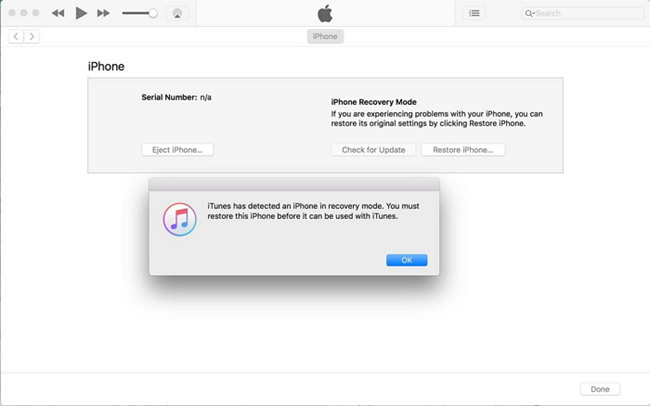
The other method to get out of DFU mode is to use iTunes app to restore your iPhone to factory settings. Remember to back up your iPhone data to avoid further data loss before you use this solution.
Step 1. Connect your iPhone to the computer with a USB cable, and then launch the latest version of iTunes on your computer.
Step 2. When iTunes detects your device, it will pop up a window and asks you to restore your iPhone.
Step 3. Click on the "OK" button to close the window and then hit the "Restore iPhone" option. Now iTunes is restoring your device. Wait a while until the progress bar ends.
Part 5. Closing Words
Having the data backed up regularly in the early stages has proven much more beneficial than trying to recover it later. It is much easier and less time-consuming to recover data from backups. It explains how to recover data from iPhone in DFU mode using Joyoshare in simple steps. In the comments section, you may also reach out to me with details about your issue, and I will do my best to assist.
