Q:"Where do saved audio messages go on iPhone? Since the last update, my saved audio messages are not saved in the Voice Memos app. I have lost so many memorable audio messages from my kids and recordings. How do you save audio messages on iPhone now?" – Sophia from Apple Discussion
Indeed, iPhone's iMessages capability has brought us great convenience to share not only text messages but also audio messages with the one we want. If you are used to sending audios while chatting to have a prompt reply, you may wonder how you can save voice messages on iPhone for later playback. This is what we plan to talk about in this post. Now please follow our steps to learn useful tips and solutions together.
- Tips: Save Audio Messages Sent/Received with iPhone "Forever"
- Part 1: Save Audio Messages Sent/Received with iPhone to Voice Memo
- Part 2: Save Audio Messages Sent/Received with iPhone to Computer
Suggestion: Keep/Save Voice Messages from iPhone "iMessages" Permanently
It's well-known to all that iOS 8 "Messages" offers an option to automatically delete an audio message or video message after two minutes when the recipient listens to it. Obviously, this feature helps to make room for your iPhone, but how can you change this two-minute expiration time by yourself and determine when to delete audio messages? After reading over the steps below, you will get clear.
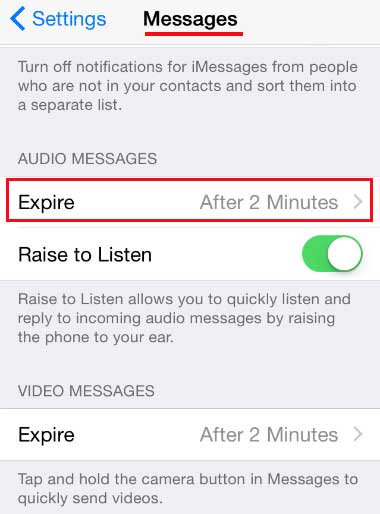
Step 1: Go for "Settings" > "Messages" on your iPhone;
Step 2: Press on "Expire" under "Audio Messages" section;
Step 3: Click "Never" to get this two-minute audio messages expiration time disabled to avoid further automatically deletion.
Note: Though you can use this method to prevent your audio messages from being deleted by iPhone automatically, it sometimes cannot work. In this case, you can try to email the important audio messages to yourself by heading to "info" > "Attachments" under a specific message conversation. This way is available to look through all audio/voice files to let you choose and share.
Part 1. How to Save Audio Messages on iPhone to Voice Memo Simply
If you have a mind to save your audio messages or recordings on "Voice Memos" app rather than "iMessages", this solution is highly recommended to you. It is pretty easy to operate to create a backup file of selected audio messages outside of iMessages.
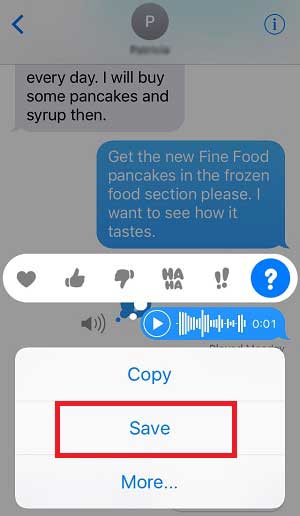
Step 1: Open your iMessages and press the received audio message;
Step 2: There are "Copy", "Save" and "More..." options; select and tap on "Save";
Step 3: The audio message will be saved as a file on your "Voice Memos" app, from where you can share audio/voice file via email.
Note: It's reported that this workaround is not practical on iOS 12. Although the same option is out there, it does not show in the "Voice Memos" app. This can explain why many users can't find the saved audio messages in the same way they did in the past after update the iOS version.
Part 2. How to Save Voice Messages on iPhone to Computer Selectively
Would you like to save and choose audio messages from iPhone in a surefire way? Here Joyoshare iPhone Data Recovery is worth trying. This professional iOS utility enables you to selectively scan, preview and retrieve both common and encrypted audio messages from iPhone with/without backup.
It is fully compatible with all iOS versions as well as iOS devices, even the eye-catching iOS 15 and iPhone 13. Besides, it has a good performance in restoring your deleted data, in a total of 20 kinds, like photos, videos, contacts, notes, Safari bookmarks, voice memos, voicemails, call logs, etc. What's more, the iTunes and iCloud backups containing necessary iOS data can be extracted with high success rate at fast speed.
Key Features of Joyoshare iPhone Audio Messages Recovery:
Save audio messages on iPhone or from backups
Keep audio files in different situations singly or fully
Support iOS 15 and iPhone 13 completely
Preview contents before recovery to better make selection
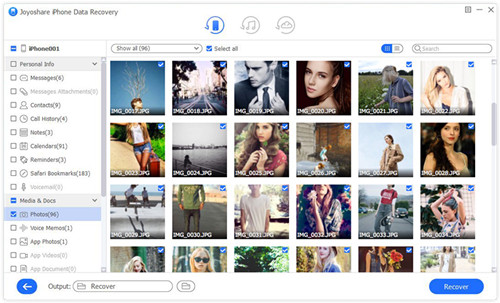
This is a guide on how to save voice text messages on iPhone by using Joyoshare iPhone Data Recovery. You can firstly go to the official website to download and install the correct version (Windows/Mac) on your computer.
Step 1 Connect iPhone under "Recover from iDevice"

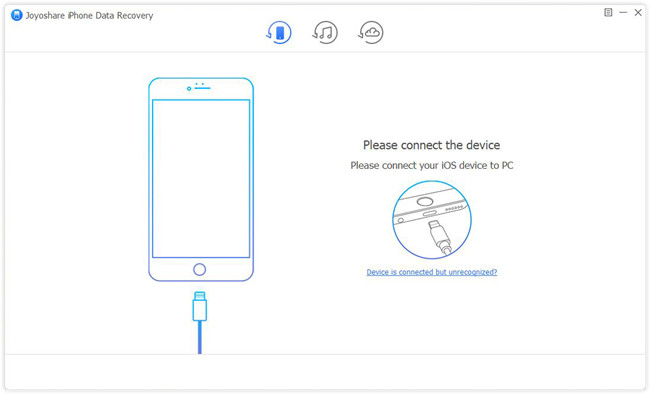
Simply run Joyoshare iPhone Data Recovery on computer and plug your iPhone in under the first recovery mode, "Recover from iDevice".
Step 2 Choose "Messages & Attachments" data type

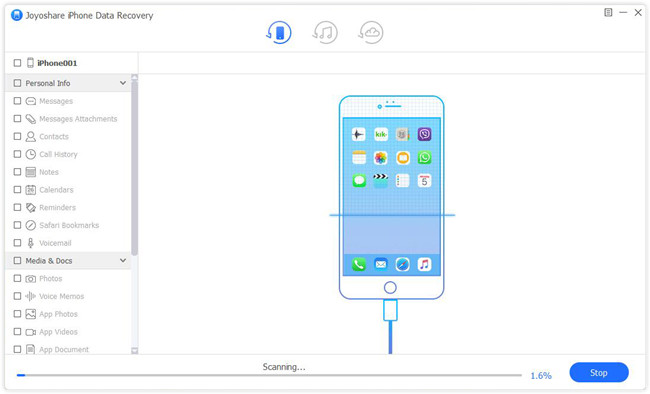
After the detection and recognition, this program will show a window with all supported data types. Now, mark the "Messages & Attachments", "Voice Memos" and more types to start "Scan".
Step 3 Preview audio messages and begin recovery

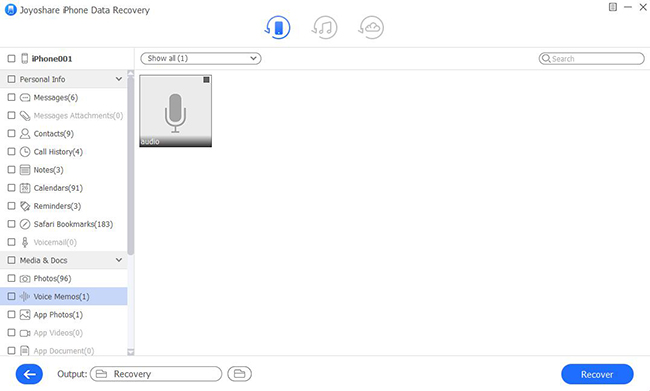
When the scan is finished, all messages along with its attachments, audio messages included, will be shown in categories in the left section. You can go to "Messages" or "Messages Attachments" folders to have a check. Or preview data in "Voice Memos" as well. After choosing desired audio files, just click on the "Recover" button to recover and save on computer.
Note: Joyoshare iPhone Data Recovery can retrieve iPhone voice memos by making the most use of iTunes and iCloud backups. You can give a try if you have.
