Q:"Is it possible to make Viber call record? Which tool can I use to do it?" - Madison
As a cross-platform instant messaging and VoIP software application, Viber's popularity in the current social circle is increasing day by day. Except for the basic phone number registration, almost all of its general services are free. Users can not only send text messages, share pictures, but also make real-time video calls. However, due to the lack of video recording capability, many Viber users are beginning to look for solutions. To help you, including Madison, we are here to demonstrate guides to record Viber calls on iPhone, Android and computer.
- Part 1. How to Record Video Call from Viber - PC and Mac
- Part 2. How to Record Viber Video Call - Android
- Part 3. How to Record Viber Video Call - iPhone
Part 1. Best Viber Call Recorder for PC and Mac - Joyoshare VidiKit
Joyoshare VidiKit - Screen Recorder is a pretty dedicated tool to record types of activities on screen, like video calls, gameplays, online conferences, class lectures, streaming movies, etc. It functions professionally to capture screen video and microphone voice simultaneously. The options it offers can make your output files more viewable. Best of all, it records with no watermark, no time limit and saves videos in HD quality.

- Record video calls from WhatsApp, Skype, WeChat, Yahoo Messages, Viber, etc.
- Available to all common operating systems on Windows and Mac
- Capture voice from microphone and audio from system
- Specify resolution, codec, channel and more parameters
- With simple post-processing tools to trim and manage recorded files
- Set no limitation on recording time and watermark
Step 1 Install and start Joyoshare VidiKit
According to the program version you need, download the corresponding and compatible Joyoshare VidiKit to your computer. Follow the instruction to finish installation and then directly launch it. To record a video chat with sound, you have to open "Screen Recorder" and choose "Record video and audio" mode, whose button is located next to "REC".

Step 2 Confirm the options to record
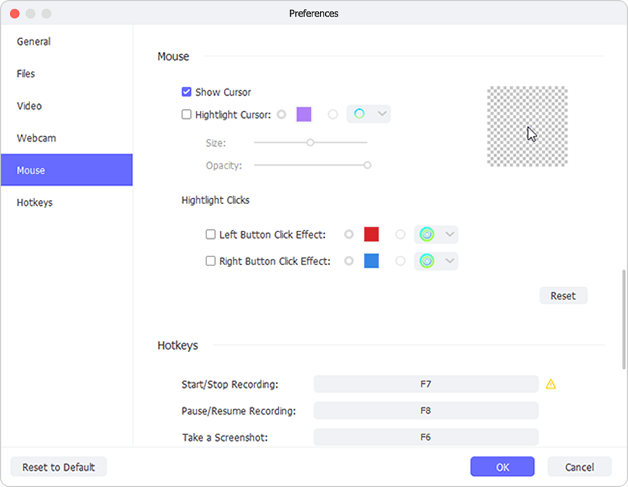
To record your Viber video call, you need to select a recording region under Capture Area. To do it, open your Viber app on the desktop and roughly select it. Next, as per your needs, turn on microphone audio and system sound. Press on the "Options" button in the lower right corner to let all settings show. You'll confirm format, shortcuts, watermark and cursor effect one by one.

Note: There is a task scheduler on this program. If you make an appointment with your friend in advance, you can easily schedule screen recording. Once the specified time is reached, Joyoshare VidiKit will automatically start recording as planned. This can prevent you from forgetting to record because you're busy.
Step 3 Begin to record Viber video
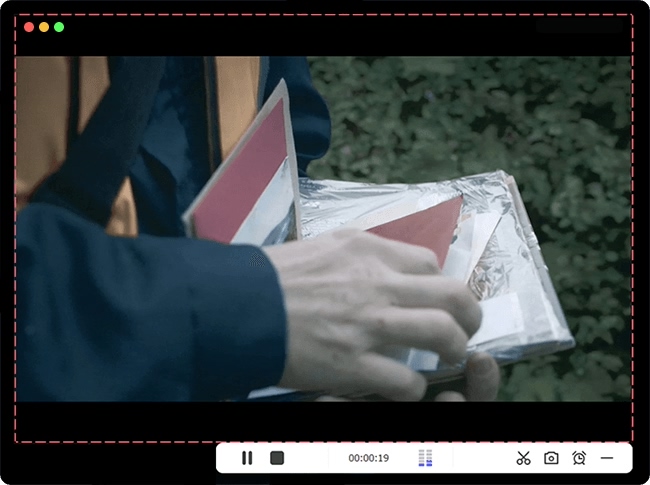
Initiate a video call on Viber to chat with your friend and click on the blue "REC" to begin recording. What appears outside the capture area is the toolbar that allows you to pause at any time to skip unwanted content or cut videos to different segments.

Step 4 Save and check recorded Viber video call
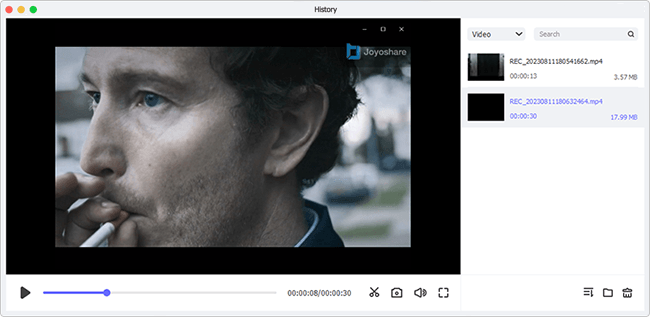
Use the shortcut you preset before or click the "Stop" button to complete recording your Viber video call. A pop-up window called "History" will show soon, from which you can preview, rename, trim or edit ID3 tags.

Part 2. Record Viber Calls on Android
1 AZ Screen Recorder
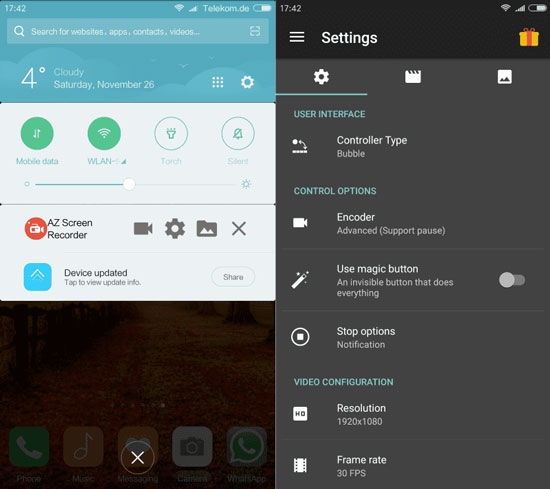
AZ Screen Recorder is one of the most popular tools that Android users tend to use. It records video calls from Viber effortlessly without rooting your Android phones or tablet. Though it offers no many recording as well as editing filters, it's sufficient enough to let you capture Viber calls easily.

- Pros:
- Simple to operate
- No need to root Android phones
- Cons:
- Lack of diverse recording and editing functions in the free version
- Guide:
- Step 1: Visit Google Play to get AZ Screen Recorder and get it started;
- Step 2: Press the first red button in its toolbar to record and have a video call with your Viber contact;
- Step 3: "Stop" recording your Viber call and "Export" it to save on desired location.
2 Cube Call Recorder ACR
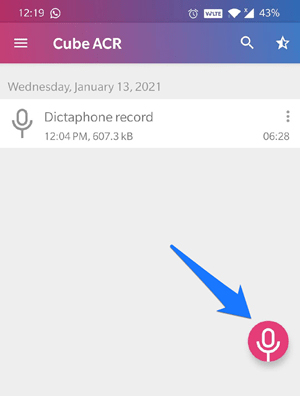
Cube Call Recorder ACR is one of the audio recorder on Android praised by users. It's able to record phone calls from different platforms, including Viber, KAKAO, IMO, Signal, Skype, Telegram, Line and more. To make it easier for you to record, it even allows you to create a list of contacts to automatically record calls from. Also, there are premium features that you can apply to backup recordings to Google Drive, change quality, shake to mark desired conversation, etc.

- Pros:
- With high compatibility and full support for most of popular video calling apps
- Output call recordings in high sound quality
- Offer cloud backup, speaker switching and more
- Cons:
- Sometimes it only records your own voice, not other person together
- Guide:
- Step 1: Go to Google Play Store, enter "Cube ARC" to search, and click on "Install" to download it on Android;
- Step 2: Enable "Cube ACR App Connector" in the settings and turn on "Protect Cube" in "Protected Apps;
- Step 3: Press the microphone and open Viber to have a call, then Cube ACR will automatically record your calls.
Part 3. Record Viber Calls on iPhone
1 Apowersoft iPhone/iPad Recorder
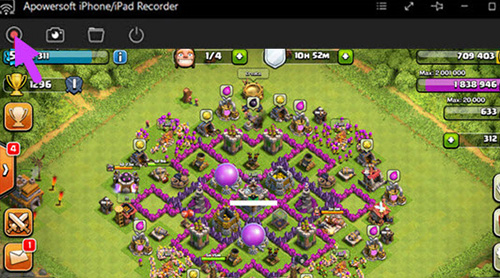
As the name suggests, Apowersoft iPhone/iPad Recorder is a tool designed to stream and record screen on iPhone or iPad. It's compatible with iOS 14 and works by connecting wirelessly via AirPlay. With it, you're able to capture your Viber screen with audio together. The resolutions can be 720p and 1080p, and there are lots of formats to save your videos, such as MP4, GIF, FLV, WMV, AVI, etc.

- Pros:
- Support Windows and Mac OS
- With compatibility to iOS 14
- Output recorded Viber videos in HD quality
- Cons:
- Don't directly record iPhone screen
- Guide:
- Step 1: Download Apowersoft iPhone/iPad Recorder and run it on your computer;
- Step 2: Open Control Center on your iPhone and hit "AirPlay" tab;
- Step 3: Click the PC-shaped button, press on your PC's name and switch "Mirroring" on to mirror your iPhone screen on your computer desktop;
- Step 4: Start a video call in Viber and click the recording icon on your PC to record iPhone screen;
- Step 5: Once your Viber video call ends, click on button to stop recording. You'll soon see your recorded Viber video call in a pop-up folder.
2 Built-in iOS Screen Recording
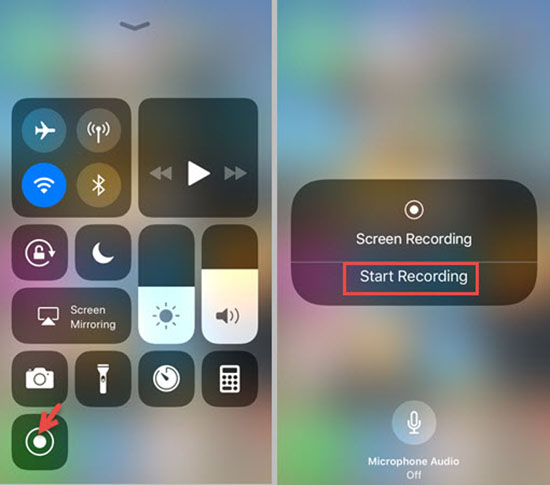
iPhone perfecetly developed a screen recording feature to let you record video and audio on the mobile phone with great ease. It requires no skills and everyone can enable it on Settings to quickly record calls from Viber. Not only iPhone, but also iPad and iPod touch users can access to this option directly. Just make sure that your device is running with iOS 11 and the later versions.

- Pros:
- Built in iOS device without installation
- Free and simple to use
- Capture audio from microphone and output video to 4K
- Cons:
- Only offer basic recording feature
- Guide:
- Step 1: Simply go to Settings on your iPhone, head to "Control Center", and click on "+" before "Screen Recording" to add recording button in Control Center;
- Step 2: Swipe up screen on iPhone to tap recording button in Control Center and start a call in Viber to record.
Conclusion:
For iPhone and Android users, there are types of well-designed audio recording applications to record Viber call quickly and easily, such as built-in recording tool and AZ Screen Recorder mentioned here. Besides, you can ideally get a solution to keep your calls if you have Viber on your computer. In this case, Joyoshare VidiKit is worth a try. Don't worry. All of them can save and export your calls in good quality.

