Q:"Can you record Skype meetings?"
As one of highly-praised online communication tools, Skype for Business is very popular. With it, you can walk through telecommuting and online sharing. Whether it is a video, a call or an instant text message, it can be transmitted immediately. Of course, with the accumulation of conferences, it is also necessary to record Skype meeting without missing any important content. If you haven't done it before, just stop here and learn.
- Part 1. How to Record Meeting in Skype for Business - PC
- Part 2. How to Record Skype Meeting with Joyoshare Screen Recorder - Mac
1. How Does Skype for Business Record Meeting
Skype for Business allows each presenter to record a meeting, capturing video, audio, IM, whiteboard activity, screen sharing and more with ease. Nevertheless, what you need to note is that the recording function of Skype for Business is only available for the Windows PC version. For Mac version, it's disabled.
Step 1 Set recording options
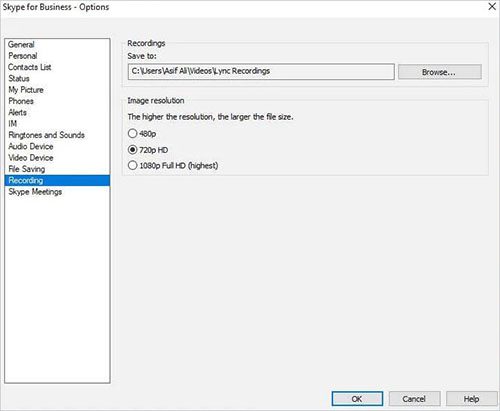
To begin with, run Skype for Business and click on the gear icon to open Options window. It's alternative to hit the downward-facing arrow next to the gear, press Tools and find Options. Next, in the left column, access "Recording" to storage path and image resolution. Note that the quality of video meeting recordings will vary according to the participant's camera settings. Also, the recording's resolution cannot be higher than that of a participant's camera.

Step 2 Start recording Skype for Business meeting
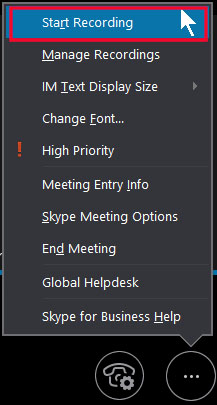
In Skype for Business signed with your own account, press on the "..." More Options button on the bottom right to choose Start Recording. If your recording option is non-clickable, it's possible that the audio is not connected and you should open the mic icon to try again.

Step 3 Save a recorded meeting in Skype for Business
During the recording, there are options to pause, resume and stop. You're also able to click the red recording button to see who is recording meanwhile. When the meeting is over, simply tap on Stop Recording to save it in MP4 format by default.

2. How to Record Skype Meetings - Joyoshare Screen Recorder
An easy way for all participants to record any Skype meeting is worth appreciating. Among all the choices, Joyoshare Screen Recorder is just the favorite. It provides switchable modes for you to capture Skype video meetings or audio calls in high quality. While applying various recording functions to enhance the experience, you are not limited by the length of recording.
- Record Skype meetings on not only Windows but also Mac
- Capture screen in customized quality and even save as 4K video
- Grab sound from microphone or computer system while recording video
- Support recording Microsoft Teams meeting, Zoom, WebEx and more
Step 1 Open Joyoshare Mac Recorder and set mode
Download the Mac-based Joyoshare Screen Recorder program to your computer and complete the installation. Start it quickly, if you need to record video meeting call in Skype for Business, select "Record video and audio" mode next to the red REC.

Step 2 Specify capture area
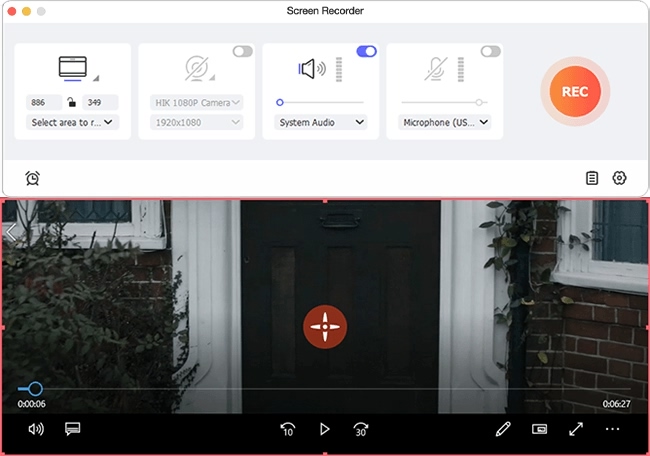
Open your Skype for Business on the desktop. Now press on the "+" icon under Capture Area in Joyoshare program to customize a region. You can zoom the recording frame yourself, set the width and height, or click the inverted-triangle drop-down menu to directly select the standard resolution, like 1280x720, 640x480, etc.

Step 3 Set recording preferences
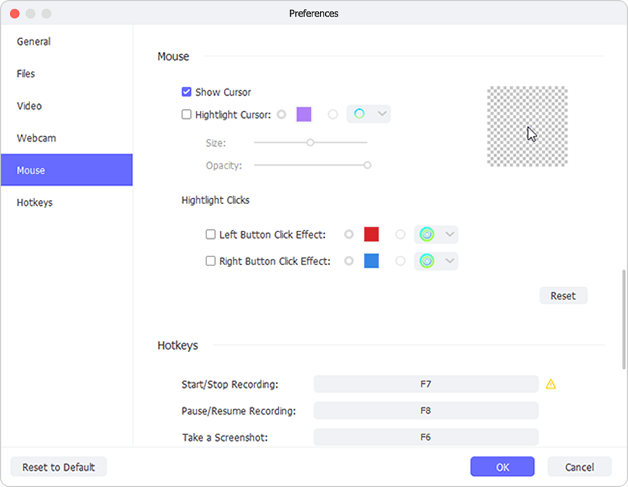
If you want to record the microphone voice during the meeting, please remember to turn it on and adjust the volume. The system audio is the same here. Don't forget to click the Options button in the lower right corner to confirm more functions, such as output format, shortcuts, watermark, cursor effect, etc.

Step 4 Start recording a meeting in Skype for Business
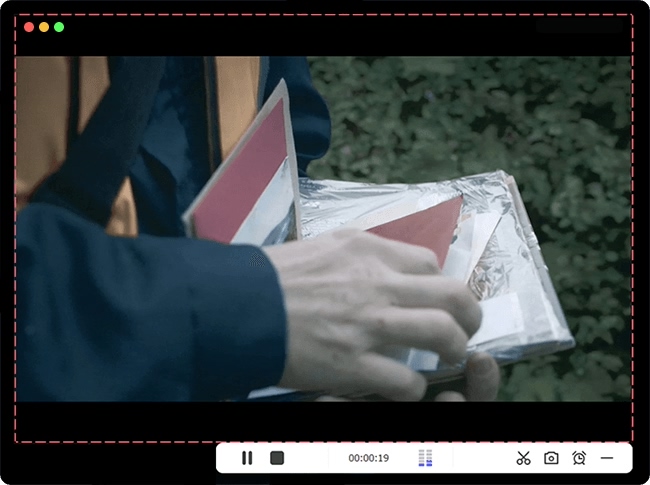
In the main interface of Skype for Business, select contacts from Contacts list and start a conference. Then you can click the "REC" button to start recording. During the three-second countdown, adjust the Skype meeting window again. You can later cut the video and skip content easily using tools in recording menu.

Step 5 Save finished Skype meeting
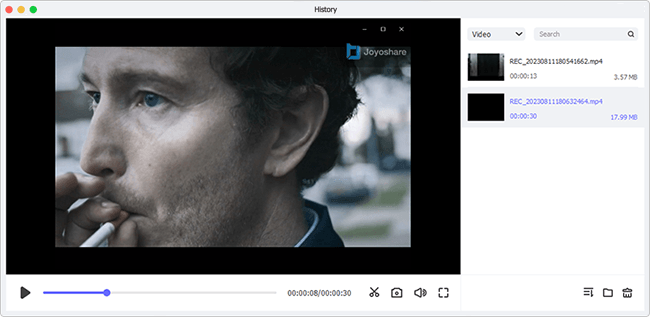
Click the Stop button to keep the recorded Skype meeting. There is a window called "History" will pop up soon, from which you can preview your videos or audios clearly. Use the Edit option to furtherly rename, trim or change ID3 tags.

