Imagine getting a video that you recorded in an online class and preparing to go through important parts, only to find the sound is full of noises, making it a tough task to revise the content. You'd probably try hard to distinguish the voice and end up giving up this daunting job, right? Or you spend lots of time making an elaborate video and try to dub for specific acts, turning out to discover the sound quality has barely ruined the video. Sound quality is far more important than we expected. No matter how wonderful the recorded video is, we might lose the patience to watch it if it has a terrible sound. So, how to improve sound quality of a recorded video? In this post, we'll give you effective tips in different stages while you are recording a video.

- Part 1. How to Improve Video's Sound Quality in Pre-production?
- Part 2. How to Improve Video's Sound Quality in Production?
- Part 3. How to Improve Video's Sound Quality in Post-production?
- Part 4. Conclusion
Part 1. How to Improve Video's Sound Quality in Pre-production?
Here are some basic ways you can try if your iPhone screen keeps scrolling up.
1. Record in the Right Space
Supposing that you want to record a video with microphone sound, it is vital to find a quiet place as your recording space. If the place is beside a noisy environment, such as traffic area, building site, baby' crying, you'd better find another one. All these distractions would decrease the sound quality. So, taking some time to find the quietest space is an important premise to capture a quality sound.
2. Avoid Echo
I believe no one wants to hear the echo while watching a video, which greatly disturbs the view experience. We should also pay attention to this factor before recording. To avoid echo, we need to keep away from hard surfaces. Instead, space with soft surfaces could be our first choice since it will absorb part of the sound waves. Before recording, finding a place with more soft substances to reduce echo is worth trying.
3. Use Quality Equipment
We have already talked about how to improve sound quality of a recorded video free, it's time to focus on recording equipment. Audio quality of a recorded video is closely related to the quality of your equipment. First, a good microphone is important in the recording process. Normally, the computer comes with a relevantly good mic. So, just make sure your environment is suitable. Besides, using headphones is also helpful in enhancing sound quality. It can help eliminate echo. And if you want to record your own voice, it can also help hear yourself better. What's more, investing in a microphone stand is also beneficial if you want one. It can hold the mic firmly to free your hands to operate computers or whatever you want. All equipment mentioned above is intended to make sure the sound is recorded in high quality.
4. Test before Recording
This is the final step you could take before recording formally. That's making a test. You might not predict what kind of issue would occur during the recording process, so testing before recording enables you to exclude potential errors in advance. Don't ignore this step, this might save yourself a ton of headaches to spot the issue ahead.
Part 2. How to Improve Video's Sound Quality in Production?
Now, you have prepared well before recording. There are other practical methods to improve sound quality of a recorded video in production.
1. Record with Good Recording Software [Hot]
In the recording stage, the good recording software plays an important role in optimizing sound quality. Joyoshare VidiKit is just what you'd expected. It could record all screen video without losing original quality, and you could record the screen with microphone. Meanwhile, it supports flexible recording options to select the custom area. In addition, Joyoshare VidiKit is also a smart audio recorder, enabling you to record and save any type of audio. There are still more fascinating features waiting for you to explore.

- Record screen in the highest resolution with no lag
- Independent audio recorder with built-in encoder
- Record video and audio while preserving the quality
- Support schedule recording, watermark, show clicks
Step 1 Install Joyoshare VidiKit Screen Recorder
After downloading Joyoshare VidiKit from the official website, open it up with double click. You'll see four different sections in the left taskbar. Choose the Record Section and click on Screen Recorder. Then you'll get the interface like the picture below.

Step 2 Customize Recording Area
A recording window would appear if you click the + button in the Capture Area section. You can customize the recording area as you own wish. Besides, in the middle of the interface, you could choose the System Audio and Microphone Audio freely and adjust the volume by yourself. And there is a drop-down menu under the Microphone Audio, you could select the audio source manually there.

Step 3 Adjust Recording Settings
You'll see the Options icon in the bottom right corner, click on it. You could adjust recording settings in this section. Here you can change basic record options, record time options and cursor options. In Basic record options, you could click on Format. In each format, you can click the top right of the icon to reset the video and audio parameters, such as bit rate, frame rate, resolution and so on. If you are not familiar with these settings, you could just choose High Quality in the bottom to enhance the sound quality in a quick way.

Step 4 Start Recording Video and Audio Without Quality Loss
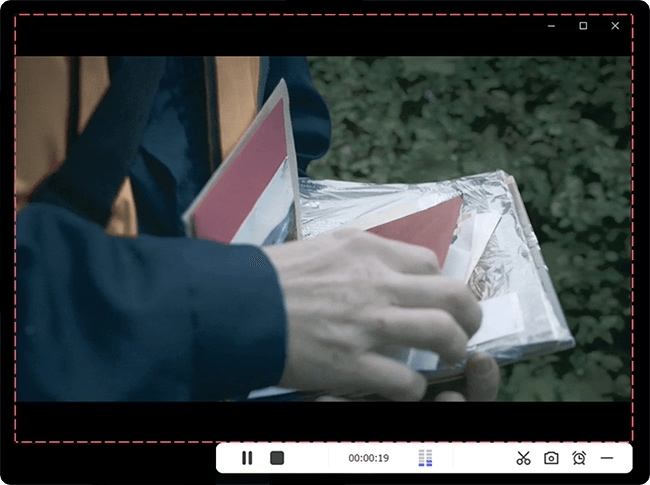
Now you have adjusted settings properly, just click on REC button to start recording the video. You don't have to worry about losing quality at all.

Step 5 Preview and Edit Recorded Video
You could click on Stop button to finish recording. In History window, you could preview the video and edit the file as you like.

2. Keep Proper Distance to Microphone
Keeping a proper distance between the microphone and your mouth is also useful in increasing sound quality of a recorded video. Your voice might not be clear if you stay far from the mic. Otherwise, your voice may hit the mic if it's too close. And if you pronounce consonants to the mic at a short distance, the blast of air would affect the audio. In this case, a pop filter would solve this problem. You could easily get one from online stores.
3. Pay Attention to Input Volume
When you are recording, you could pay more attention to the microphone input volume. It will remind you of the height of sound wave. So, you will be informed well if your voice is too low or too loud. Then you can adjust your voice in a quick response.
4. Use a Mixer if Necessary
This method is not fit for everyone. The mixer performs well when more than one person is involved in the recording. It can turn each voice into a single audio channel, making it possible to adjust each voice's volume to make the audio sound more natural. If you have such demand, you could have a try.
Part 3. How to Improve Video's Sound Quality in Post-production?
The recording process has finished. Hope you get the video with a high quality. What if the sound of a recorded video still doesn't meet your demands? Here are a few remedies.
1. Edit the Recording
Video editing tools could improve sound quality of a recorded video online. Joyoshare VidiKit is also proficient in editing videos. This tool has a user-friendly interface, enabling you to edit the recording even without relevant knowledge. What's more, if your videos and audios are damaged, you could use this tool to repair them, which has a high success recovery rate
2. Export in High Quality Format
The output format is connected with the sound quality of a recorded video. For example, WAV files are the representation of high sound quality. If the sound is exported in this format, you'll enjoy a better audio effect. So, make sure the sound recording is delivered in high quality format.
Part 4. Conclusion
In this article, we have illustrated different methods in the whole stage of recording a video. I think the question "how to improve sound quality of a recorded video" is surely to be answered now. In summary, you are required to hold proper recording etiquette in a suitable recording environment with the help of quality software. Here. I would recommend Joyoshare VidiKit again since this one-stop video toolkit could bring more surprises to you with its powerful feature.


