Q:"Can you screen record on Lenovo laptop?"
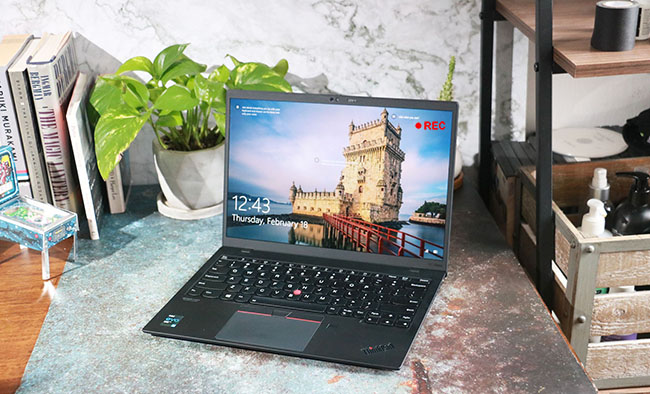
Lenovo is a reputable yet competitive brand that has produced a series of laptops with good performance, such as Lenovo ThinkPad, IdeaPad, Chromebook and Yoga. As the user base grows, the need for screen recording is mentioned more frequently. If you are wondering how to screen record on Lenovo laptop to create instructional tutorials, demos, vlogs or whatever, here's the right plance. We have collected some decent Lenovo laptop screen recorders below.

Part 1. How to Screen Record on a Lenovo Laptop - Lenovo Nerve Sense
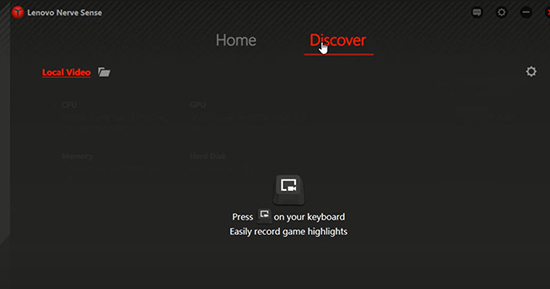
Lenovo Nerve Sense is no stranger to Lenovo users. Though it's not an inbuilt screen recorder that's pre-installed on each Lenovo laptop, it is available to download from official website. It's actually a tool often run in the Background on Gaming Systems, handily offering basic system resources, setting network prioprity and sharing recorded game videos.

Step 1: Download and install Lenovo Nerve Sense (simply visit https://store.rg-adguard.net/, copy and paste URL https://www.microsoft.com/en-us/p/lenovo-nerve-center/9n69gq0x4v00, click to check it and download with .appx file);
Step 2: Get it launched on your computer and change some default settings based on your needs under "Discover" by clicking its gear icon, like resolution, video quality and more;
Step 3: In the main interface, press on the recording button to start recording your game highlights or other kind of videos;
Step 4: When what you want has been recorded, you can save and check it on the right interface of "Discover".
Note: While Lenovo Nerve Sense was once all the rage, it's not as perfect as you might think at present. User complaints can be seen everywhere in the official forum and it's not easy to access as before. In recording, it has frame rate drops and doesn't offers many settings, such as watermark, parameter change, etc. Also, it gets crashed sometimes.
Part 2. Screen Record on Lenovo Laptop - Joyoshare VidiKit
Joyoshare VidiKit (originated from Joyoshare Screen Recorder) is a dependable screen recorder for Lenovo Laptop here. It makes recording a quite hassle-free thing for gamers, educators, students, workers and even amateurs. Aside from videos, it captures sounds including both the internal and the external easily. Also, there is no fixed recording area to restrict you. You can watermark, use shortcuts, trim, schedule, highlight cursor and clicks with effects and customize desired parameters.
- Screen record on Dell, HP, Lenovo and more laptops
- Record and save videos in 60fps and 1080p
- Zoom in and zoom out region to record from
- Create recording task on schedule with unlimited duration
- Can capture audio and edit video using practical options
Step 1 Equip Lenovo laptop with Joyoshare VidiKit
Get to know which operating system Joyoshare VidiKit is compatible with and download its official version on your Lenovo computer. Finish installation, run its Screen Recorder and start from "Record video and audio"
 mode.
mode.
Step 2 Complete recording customizations
Figure out what to record on your Lenovo and open the system & microphone audio in Joyoshare VidiKit as per your needs. Move to the gear-shaped icon to confirm more options, for instance, format, recording time, cursor, watermark, etc.

Step 3 Select a region to capture screen
No matter how large it is, you can choose a region under "Capture Area" in VidiKit on your Lenovo laptop. Just hit the "+" to draw it without limitation. Or if you want, directy pick up one from the drop-down list. Besides, locking a specific width and height is possible.

Step 4 Screen record Lenovo laptop
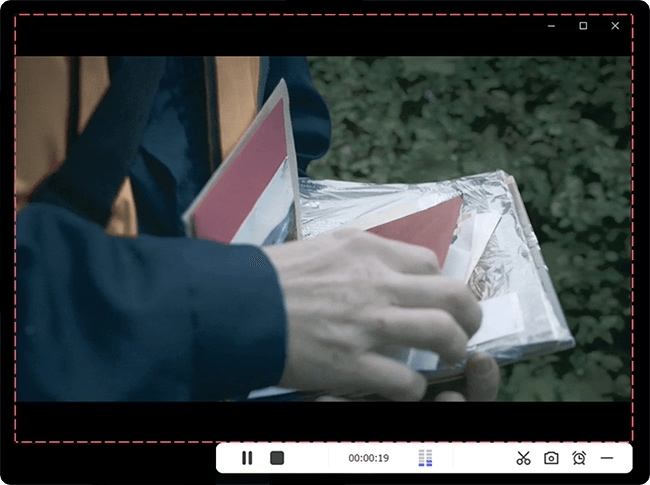
Start activity on your Lenovo laptop and click on the REC button in this screen recording program. You can adjust the capture area within the available 3-second countdown. When the recording begins, you're allowed to snapshot, trim and skip whatever you don't need.

Step 5 Stop recording and check video(s)
End the recording by clicking "Stop" button in the menu bar or with shortcut. A "History" window will pop up and show right away. It lets you to search local file on Lenovo laptop, preview to check and edit quickly.

Part 3. How to Record Screen on Lenovo Laptop - Xbox Game Bar
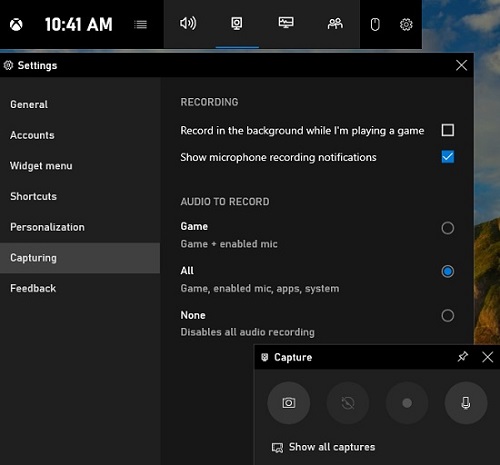
For Lenovo laptop running Windows 10 system, Xbox Game Bar is a recommended screen recording utility. It comes preloaded with no requirement of installation. Although this tool was originally designed to record games, you can apply it to record meetings, tutorials and more. Pay attention to that Xbox Game Bar is unable to capture the whole desktop screen of your Lenovo laptop and cannot work with File Manager.

Step 1: Go to lower left corner of your Lenovo laptop and type in "Xbox Game Bar" in the search box;
Step 2: Finish setting shortcuts and other recording options as per what you want;
Step 3: Hold Windows + G on your keyboard to open Xbox Game Bar, check the box of "Yes, this is a game", and confirm your preferences in the widget menu;
Step 4: Now press Win + Alt + R to start recording desired content on your Lenovo laptop screen;
Step 5: Click the recording button to stop the process and your video will be saved in MP4 to the Captures local folder.
Conclusion
Already know how to screen record on Lenovo laptop but can't decide which solution to use? Don't make it too complicated. Download Lenovo Nerve Sense to record with our introduced method. Or you can stay there and directly use Xbox Game Bar as long as your laptop has it. If you prefer to a more professional screen recorder that offers flexible options and captures everything without limitations, Joyoshare VidiKit is your choice!


