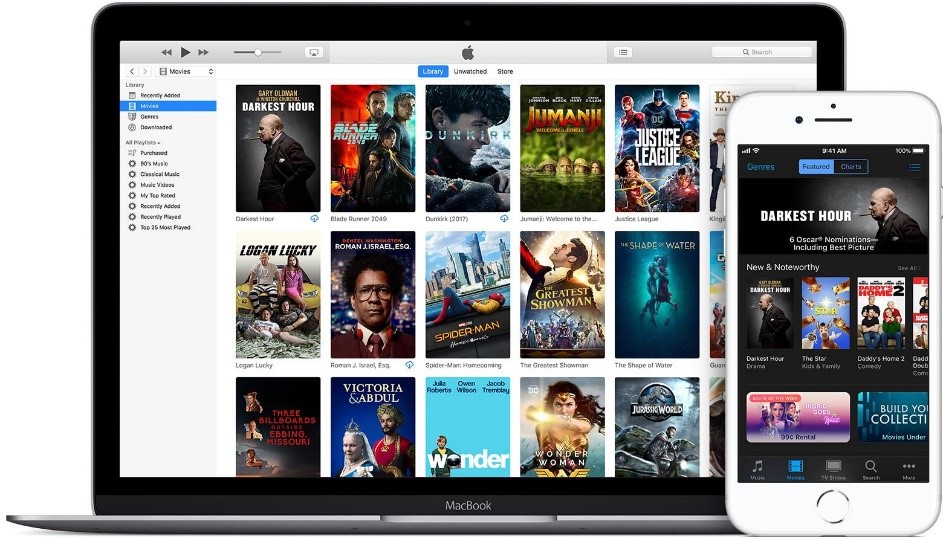
Have you ever felt disappointed when you want to replay the movies you watched a long time ago, but only found that you have lost rights to watch them again because the rental period expired; or you have purchased some of the movies and want to play them offline, nevertheless, it turns out that those movies can exclusively be shown on iTunes. It's attributed to Apple's DRM(FairPlay) set in iTunes Movies to prevent resources from being played offline or on other personal devices. In such an arrangement, users are permitted to enjoy movies, TV shows and music videos within 24 to 48 hours once started watching even if they have been purchased or rented.
However, if videos cannot be smoothly downloaded, they could be recorded. Just in case you don't know how to screen record iTunes Movies on Mac, or how to screen record iTunes Movies on Windows. Two methods can help you to bypass this kind of DRM technology and record iTunes Movies you like outside the iTunes library on your computer.
- Part 1. Record iTunes Movies through Joyoshare VidiKit
- Part 2. Record iTunes Movies with QuickTime
- Part 3. Conclusion
Part 1. Record iTunes Movies through Joyoshare VidiKit
There is a heap of screen recorders in the market. The good and bad are intermingled. Concerning a screen recorder, we basically require that it should be powerful enough to fit our needs. Thus, Joyoshare VidiKit is highly recommended here. It's a comprehensive video processing computer program which enables you to screen record iTunes Movies, trim videos without re-encoding, remove or add watermark on videos, edit audio recordings, convert video files to different formats, etc. This means that if you want to edit your iTunes Movies after having finished downloading them, Joyoshare VidiKit will satisfy most of the subsequent needs within one program. How to reach the final goal of ripping movies out from iTunes? Follow the steps provided below:

- Available to Windows and Mac
- Record from Google Hangouts, Zoom, Microsoft Teams, etc.
- Grab sound from microphone and system
- Schedule task in advance to record screen
- Trim videos, customize watermark, highlight clicks, etc.
- Output captured videos in any format at 60fps 1080p
Step 1 Download Joyoshare VidiKit and Prepare the iTunes Movies
Download Joyoshare VidiKit by pressing the download button above and opening it as the window shows. Launch iTunes Movies and select the video you want to record. If you only want to record a clip of this video, please locate the point in time when you need to start.

Step 2 Set the Recording Area
On the recorder window, three modules are presented. Find the one named Capture Area. There is a plus sign located in the lower right corner of a rectangle drawn with a dotted line. Click it and select the area you want to record on your computer screen. The letters "W" and "H" means width and height. You can input the specific figures of width and height on the rear boxes.
On the second module, you can adjust the media volume, what's more, select whether to record system audio or sound from stereo microphone speakers. On the third module, the left icon looks like a camera representing screen recording, and the other which looks like a loudspeaker signifies audio recording.

Step 3 Customize the Preferences
At the bottom right corner, you can change the settings before screen recording iTunes Movies, including where to save the treated file, the format, the watermark, highlights, start time and stop time, etc. It's worth mentioning that Joyoshare VidiKit almost supports all popular output formats, such as MP4, M4V, AVI, MOV, FLV, WMV, and SWF.

Step 4 Start Recording Video and Preview it
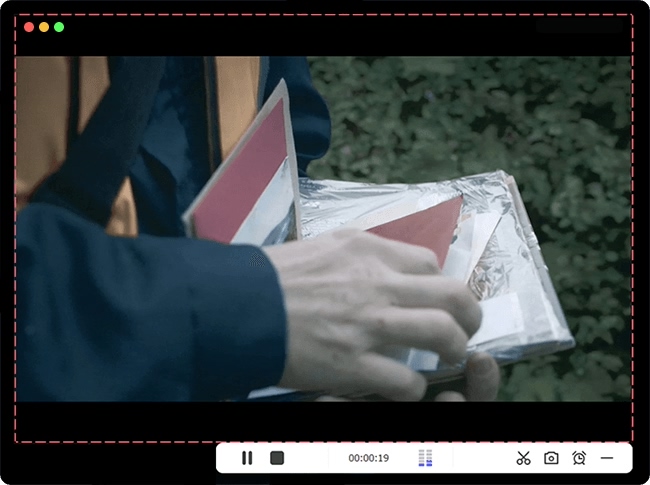
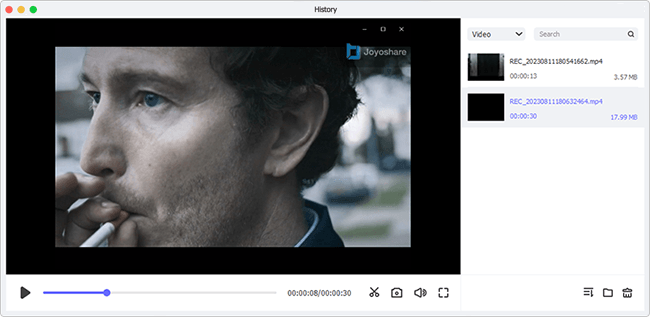
Press REC button to record the target video based on your former settings. After the recording process has been finished, you can simply click on the Stop button. Then there will be a list of videos lying on the left side of the main interface for previewing. These screen records will store in the files you select on your computer afterwards.

Part 2. Record iTunes Movies with QuickTime
There is not only one solution for how to screen record iTunes Movies. Aside from Joyoshare VidiKit, recording iTunes Movies with QuickTime is also a method that you could take into consideration. Nevertheless, it doesn't equip functions as powerful as Joyoshare VidiKit. It can only be focusing on basic recording and keep away from personalized operations. For Mac users, QuickTime has already built into your computer. While people who use a computer with a Windows system need to install it first. Procedures are listed below.
- Step 1: Launch QuickTime Player and select the movie on iTunes
- Step 2: Start recording video
- Step 3: Save the Records
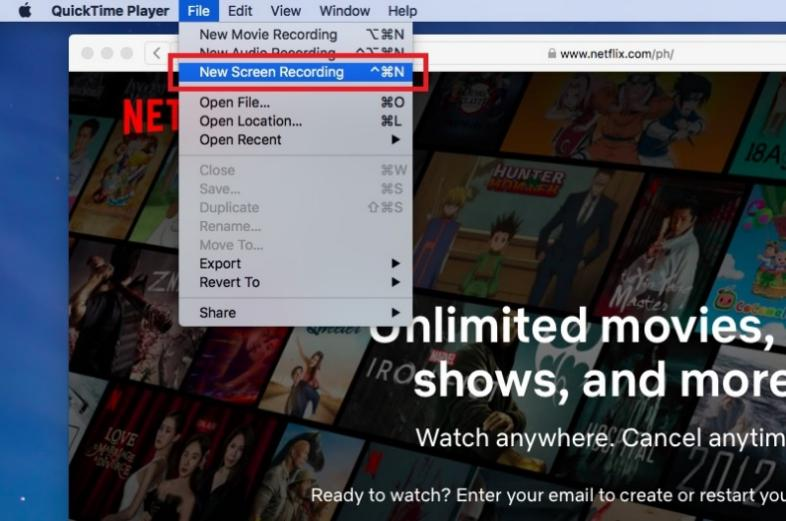
Firstly, you need to find out the movie you want to record on iTunes and launch QuickTime. Then there is a "File" option in the menu bar of QuickTime. Click it and go to "New Screen Recording".

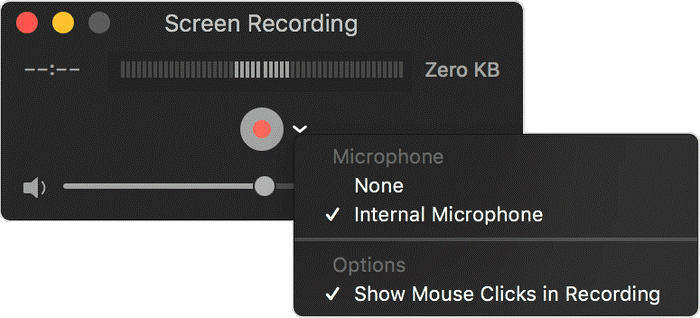
Press the drop-down button next to the red circle in the centre of this window. It provides the preferences to select such as Internal Microphone or Show Mouse Clicks in Recording. You can make adjustments according to your requirements. After that, click the powerful red circle in the centre and the recording begins. Then it's time for you to go back to iTunes and start playing the target movie.

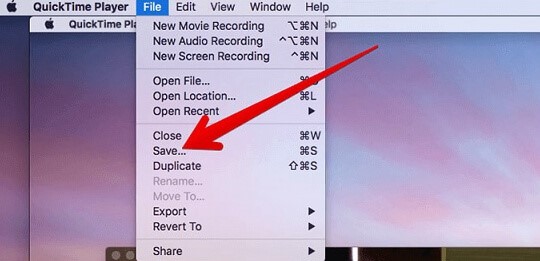
When the recording process has been finished, tap on the stop recording icon in the top menu bar and save it to the files on your computer by clicking "File" and go to "Save".

Part 3. Conclusion
Can you screen record iTunes Movies now after reading this article? The tips provided above perfectly solve the problem of watching iTunes Movies – record them by Joyoshare VidiKit and QuickTime. It can also apply to any other videos which are protected by DRM technology. Without a doubt, Joyoshare VidiKit is a competitive tool compared with QuickTime for its comprehensive supporting functions. You can set precise recording time intervals and areas by using it. And it's also possible to trim the videos and merge them. It's time for you to install and enjoy this powerful tool!

