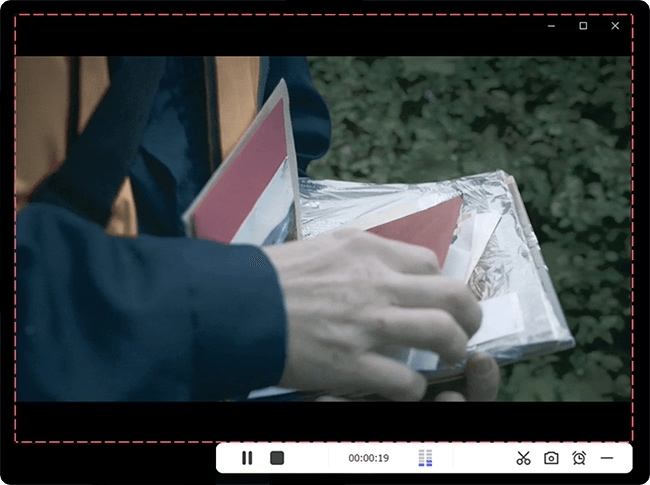
Q:"How can I record TV shows without a DVR?" - From Quora
The advent of television has a huge impact on our lives as well. People used to apply digital video recorders to record TV shows, but the trend has changed now. As more and more people find the process complex and confusing, they begin to look for how to record TV shows without a DVR. Fortunately, there are many simple and practical methods, from both software and hardware sides, that can be used to record and save your favorite shows and programs, easily keeping them in your video library.
- Part 1. What Is DVR?
- Part 2. How to Record a TV Show without DVR
- Solution 1. Record Live TV Shows with Dedicated Video Recorder
- Solution 2. Record TV Shows with USB Stick
- Solution 3. Record TV Programs with Windows Media Center
- Solution 4. Capture TV Shows with MediaPortal
- Solution 5. Record TV Shows with NextPVR
- Part 3. FAQs about Recording TV Shows without DVR
Part 1. What Is DVR?
DVR stands for digital video recorder, which is an electronic device that has the ability to record and store videos, such as movies, TV shows and programs, in a digital format to your local devices, like USB flash drive, SSD, disk drive and SD card. Nowadays, the term of cloud DVR is also common and popular. It refers to a DVR with cloud feature offered by service provider, to help record and upload your videos to the cloud on a remote server, and as a result, you can easily access to it on any other devices. Currently, there are many streaming platforms, for instance, Netflix, Hulu, Disney Plus, HBO, etc. that provide live TVs with cloud DVR feature, which however, you should note, come with subscription fee added to your TV bill and are disable to record on-demand TV shows.
Every user is entitled to set up DVR to record desired content when they air. Generally speaking, a DVR has multiple tuners to let us record different channels at the same time. Also, it's available to record just new episodes in an automatic way while the old stored videos can be deleted to save more space for better management.
Part 2. How to Record a TV Show without a DVR
Now let's explore various solutions to record TV shows without using a DVR. For your reference, we specifically show requirements, how-to guide, pros and cons of each one.
Solution 1. Record Live TV Shows with Dedicated Video Recorder
The most effective solution to record TV shows from streaming platforms and local channel is using a professional video recorder, such as Joyoshare VidiKit. This software works well to capture content from Netflix, YouTube TV, Peacock, Hulu, Amazon Prime, Pluto TV, Roku, and more. It's an ideal recording solution for tech-savvy users since it doesn't require you to configure any software and hardware. Also, it keeps the original quality of your TV shows and provides an access to schedule recording.
- Record the entire desktop screen or select a partial screen to record
- Record live TV with system audio and voice narrations in high quality
- Save the captured TV shows to 4K Video, HD Video, Web Video, and more
- Adjust the video and audio codec, bitrate, frame rate, resolution, etc.
- Stylize the recording process and customize the captured videos
- Record on YouTube TV, Philo, Steam, laptops, and other various platforms
Step 1 Fire Up Screen Recorder in VidiKit
Launch the latest version of Joyoshare VidiKit on your computer and head to Recorder → Screen Recorder to open screen recorder on the desktop.

Step 2 Grab an Area to Record
Now you can open any live TV show that you want to record on target streaming platform. Then go to the left side of the program and click Select area to record. After that, drag the edges of the capture frame inwards or outwards to set a recording area. Alternatively, click the triangle icon nearby to select from a standard resolution. Or enter the frame dimensions and lock the aspect ratio.

Note: To capture live TV shows with audio synchronously, make sure that you turn on System Audio in the program. Other settings, like microphone and webcam, can be disabled if you don't need.
Step 3 Customize Recording Settings
To schedule a recording and stop it automatically, simply click on the Autostop option in the bottom left corner. Then find more custom options by clicking the gear-shaped Preferences icon. You can choose a video output format, specify its parameters, select a storage location, change hotkeys and more based on your needs.

Step 4 Start Recording TV Shows
If everything looks great, click the "REC" button to start capturing your favorite TV show without a DVR. Followed by a three-second countdown, the recording process can begin and a floating record menu will appear. You can hit on the "Pause" button to skip any unwanted content and the "Cut" button to create several wonderful video clips. Also, it's handy to take snapshots and draw on the screen.

Step 5 Preview Recorded TV Shows
The History window will show up automatically the moment you stop recording TV shows on computer. Here you will be able to use the inbuilt media player in VidiKit to play your videos smoothly. Also, you can rename your files one by one and click the "Edit" icon to touch up all your recordings.

Solution 2. Record TV Shows with USB Stick
Many modern TV models come with built-in PVR software, which can convert your TV to a DVR/PVR. To see if your TV has this feature, take a moment to check if there's a USB port on the back of your set. If you find one, then congratulations. You can now use a simple USB stick to record your favorite TV shows. With an external USB drive, you won't need a VCR or video cassette anymore for recording. Once you have connected your USB HDD to your TV, remember to check the TV manual to see if the PVR settings are available within the menu functions of your TV set. Most USB memory sticks offer plenty of storage space, making it easy and convenient to save TV shows for watching later.
📚 Requirements:
- A USB stick with enough storage space
- Your TV supports a PVR function
- Your TV has a USB slot
- Access to live TV channels (antenna, cable, or satellite)
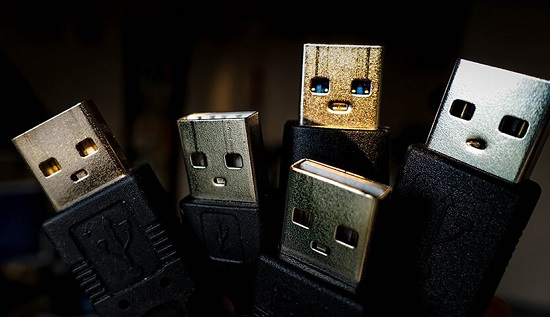
- Step 1: Connect the USB HDD to the USB port on the back of the TV.
- Step 2: Some TV models will identify your USB HDD automatically and require you to format it, or you can go to the menu and then select Format HDD to remove all the data.
- Step 3: Now you can use the remote control to start recording TV shows.
- Pros
- Simple to operation
- No need for complex setups or additional subscriptions
- The recorded TV shows are portable and playable on different devices
- Cons
- USB stick comes with limited storage space
- Lack of advanced recording features like recording scheduler
Solution 3. Record TV Programs with Windows Media Center
You may have rarely heard of Windows Media Center, but as a matter of fact, it is a powerful and reliable utility included in some editions of Windows 7. It allows you to watch and record your favorite TV shows right on your PC, play DVDs or CDs, and see slide shows of your pictures. You are able to connect your computer to an HDTV and then use a Media Center remote to control all the action with ease.
📚 Requirements:
- A computer running Windows 7 or earlier
- Windows Media Center downloaded on your computer
- A TV tuner card or external USB TV tuner
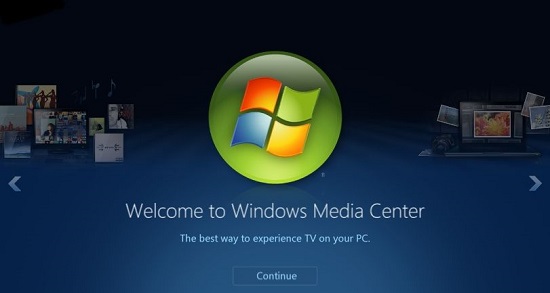
- Step 1: Open the Windows Media Center on your computer and then double click TV on the main menu.
- Step 2: Tap the "Guide" button on your Media Center remote so that you can see your online TV guide, and here you will be able to freely choose which TV program to record.
- Step 3: Next, tap the Enter key to display the info of your TV show, and you can click the Record button to save the TV show, press the "Record Series" button to save all episodes of your TV show; press the Do Not Record button at any time to stop recording.
- Pros
- Free to use on Windows 7 or older versions
- Save recorded TV shows in different file formats
- The recorded content is sharable on other devices
- Cons
- Poor compatibility makes it unavailable on new versions of Windows
- Recording TV shows and playback may slow down the computer
Solution 4. Capture TV Shows with MediaPortal
MediaPortal is a free and open-source media center software, which makes your PC become a comprehensive media solution. It enables you to watch and record live TV like a TiVo for free, play DVDs and movies, create a slideshow, stream TV to any PC connected to your network, enjoy music and radio, and more. Using MediaPortal to record TV shows without DVR is super-fast and easy.
📚 Requirements:
- Windows 7 or Windows Vista
- MediaPortal software downloaded to your computer
- A TV tuner card or external USB tuner
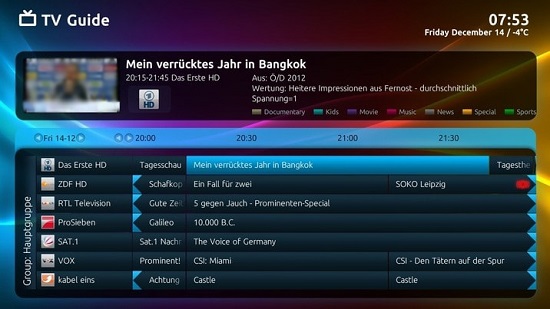
- Step 1: Open MediaPortal on your Windows computer.
- Step 2: Head to TV in the main interface.
- Step 3: To record TV shows, you can simply press the record button on your MediaPortal remote or press the R key.
- Step 4: If you are watching a TV show, you can go to the menu and select Record Now to record the current program. If you choose to start an endless recording, then you need to manually stop.
- Pros
- Free to use on Windows
- Support kinds of TV tuner cards and hardware
- Support advanced features like scheduling, recording multiple shows simultaneously, etc.
- Cons
- Need some technical knowledge to configure hardware and software
- Program instability issue
- Sometimes cannot work well
Solution 5. Record TV Shows with NextPVR
NextPVR is a cross-platform video recorder. It supports Windows, Mac, Linux, Docker and most devices like DVB, DMB-T, SAT>IP, HDPVR, and more. NextPVR makes it easy and fast to record TV shows. Other powerful features like web scheduling, series recordings, Kodi integration, etc. are available as well. With an easy-to-understand user interface, you will undoubtedly be able to record your favorite TV shows without any hassle.
📚 Requirements:
- A computer
- NextPVR software downloaded on computer
- A TV tuner card or external USB TV tuner
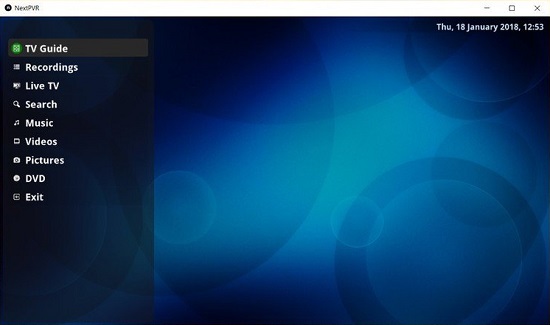
- Step 1: Install and launch NextPVR on your computer, then open Settings and click the Recording tab on the left side of the screen.
- Step 2: Go to the top of the screen now and select Man-REC, and here you will be able to gain access to many recording types, such as "Record Once", "Record Daily", "Record Weekly", etc.
- Step 3: In the Manual Recording window, you can begin to set up a series of configuration options, such as channel, name, date, start time, end time, pre-padding, post-padding, and more.
- Pros
- Free to use
- Easy to set up
- Support a variety of TV tuners and input devices
- Cons
- Need to upgrade to a premium version for unlocking more features
Part 3. FAQs about Recording TV Shows without DVR
Q1: How to record future TV shows over Internet connection?
A: It's practical to use steaming services that offer cloud DVR function to record future TV shows over Internet connection, such as Hulu + Live TV, Sling TV, YouTube TV, or Fubo TV. You can schedule recordings of upcoming TV shows on streaming websites or applications.
Q2: How do you record TV shows without cable?
A: You can record TV shows without cable by using video recording software such as Joyoshare VidiKit mentioned here, streaming services that supports cloud DVR, or over-the-air (OTA) devices to record live TV from antenna.
Q3: How to record TV shows from antenna?
A: If you want to record TV shows from antenna, you need a device to capture signal from the antenna and record video content. Pick up a digital antenna to access channels and TV shows. Then use an OTA DVR such as HDHomeRun or Tablo to connect with your antenna and record TV shows to cloud storage or hard drive.
Conclusion
It is essential to learn how to record TV shows without a DVR so that you can enjoy your favorite content at a convenient time. In this article, we have introduced the 5 commonly-used ways. However, sometimes you may find the media center software clumsy and the procedure challenging. So Joyoshare VidiKit, a stable and one-stop recording toolkit, can be an optimal choice. It simplifies the entire recording process, helping you to record TV shows in extremely high quality and save them in any format.


