Nowadays, live interactive courses tend to be a new trend. It's because of not only the outbreak of new diseases but also the development of the internet which integrates various resources. As for work, some jobs required telecommuting. Naturally, for people who work or study at home, online productivity software is essential, and that includes video conferencing software. Amazon Chime Meeting is one of them, which is a communication service that allows you to convene meetings, chat and make business calls inside or outside of your enterprise, all relying on merely one application.

Compared with offline activities, the best part of the online meeting is that you can record it and replay it later. For example, if there is someone who cannot attend the meeting or a student who needs to watch the online courses again for a deeper understanding of knowledge. Thus the question is how to record Amazon Chime meeting. In this article, we are going to talk about two ways to achieve this goal.
- Part 1. Record Meeting in Amazon Chime
- Part 2. Best Way to Record Amazon Chime Meeting
- Part 3. The Bottom Line
Part 1. Record Meeting in Amazon Chime
Through Amazon Chime, people are able to host and participate in online meetings, communicate persistently on desktop and mobile devices, and manage enterprise users. You don't need to switch between apps to collaborate, and you can instantly switch from chat to call, share your screen, and even invite more people to join your meetings. When it's time for a meeting, Amazon Chime calls you on all your devices to help make sure you're never late and your meeting starts on time. Powerful enough to compete with Skype, Amazon Chime, itself, provides a recording function for the host or moderator to capture and save the video of meetings. We'll walk through these steps of Amazon Chime record meeting in detail in the upcoming section.
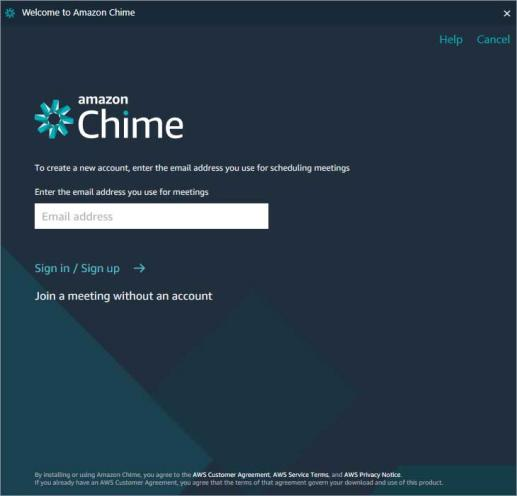
Step 1: Download Amazon Chime meeting and sign in to your account
Step 2: Create a meeting and invite attendees
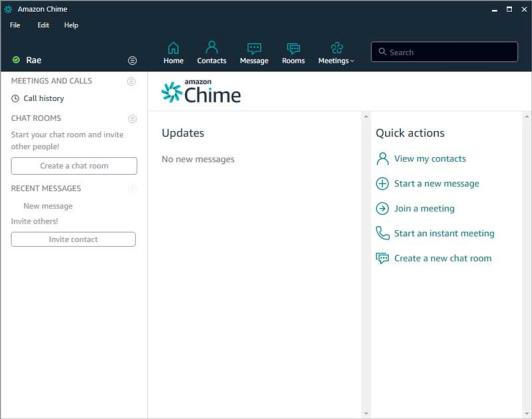
Click "Meetings" and it will show you a drop-down list. Select "Start an instant meeting". Or directly go to "Quick actions" and click the icon of a phone followed by "Start an instant meeting". Then Amazon Chime will give you a meeting ID to invite others to join Amazon Chime meeting.
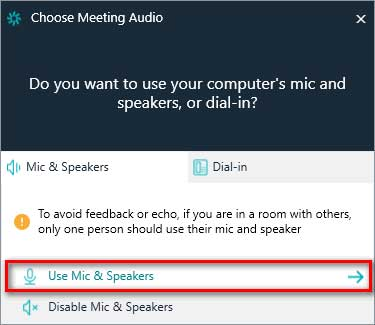
Step 3: Choose whether or not to use Mic & Speakers
Step 4: Start recording
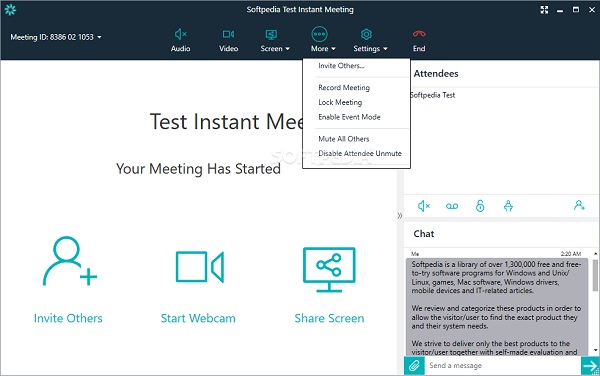
Find "More" and press it to pull out a drop-down list. Click "Record Meeting" once you want to capture your instant meetings.
Step 5: Stop recording and check the video file
You can stop recording by clicking the red phone icon which has an "End" below. And choose "End meeting for all" to leave and end this meeting. After finishing these steps, you can get the resulting video on Amazon Chime with the format of M4A.
Part 2. How to Record a RingCentral Meeting - Joyoshare VidiKit
Indeed, it is convenient to use the recording function which has already carried in Amazon Chime straightforward. But this feature is only accessible for the host of meetings. If you are an audience, you are unable to do this. Given this situation, we highly recommend Joyoshare VidiKit here to record Amazon Chime online meetings. Joyoshare VidiKit is a professional software focusing on video and audio processing. It's not restricted to the simple ability to cut or record media files. You can also use it to convert format, remove the watermark, join videos and so on. What else can't it do? With this, you can record meetings as a conference participant and watch them later, or even edit it before sending them to others within one software. Here come details on how to apply Joyoshare VidiKit to Amazon Chime record meeting.

- No watermark on your final video
- Customize your recording area
- Edit your video with powerful functions after recording
- Support a plethora of output formats
- Record WeChat video call, Vimeo video, meetings and more
Step 1Install and Register Joyoshare VidiKit
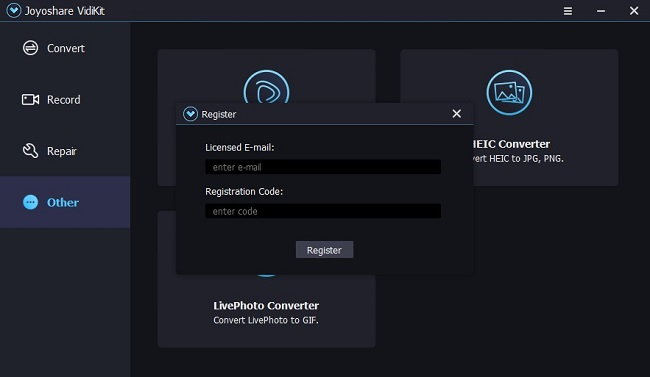
Click the box above to download Joyoshare VidiKit. Once it has been installed on your computer, you are capable of launching it. In the top right corner, there is a Menu button. Go to Menu and select "register" to input your licensed e-mail and registration code for logging in.

Step 2Find "Screen Recorder" on the Interface and Launch it
Go to "Record" in the menu on the left and press "Screen Recorder". Then it will pop up a window like this.

Step 3Set Recording Preferences
Locate a gear icon at the bottom right and this window expands. It will show you three lists of options -- basic record options for selecting which file to save to or the outputting format; record time options, as the name indicates, for setting up the recording time; cursor options for deciding whether you want to show or highlight cursor.

Step 4Select the Recording Range
There is a dotted box in the Capture Area and an Add button attached at one corner of it. Click that Add button and you can delimit the recording area on youo screen. The box behind "W" and "H" are designed to input a specific number of widths and heights as you like.

Step 5Begin to Record Meetings
Join Amazon Chime meeting room and start recording the whole meeting process. You can click the scissor icon to get screenshots at anytime you'd like to.

Step 6Check the Resulting Video Files and Preview Them
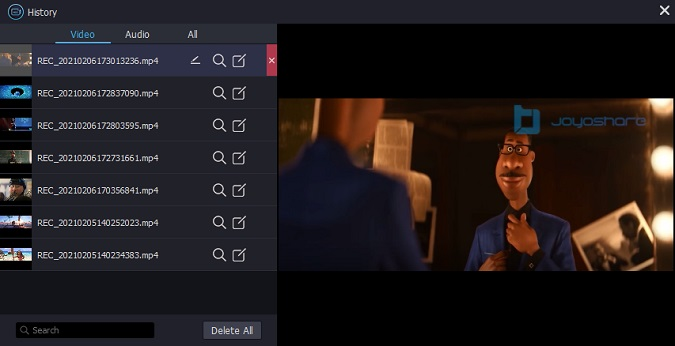
Once your meeting ends and you have finished recording, a History window would pop out and you are able to check the video of the meeting you have recorded just now. It's possible to change the name of this file by simply clicking the icon which looks like a pen behind the name of the video and you can also make subsequent editing.

Part 3. The Bottom Line
The online meeting will become more and more popular in everyone's work and study life. Amazon Chime, an excellent software, zeros in on creating an online conference platform. To record the meeting, aside from the inbuilt recording programme, Joyoshare VidiKit remains the overwhelming choice for its comprehensive functions and overall access to users which perfectly deals with Amazon Chime recording. What are you waiting for? Download it and capture your meetings immediately.
