How to record a streaming video is a question that needs to be considered carefully. As we know, in most cases, live stream videos like game matches, special TV events, and music shows would have repeat telecast so that we can re-watch them online as many times as we like. But the downside of this way is that it will require an internet connection and high bandwidth, which means you will not be able to watch videos when the internet cuts out. Even worse, for some one-time live shows, it's almost impossible for us to watch those videos again since streaming video services offer neither replay nor downloading options of those live streams.

To avoid such frustration, one of the best solutions is to record and save your favorite live streaming videos to computer or mobile devices for offline playback or future reference. Thus a great live stream video recording application is in demand. Here we are going to introduce you three handy and smart options of streaming video recorder as well as their complete steps so as to save live videos with high quality.
Part 1. How to Record Live Streams - Joyoshare VidiKit
Joyoshare VidiKit is highly recommended here as an all-purpose video toolbox. It has an embedded intuitive and utility screen recorder that is able to record streaming audio and video from YouTube Live, Facebook Live, Bigo Live, Twitch, etc. in an easy manner. Using two provided advanced recording modes, you will be able to record streaming videos and audios separately or simultaneously.
Besides the basic recording function, Joyoshare VidiKit has many handy editing tools. You are able to record and edit live streams with just one software for all platforms. For example, you can not only output a large variety of video and audio formats, but also able to add a designated watermark, highlight cursor and clicks, skip unwanted content, use hotkeys to control recording, etc. Succinctly, you will enjoy recording streaming videos using Joyoshare VidiKit.

- Capture sound from computer system as well as microphone
- Select the entire screen or a customized area of any size to record
- Record live streams with no lag, no time limit and no watermark
- Save streaming videos in MP4, MP3, FLAC, AVI, MKV, FLV, etc.
- Remove any unnecessary sections from streaming video recordings
- Support scheduling streaming video recording easily and quickly
Step 1Download and Install Joyoshare VidiKit
Double-click Joyoshare VidiKit to launch it on your computer. Next, select the "Record" tab and open screen recorder. As you can see, there is a
 on the right side of the screen. Press it to enable the "Record video and audio" mode so that you can record live videos with sound. You can also click on the "System Audio" and/or "Microphone" button and adjust the volume as you like.
Step 2Set Capturing Parameters
Joyoshare VidiKit has many other editing features so as to make your streaming video recordings more personalized. Simply click the little gear icon near the "REC" button and you'll see many available options as below. Here you can set output format and shortcuts as you like. You can also use the capture timer to schedule your recording by deciding the start/end time in advance. In addition, if you want to highlight the cursor and clicks, simply check the options accordingly.

Step 3Customize Recording Area
Before customizing your recording area, you can open the web page that contains the live video you want to record at first. Next, click on the "+" icon on the left side of the main interface. All you need to do is to drag the edges of the pop-up capturing frame so that it can fit into your live video. You can also click the triangle icon right next to the "+" icon to select a standard resolution, such as 320x240, 640x480, 1280x720, etc.

Step 4Capture a Live Streaming Video
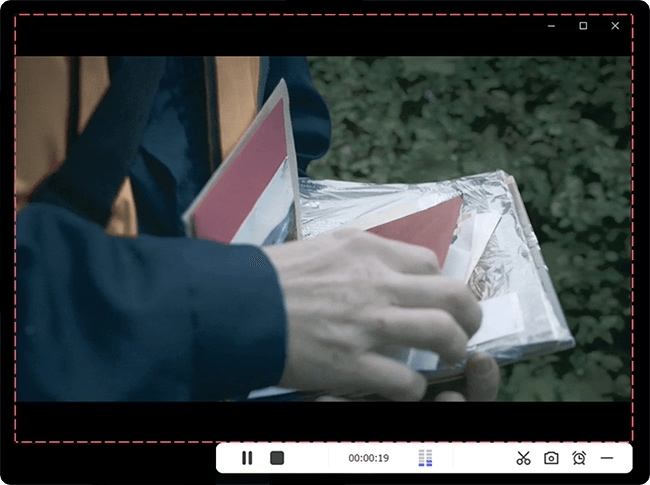
Finally, you are able to press the "REC" button to start recording any streaming movies, games, etc. After a three-second countdown, you will see a minimized toolbar appearing outside the dynamic capturing frame. On it, the "Pause" button will help you remove any unwanted sections, the "Stop" button can end the recording process, and the "Cut" button can create several recording clips.

Step 5Edit Recorded Streaming Videos
All the saved videos and audios will be shown in the "History" window. You can play and rename them one by one as well as press the "Edit" icon to cut and trim them in the way you like.

Video Tutorial
Here, we provide video tutorial for your reference. You can record a steaming video step by step according to this video.
Part 2. Record Live Streams - Snagit
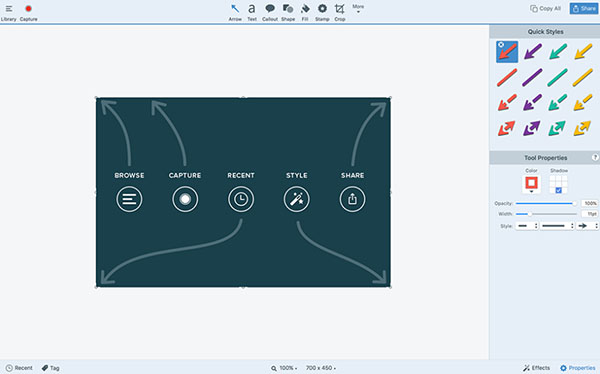
Snagit is a professional streaming video recorder. Simple and powerful, it is able to let you quickly capture your computer screen and instantly share with others. With it, you will be able to easily record your entire screen, a specific region, a particular window, or even a scrolling screen. But you should be aware that Snagit only allows you to save a streaming video to MP4 or animated GIF. Supporting various editing features, you can also choose to add annotations, toggle between screen recording and webcam during a streaming video, etc.

Step 1: Open Snagit on your computer, and you can start to record live videos from the "All-in-One" tab or jump right to the "Video" tab to speed things up;
Step 2: From the "Video" tab, before recording video, you can choose to capture the cursor, record microphone or system audio, turn on or off the webcam, etc.;
Step 3: You are able to press the "Selection" button to expand the dropdown list so that you can decide whether to record in full screen or a selected area;
Step 4: After confirming settings, you are free to press the red "Capture" button to start to select the region you want to record, and after that, you need to press the red circle button on the minimized toolbar to record streaming videos;
Step 5: Click on the "Stop" button at any time and finally, your recording will be opened in the Snagit editor so that you can edit, save and share your captured live streaming videos.
Part 3. How to Capture Live Streaming Video - Screen Capture
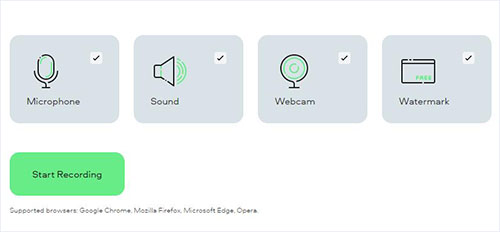
Different from the video recorders we mention above, Screen Capture is an online screen recorder, which is able to record online videos and audios without requiring any downloads. It supports a webcam and enables you to record streaming videos with sound from a microphone and computer system. However, there will be a watermark inserted into your recorded live streams, which can only be removed by upgrading into a premium account. Though it's free and easy-to-use, compared with other screen recorders, it has far fewer recording and editing features.

Step 1: Open Screen Capture on your web browser and the live video you would like to record;
Step 2: You are free to check the checkbox of microphone, sound as well as a webcam;
Step 3: Press the "Start Recording" button now and you will be able to choose whether to record your entire screen, an application window, or Chrome tab;
Step 4: Click on the "Share" button to confirm your choice and remember to switch to your favorite live video;
Step 5: Now hit on the "Stop Recording" button when you are ready, and after that, you will be able to preview your saved video and click on the "Download" button to save it to your computer.


