With the increasing demand for video merging, various video merging programs have appeared one after another. Thereinto, PowerDirector developed by CyberLink in 2001 can be regarded as one of the most popular and professional video joiners. Many video enthusiasts enjoy using it to do a lot. But some who are not greatly familiar with it might not know how to precisely operate it to combine video clips. To give a hand, the following explains how PowerDirector combines clips. Also, introduce a PowerDirector alternative to provide more flexibility and creativity.
- Part 1. Combine Clips in PowerDirector
- Part 2. Combine Clips in PowerDirector Alternative
- Part 3. How to Choose a Suitable One
Part 1. How Does PowerDirector Combine Clips
PowerDirector is one of the best Windows video editors that features many comprehensive and high-end functions. With the assistance of it, you can combine a sequence of video clips into a single file and apply creative effects like Hollywood-style green screen, cool transition effects, frame-by-frame motion tracking, etc to make your clips unique. More, its supported import and export formats are various. Some general formats like MP4, VOB, WMV, AVI, MPEG, etc and even 360 video are included.
Step 1 Download and install PowerDirector

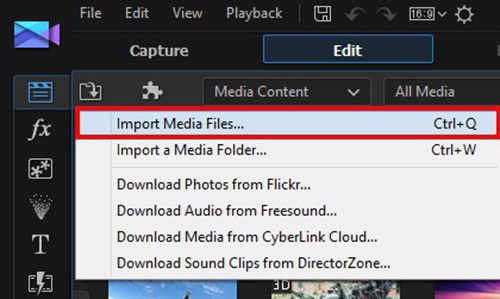
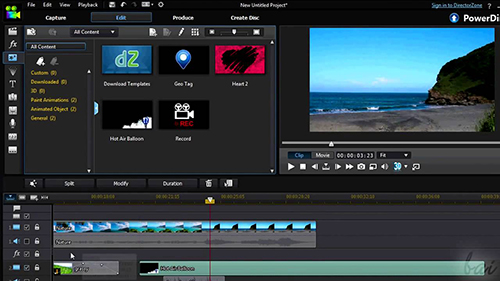
The first thing to do is installing and running PowerDirector on your Windows computer. Then click an import icon and choose "Import Media Files" or "Import a Media Folder" to add your video clips. Afterwards, drag them to the timeline one by one.
Step 2 Trim and edit clips

According to your needs, trim and edit these clips. You can drag the mark in and mark out position sliders to the proper positions and then click "OK" to trim clips, or apply different special effects to make your clips more creative, etc.
Step 3 PowerDirector combines clips

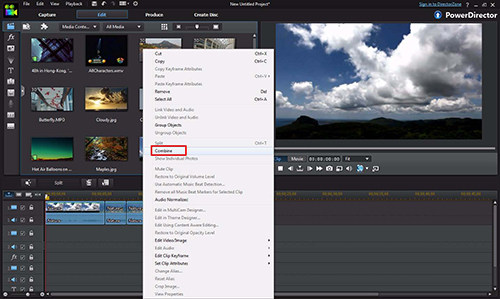
After editing, select all these clips and right click on one of them. Then in a shown side-menu, choose "Combine" to put clips together.
Part 2. How Does PowerDirector Alternative Join Clips
It is undeniable that using PowerDirector is a great choice to combine lots of video clips into one file for watching in succession. To create more probabilities of merging clips, here presents a wonderful PowerDirector alternative - Joyoshare Video Joiner. It is an uncomplicated and reliable video/audio joining program with high technical performance as well as wide compatibility and strong versatility.
Specifically, it works well on both Windows and Mac and nicely supports a wide selection of file formats, including popular MP4, MP3, M4V, MKV, MOV, WMV, AVI, OGG, M4A, etc and even web videos. Besides, designed with basic editing feature, it gives you the capability to enhance and polish your video clips as you demand. More importantly, it comes with a lossless mode to join multiple clips without impacting the video quality.
Major advantages of Joyoshare Video Joiner:
Compatible with a wide range of file formats
Applied to both Windows and Mac operating system
Join any video clips of same format quickly and losslessly
Have ability to edit videos and customize video parameters
Step 1Install and launch Joyoshare Video Joiner
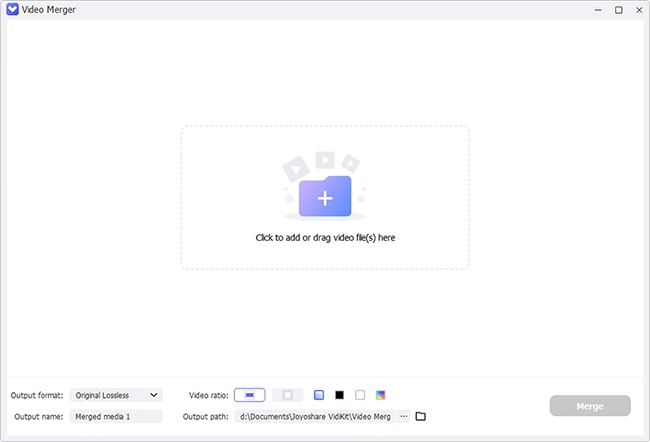
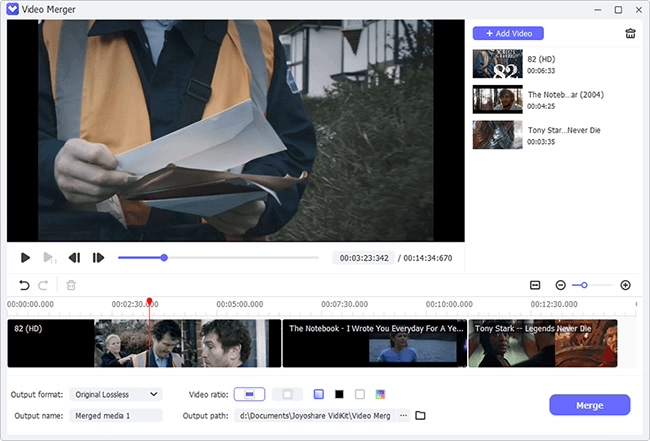
From Joyoshare official website, download and install Joyoshare Video Joiner on your computer. After this, launch the program and then head to "Open File" in the bottom left corner to add your video clips. More conveniently, you can drag and drop video clips into the main interface.

Step 2Determine a joining mode and export format
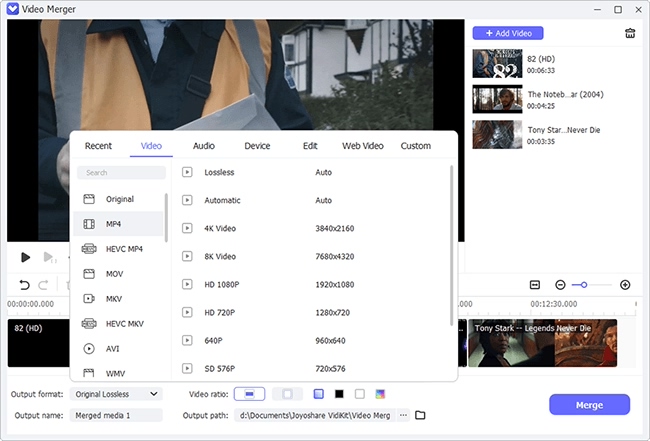
With the help of "Format" icon, you will get into another interface, in which you need to choose a proper merging mode and a desired output format. Before choosing, you should know that the high-speed mode is for losslessly joining video clips of the same format and same parameter at 60 X faster speed while the encoding mode is to merge files in different formats and customize videos with various effects.

Step 3Cut video clips
Once selected, you ought to go back to the first interface by clicking on "OK". Then you are allowed to preview, rename, reorder these clips. If find something undesired while previewing clips, you could slide the timeline to delete it easily.

Step 4Customize video clips
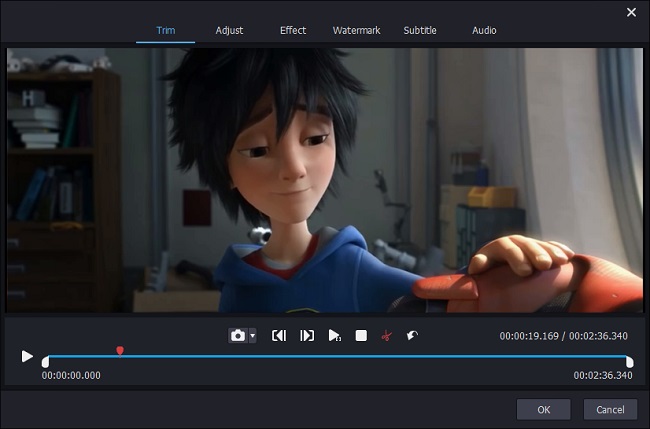
The feature of customizing video clips is only for users choosing the encoding mode to combine clips. For them, now they has the ability to trim clips, rotate clips by 90 or 180 degrees, change aspect ratio, apply visual and sound effects, insert subtitles, design watermark in text or image, etc.

Step 5Joyoshare Video Joiner combines clips
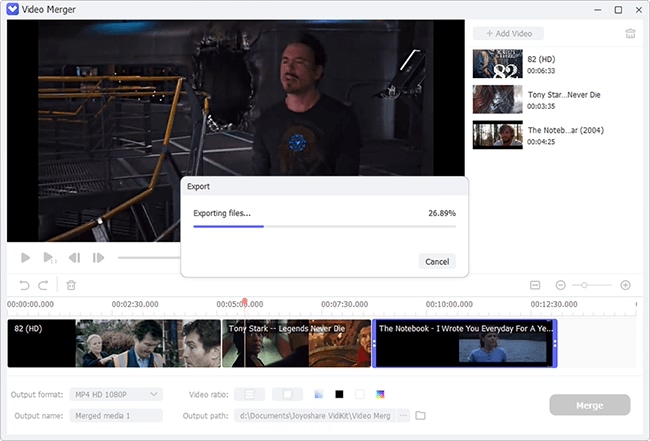
When everything has been arranged, the last thing to do is touching "Convert" to start the merging process. If choose the high-speed, it only take a few seconds. If choose encoding mode, you will spend some time because of the transcoding process. After finishing, your combined clip will be saved in a converted file in the local file folder.

Part 3. How to Choose Between Them
For Windows users:
Both of them are workable. If you are a beginner and focus on merging clips without high demand for editing, it is suggested that you try Joyoshare Video Joiner. After all, it is expressly developed to join videos seamlessly and losslessly. PowerDirector may be better suited for professionals due to its complicated interface and advanced editing tools.
For Mac users:
Joyoshare Video Joiner is more suitable because PowerDirector only runs on Windows.
