Shot or capture multiple movie clips from your favorite movies? And you have a burning desire to combine them to make a new and unique movie? That's a wonderful idea. But how to accurately combine movie clips? You are suggested to draw support from a video joiner to get there. If you have concerns about the complexity of certain joining software, take a look at the following content that concentrates on two professional yet simple-to-operate video merger software - Windows Photos app and Joyoshare Video Joiner.
- Part 1. Combine Movie Clips in Windows Photos App
- Part 2. Merge Movie Clips in Joyoshare Video Joiner
Part 1. How to Combine Movie Clips in Windows Photos App
For Windows users, using Windows built-in Photos app is a free and straightforward method to combine movie clips. Every Windows user should be far from alien to this app. But not everyone knows how to use it to merge videos. To offer help, below gives a step-by-step guide on how to get several movie clips joined together with it.
Step 1 Input movie clips into Windows Photos app
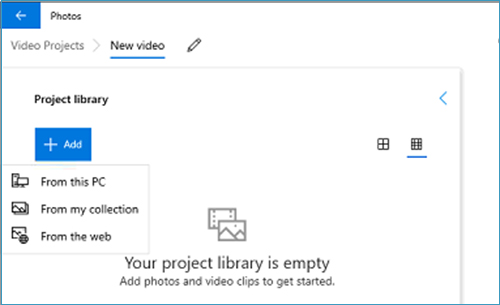
Click Windows icon in the bottom left corner of your computer and then choose "Photos". After opening this app, press on "Video Projects" - "New video project". Next, it will ask you to name the video file. Later, touch "Add" to choose your captured movie clips from the local file folder.

Step 2 Edit movie clips
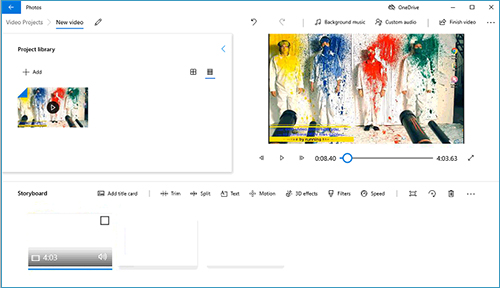
When all your movie clips are added, tap on "Place in the storyboard" to put them in the storyboard (or directly drag them to the storyboard) to edit them. You are able to preview movie clips, trim or rotate them one by one, insert a title or caption, apply 3D effects or filters, modify the playback speed, etc.

Step 3 Start combining movie clips
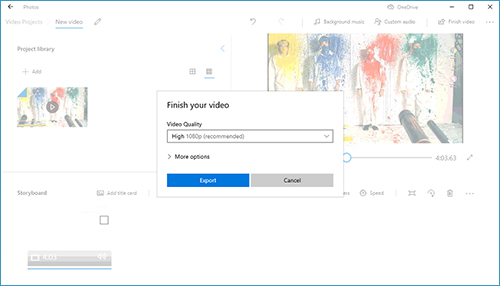
Eventually, click "Finish video" in the upper right corner to choose video quality for the export clip and then touch the "Export" button to combine your movie clips.

Part 2. How to Combine Movie Clips in Joyoshare Video Joiner
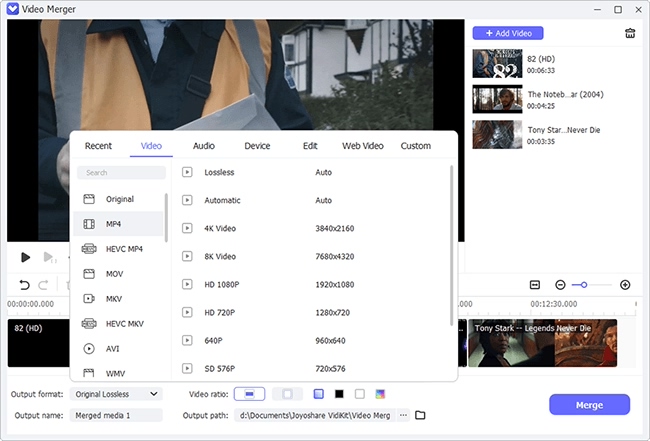
Talk of easy-to-use video joiner to join movie clips together, Joyoshare Video Joiner (for Windows and Mac) is a must-have. With its help, you can merge any video clips or audio tracks into a complete file in a breeze. Also, it allows you to convert your uploaded files to a slew of file formats like MP4, MKV, MOV, DVD, 3GP, WMV, 4K, HD, etc, and even device-compatible formats including iPhone, iPad, Apple TV, Huawei, Google 6P, Xbox 360, PSP, etc.
Above all, this joining software features two modes, high-speed mode and encoding mode, respectively, to meet different requirements. The high-speed mode has the characteristics of fast merging video clips of the same format without compromising the original video quality. Under the encoding mode, you have the capability to make various video clips joined together and get them personalized with fantastic special effects. It can be said that no one using Joyoshare Video Joiner can fail to appreciate its advanced techniques.
Major advantages of Joyoshare Video Joiner:
Compact interface and simple to operate
A video joiner with cutting and editing functions
Combine movie clips losslessly at 60 X faster speed
Support changing the name of each file and reordering files
Step 1Upload movie clips to Joyoshare Video Joiner
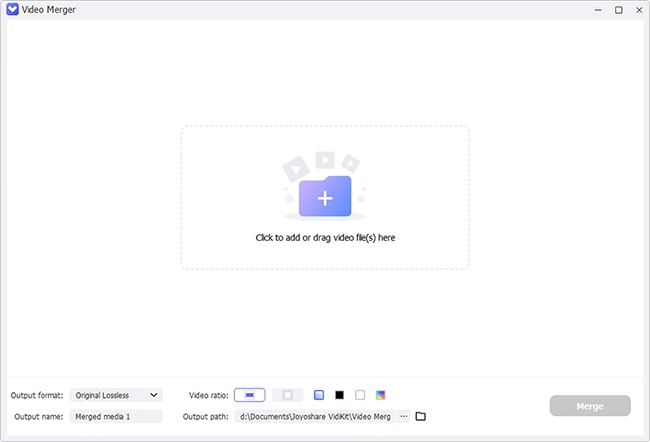
After installing the latest Joyoshare Video Joiner on your computer, please open it and them press on "Open File" to choose your captured movie clips from the local file. Alternatively, quickly drag and drop them to the designated position.

Step 2Choose a desired merging mode
When all movie clips to be combined have been uploaded, click on "Format" to choose a proper merging mode and output format. As has been explained above, if you need to merge these movie clips with the original quality, please select the high-speed mode; if the format of your movie clips is different, then you should combine them under the encoding mode. By the way, with encoding mode, you have the permission to edit your movie clips and customize the selected output format by touching a gear icon next to the chosen format.

Step 3Cut movie clips while previewing
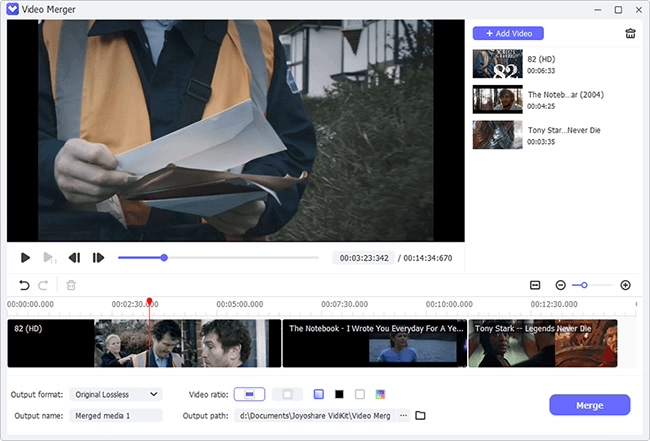
Once selected, tap on "OK" to return to the previous interface. Next, click to preview every movie clip. In the meantime, slide the yellow timeline to cut something unwanted off the movie clips. Besides, you can rename and rearrange each clip if necessary.

Step 4Edit movie clips under encoding mode
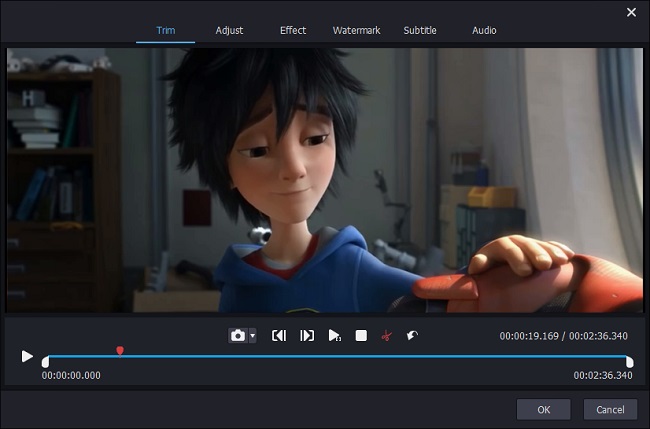
If you choose the encoding mode in step 2, now you are allowed to click the "Edit" icon to trim clip, rotate clip at 90 degree, insert your own watermark and synchronized subtitles, add awesome visual and sound effects, adjust brightness and aspect ratio, and more.

Step 5Combine movie clips
In the last step, everything must be set up. It is high time to start combing these movie clips together with the help of "Convert" button located at the bottom right corner. As soon as the merging process is finished, find a file named converted in the local file folder, in which the combined movie clip is saved.
