When it comes to Avidemux, most of you know it is a free-of-charge and open-source video editor, channelling its energies to cut, filter and encode multimedia files in the easiest possible way. Nearly all its editing tasks are done through "Filters", and subtitling is no exception. If you are ready to try this freeware to subtitle a video but fail to find its subtitle tool, follow the hands-on guide, which details how Avidemux adds subtitles to a video and additionally recommends an alternative approach to embed subtitles with no restrictions.

Part 1. Avidemux Subtitles: How Does Avidemux Add Subtitles
The following is the complete instructions on how to add subtitles in Avidemux on Windows. The whole procedure is rather simple. No professional knowledge is required. You just locate its subtitles filter as discribed in the guide, then twice as much can be accomplished with half the effort.
Step 1 Open Avidemux and add video
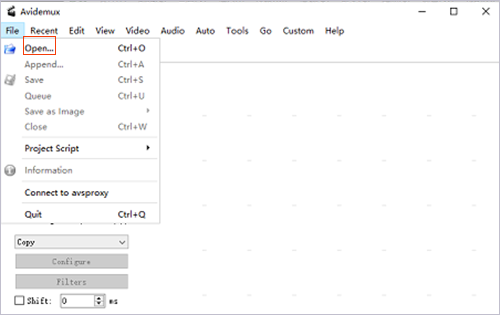
Double-click Avidemux to open it after downloading and installing. Select "File" > "Open..." to import the video to which you wish to add subtitles from local system. Or, simply drag and drop the video to Avidemux.

Step 2 Avidemux adds subtitles
Now, click the drop-down button of "Copy" under "Video Output" option to specify a video output format. Then, tap on "Filters" or the top-menu "Video" > "Filters". In the window of "Video Filter Manager", find "Subtitles" from the side menu bar. Choose and double-click the subtitle file format. In the following window, tap "Open" to add subtitle file. After that, set subtitles line space, font scale, margin, etc as needed. Once done, click "OK" to quit the current window. You can preview the subtitles effect by the use of the "Preview" button.

Step 3 Export the subtitled video
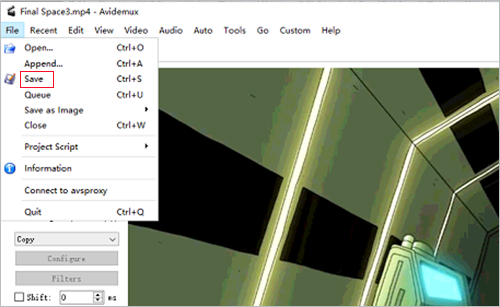
With satisfactory, close the preview window and go back to the main interface. Again, head to "File". From the drop-down list, press "Save" to custom output destination and file name. Then, click on "Save" to start exporting the video with subtitled added.

Part 2. How Does the Alternative to Avidemux Add Subtitles
Avidemux is cost-free and effective, but inevitable having more or less limitations in the aspects of subtitle, which is reflected in the fact that it only works with subtitle files in SSA, ASS, and SRT. To overcome this, an optimal alternative - Joyoshare Video Joiner is introduced to add subtitles to video without limit. Such software is not simply a lossless video joiner to merge videos or audios without loss of original quality, but also comes with a built-in video editor to serve editing purpose, like subtitle, watermark, change aspect ratio, convert, trim, extract audio from video, etc. Its subtitling tool provides you with the ability to insert all kinds of subtitle files, including SSA, ASS, SRT, SUB, SMI, LRC, SAMI, etc., to video file in MP4, AVI, MKV, MOV, HD, 4K, TS, MPEG, DVD, YouTube, Vimeo, Dailymotion, and so on.

- Merge video with subtitles in a simple way
- Support subtitles and videos in various formats
- Custom output quality, format, codec, and more
- Join videos of the same format without degrading quality
- Cut, rotate, crop, flip, watermark, adjust, background music, etc
Full steps on how to add subtitles to video in Avidemux alternative - Joyoshare Video Joiner:
-
Step 1 Start the program to load up video
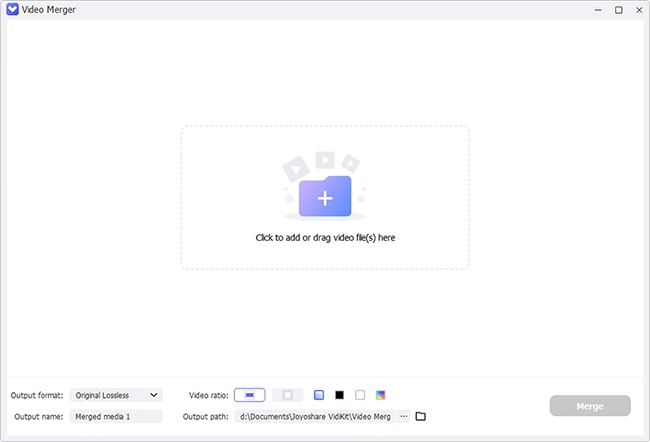
Before the subtitling task, prepare Joyoshare Video Joiner, the video to be subtitled, and the required subtitle file on your computer. Run the program and click the bottom-left button of "Open File" to upload the prepared video from computer. You are also able to drag the video file to main interface in a direct way.
-
Step 2 Complete format settings
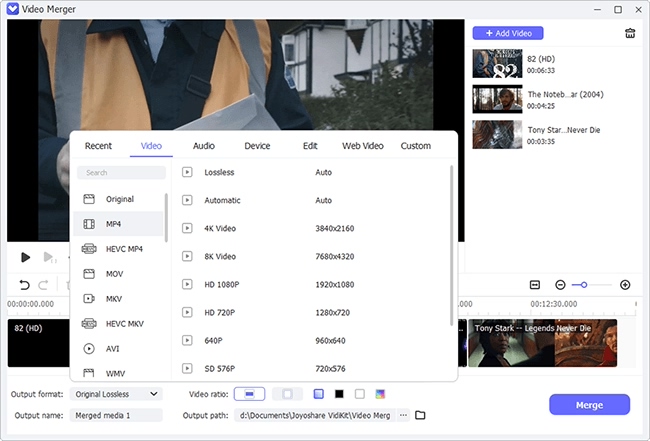
As soon as your video succeeds to be loaded up, have a click on "Format" icon. What the next thing is to start the encoding mode in order to subtitle a video and select an output format under it. The encoding mode is a customizable mode, allowing the modification of video codec, resolution, bit rate, frame rate, etc. If you need, touch a gear icon located at the top right of the marked format box to bring out the format customization panel.
-
Step 3 Add subtitles in Avidemux alternative
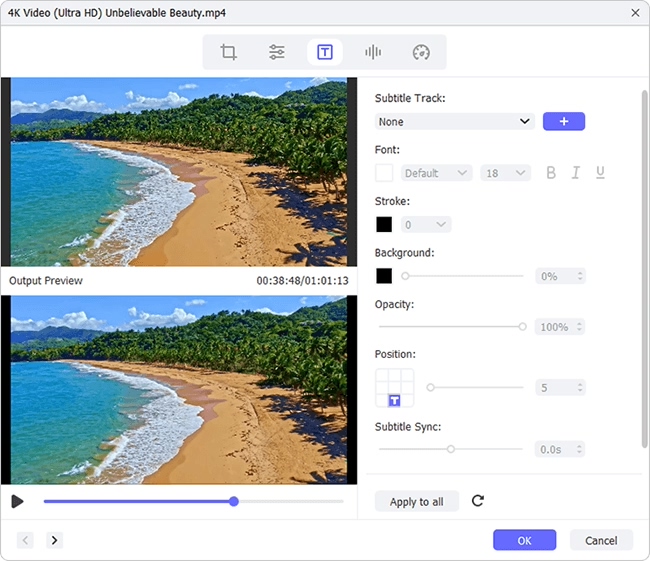
Return to the main screen, now. There is an "Edit" button next to your added video file, which helps you guide you to the editing interface. From the top editing tools, choose "Subtitle", go to the "File" section, and then click "..." icon to import the ready subtitle file. The subtitles results will show on the right preview window. Joyoshare Video Joiner supports editing the embeded subtitles. When necessary, flexibly adjust the position, size, font, style, color, effects, transparency, etc of the subtitles as you like. Without additional editing requirements, please touch "OK" back to the first interface for output.
-
Step 4 Export the video with subtitles
Press "Convert" icon at the lower-right corner of the main screen to start processing. After the progress bar disappears, the process is finished and the output folder saving the final subtitled video will be presented.
