Q:"While recording my first podcast, I recorded a few separate audio tracks. I need to combine them into one stream audio track to edit. It is said that Audacity is a multi-track audio editor. I have tried but I have trouble operating it. Anyone knows how to use Audacity to join tracks? If any idea, please let me know. Thanks a bunch." - Jolly Giant from VideoLan

Gone are the days when it takes a lot of effort to combine audio tracks. These days audio joiners are continuing without end. Of all these joiners, Audacity is so beloved by users. However, the recent report about Audacity is that users have difficulty in using it to merge audio tracks. In allusion to the problem, below demonstrates how Audacity combines tracks and even details an alternative to Audacity to get a little deeper in this field.
Part 1. How Could Audacity Combine Track at Every Step
A growing number of people love to utilize Audacity to merge or edit audio tracks, for it is free and open-source. As a specialized audio editor, Audacity can join, cut and edit audio files on Windows, Mac OS X, Linux, BSD, or other operating systems. It supports sound files of different formats and many plugins like LV2, VST, Nyquist, etc. Powerfully, it offers advanced editing function to paste and delete commands with unlimited "Undo" and "Redo". Working with Audacity, you are even allowed to choose your preferred look and feel for the software.
The following is about how to combine audio tracks with the help of Audacity.
Step 1 Launch Audacity and add tracks
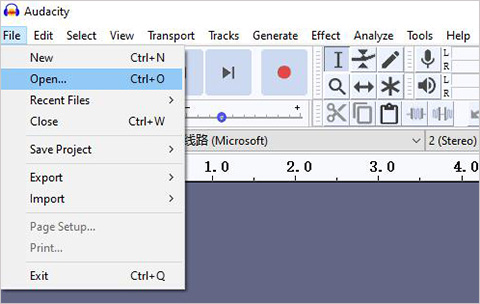
Download and install Audacity on computer. Then, launch it. If you already have it, directly run it. On its first screen, choose "File" > "Open..." to import audio tracks to be combined, or use its drag & drop feature to complete audio file upload.

Step 2 Audacity merge two tracks
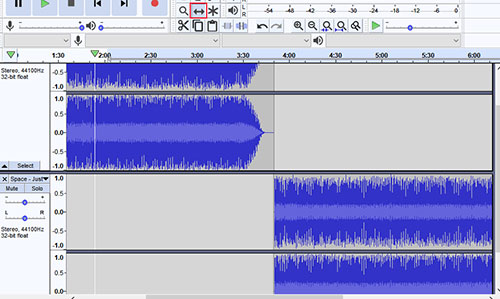
The added audio files are going to placed on the different tracks. To merge them one after another seamlessly, use the "Time Shift Tool", then click and move one of audio file until the end point of the first file lines up with the start point of the second one, as shown below.

Step 3 Export the merged track
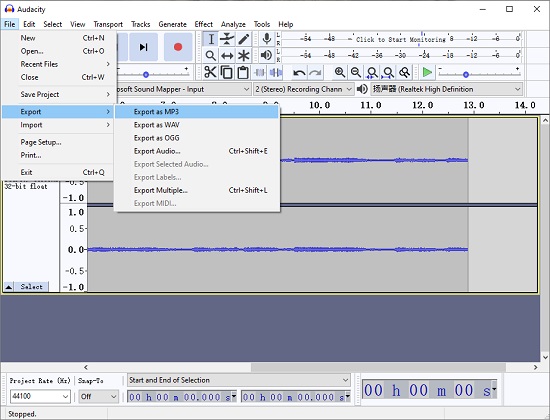
Next, please touch "File" and then to "Export" to select an output format and finish output settings. After that, tap on "Save" to start merging tracks in Audacity.

Note: For beginners, using Audacity may be a little bit complex because it does not come with an intuitive enough interface. Without a step-by-step guide, many users fail to operate it. This is why the following is added as an alternative.
You May Also Like:
Part 2. How to Merge Tracks - Audacity Alternative
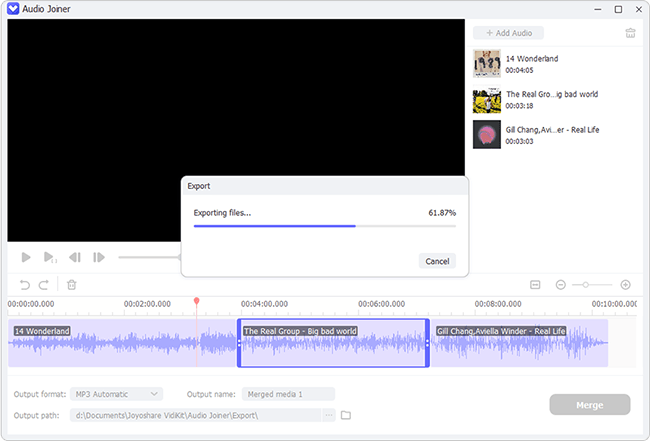
Being an all-round audio and video merger software, Joyoshare Video Joiner is here well deserved to be recognized as the best alternative to Audacity merge tracks. It's not only capable of combining video clips or audio tracks into one file but also supports having them cut and edited with ease. More importantly, it is equipped with a lossless mode, which can join files at 60X speed with no quality loss. Beyond that, its full compatibility makes it work well with all kinds of file formats like MP3, OGG, AC3, M4A, M4B, WMV, VOB, HD, TS, and much else. Anyone who has applied Joyoshare Video Joiner knowns that it is designed with an easy-to-use interface. Even a novice can handle it nicely.

- Combine audio tracks without the least distortion
- Real-preview, rename, and rearrange audio tracks
- Allow you to apply sound effects and adjust volume
- Support cutting and editing audio tracks with easy clicks
- Adjust output codec, quality, etc as you require
-
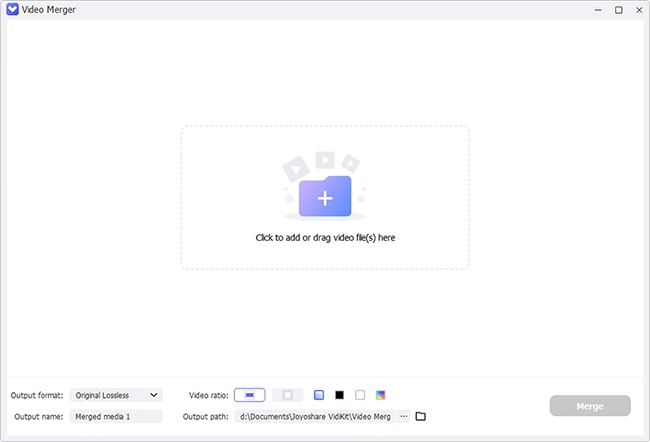
Step 1 Input tracks to Joyoshare Video Joiner
After finishing the downloading and installation of Joyoshare Video Joiner, run it on your computer, please. Then drag and drop audio tracks to the program or you can also choose "Open File" to add them.
-
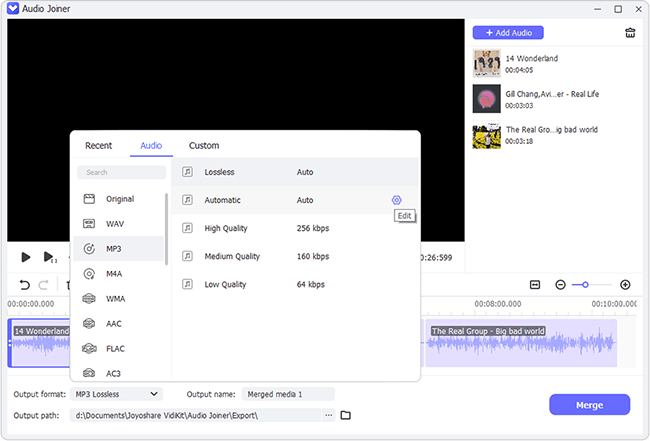
Step 2 Choose a merging mode and export format
Touch "Format" to get into the next interface. Afterward, according to your needs, select a merging mode and output format. Specifically, users who want to join files with lossless quality need to click the high-speed mode. Users choosing the encoding mode are allowed to edit audios and customize file format.
-
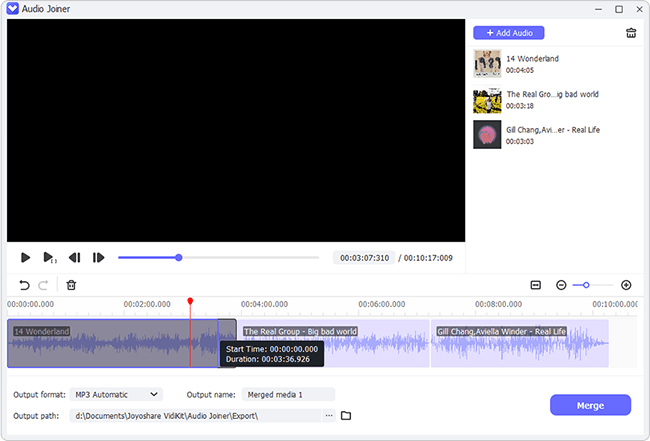
Step 3 Delete needless parts from audio files
When merging mode and output format are selected, tap on "OK" to go back. Next, you can preview and rename audio tracks. If you find something unwanted while previewing, you could move the timeline to delete it.
-
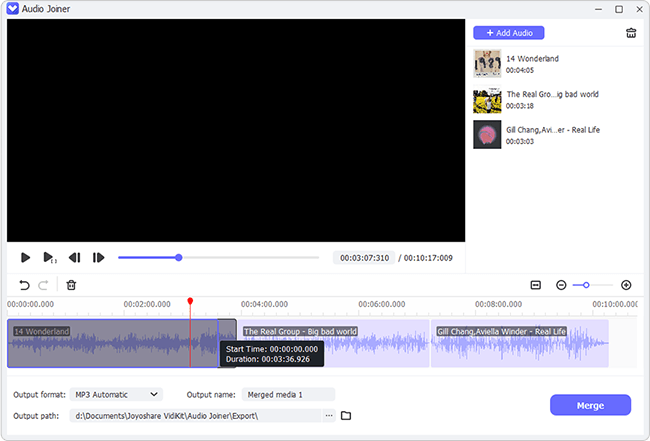
Step 4 Edit audio tracks
This step is only for users who use encoding mode to combine files. They can hit on "Edit" button to trim audio tracks, apply different audio effects, adjust audio volume, and more.
-
Step 5 Merge tracks in Audacity alternative
At this point, everything is set up and you just need to touch "Convert" to start the merging process. Wait a moment; these audio tracks will be combined seamlessly and stored in the local folder.
