Watching YouTube video with no captions is discouraging. If you download a YouTube video, especially the foreign-language video without subtitles available, you certainly need a tool to create mother-tongue subtitles for the video. Sure, if you are a YouTube video publisher, adding subtitles to your uploaded videos can protect viewers from getting perplexed and stimulate the interest of them. How to add subtitles to YouTube video in both cases? This article including 3 solutions will tell you.
Part 1. Joyoshare Video Joiner: Add Subtitles to YouTube Video before Uploading
To attach subtitles to YouTube video, Joyoshare Video Joiner definitely deserves to have a try. By the name of video joiner, many users might take it for granted that it is the software only with the ability to merge videos together. In fact, that is not the case.
Technically speaking, this program is a well-Functioning video editor for Windows and Mac. Thanks to its high performance, it has the skill to join media files instantly and losslessly as well as to edit all types of audio/video files by way of adding subtitle files in ASS, SSA, SRT, SUB, SMI, SUP, LRC, SAMI, etc, inserting music, designing watermarks, applying stylized visual effects, removing noise, etc.
Why Suggests Joyoshare Video Joiner:
High-speed mode to cut and join media files losslessly
Add various types of subtitle files to YouTube video without trouble
Convert YouTube video to any format (device included) at 60X rate
Encoding mode to edit files and adjust codec, frame rate, bitrate, etc
Support YouTube, HD, VOB, MP4, M4V, MPEG, and many formats
How to add captions to YouTube video using Joyoshare Video Joiner:
Step 1Add YouTube video to the program
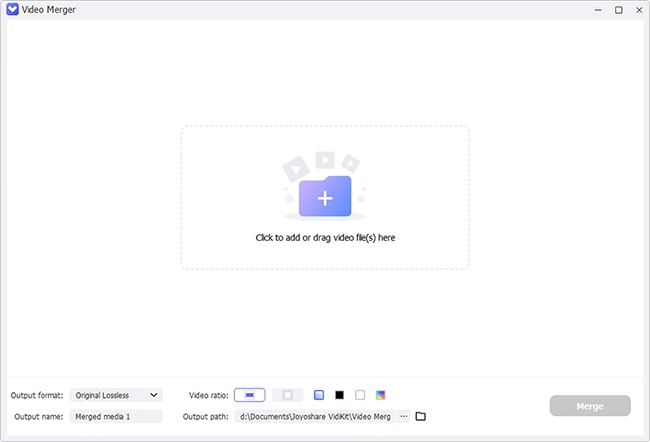
With Joyoshare Video Joiner downloaded and installed on your desktop, double-click to launch it. At the bottom left, click the "Open File" to browse your local file and select the target YouTube video. You can also drag your video to its interface quickly and simply.

Step 2Output format settings
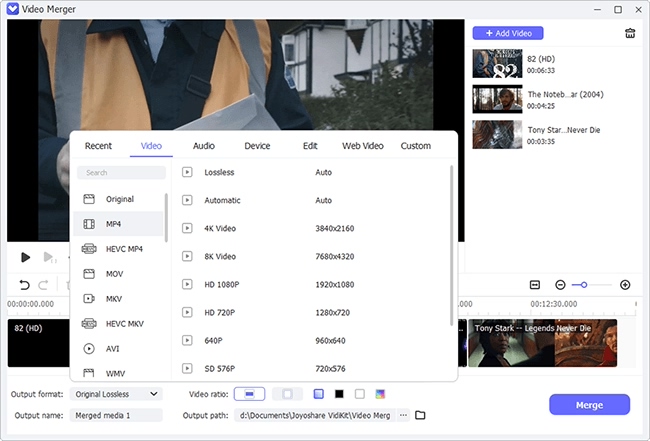
Next, press on "Format" to bring out the formatting window. Before setting the output format, choose a mode first. For subtitles insertion, only the encoding mode can be workable, which allows customizing file format quality and parameters by touching the gear icon located at the top right corner of your chosen output format as well.

Step 3Merge subtitle file with YouTube video
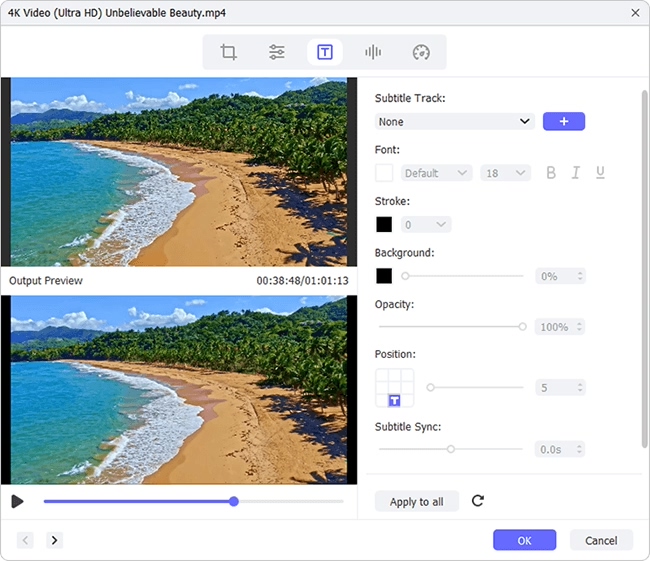
Now, head to the "Edit" icon next to the uploaded video file. In the nexr window, choose the "Subtitle" tab and then to the "File" section. To add subtitles, please click "..." to import your prepared subtitle file. You can preview the result in the right window. After that, adjust text position, margin, scale, transparency, or hit on the "T" icon to change its font color, style, size according to your needs.

Step 4Export YouTube video with captions
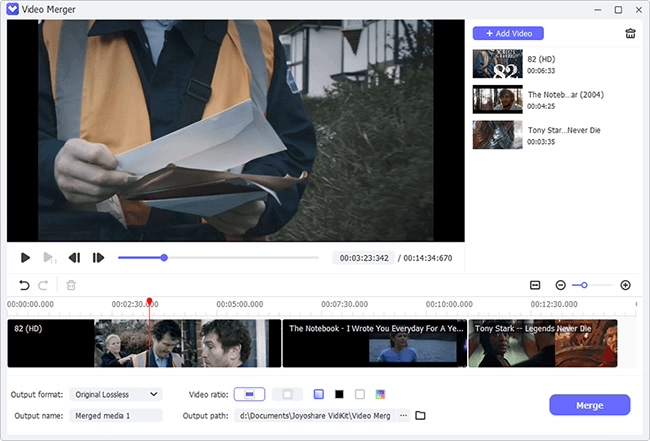
Once done, touch "OK" to return. You can rename the video as you like and lastly tap on "Convert" at the bottom right to export and save it on your computer.
Part 2. YouTube Studio: Add Subtitles to YouTube Video after Uploading
YouTube has officially gets rid of its built-in video editor, but it still features basic editing tools, enabling users to insert subtitles, add background music, and embed watermarks. Therefore, in the face of such a case that you desire to add captions to an uploaded YouTube video, don't hesitate to be aided by a free tool - YouTube studio.
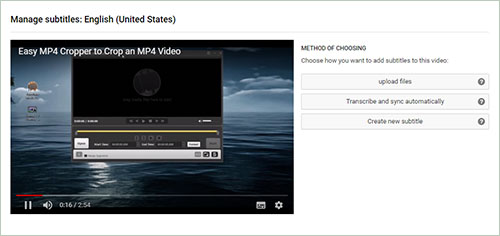
How to add subtitles to a YouTube video in YouTube studio:
Step 1: Navigate to www.youtube.com and log in to your YouTube account. Then, click your profile photo and opt for "YouTube studio" in the pull-down menu;
Step 2: In this interface, go to "video" from the menu on the far left. Among a list of uploaded videos, locate the one that you need to insert subtitles and click on its thumbnail image;
Step 3: Afterwards, select the "subtitle" option and followed by "ADD LANGUAGE" to do language settings. Once set up, hit on "ADD TO" under "Subtitle" of "Video details";
Step 4: YouTube provides 3 ways to add subtitles, including "Upload files", "Transcribe and sync automatically", and "Create new subtitle". You can choose any one to add captions from your YouTube video. On completion, touch "Release".
Part 3. VEED: Add Subtitles to YouTube Video Online
VEED is a stunning online video editing tool that produces easy solutions to create, edit, and subtitle videos without registering. As a perfect subtitle adder, it provides 3 flexible means of adding subtitles. You are free to choose automatic subtitles, manually creating subtitles, or uploading subtitles to add captions to YouTube video. With its rich editing items, you still further make any correction on subtitles like color, font, style, etc. If you don't mind that your video will be attached with its official watermark after exporting, you may have a shot.
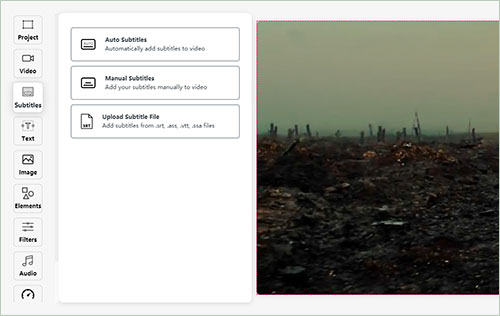
How to add text to YouTube video with online VEED:
Step 1: Type https://www.veed.io/add-subtitles-video in your browser and search. In the main interface, click on "Upload Video" to import the downloaded YouTube video from computer or enter the YouTube video link to import by "More Upload Options" - "YouTube";
Step 2: To add captions to YouTube video, there are three tactics. With "Auto Subtitles", you just select language to detect and press on "Start". It will generate subtitles with the video automatic transcription tool;
Step 3: With "Manual Subtitles", click "Add Subtitles" to manually add text. This option allows you to custom typeface, fone size, text style, font color, weight, position, translate subtitles, etc;
Step 4: With "Upload Subtitle File", input your downloaded subtitle file in SRT, ASS, VTT, and SSA to the YouTube video. Once subtitles are added, hit on "Download" to render the video. When the process comes to end, you could directly share the video to social platform.
