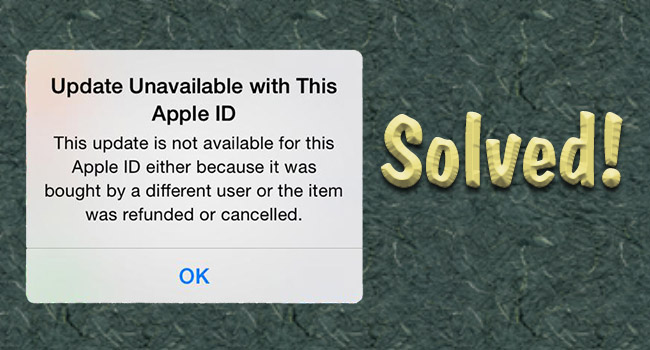
Why does it say "update unavailable with this Apple ID"? To figure out the reason, you should know when and where this prompt often occurs. Basically, it appears when you attempt to update some apps especially purchased in the App Store, or you are using a second-hand iPhone or refurbished device. As the message implies, the problem may be with your Apple ID. The app which needs to be updated may be purchased by another Apple ID. It is also possible that your iOS system runs into trouble by misfortune. How to fix this issue instantly? Go on to read 10 solutions provided in this article.
- Solution 1: Force Close App Store
- Solution 2: Restart and Force Restart iPhone
- Solution 3: Reinstall the Faulty App
- Solution 4: Check Apple System Status
- Solution 5: Reset Network/All Settings
- Solution 6: Sign Out of and Sign In App Store
- Solution 7: Change Apple ID Password
- Solution 8: Recover the Previous Apple ID
- Solution 9: Upgrade/Downgrade iOS
- Solution 10: Repair iOS System without Data Loss
Solution 1: Force Close App Store
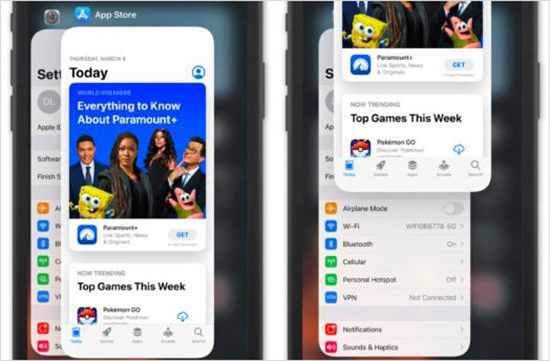
The unavailable updating with your Apple ID might happen on the basis of the unresponsive App Store. Hence, to wipe out this error, you could simply force close the App Store. If you are using iPhone with a Home button, double press it and swipe up the app on the Recently Used Apps screen. For iPhone without a Home button, swipe up from the bottom, pause in the middle of the screen, and close the App Store card.
Solution 2: Restart and Force Restart iPhone
If you are running your iPhone for a long time without giving a shutdown for a break, "update unavailable with this Apple ID" sometimes occurs. The tech-free method is to refresh your iPhone by restarting it. However, if the problem doesn't be settled, you could try to force restart your iPhone with the following guide.
- iPhone 8 or later: quickly press and release the Volume Up button, quickly press and release the Volume Down button, and hold the Power button until the Apple logo appears.
- iPhone 7 or 7 Plus: simultaneously press and hold the Volume Down button and the Power button when you see the Apple logo.
- iPhone 6 or earlier: press and hold both the Power button and the Home button in the meantime, release them until the Apple logo occurs.
Solution 3: Reinstall the Faulty App
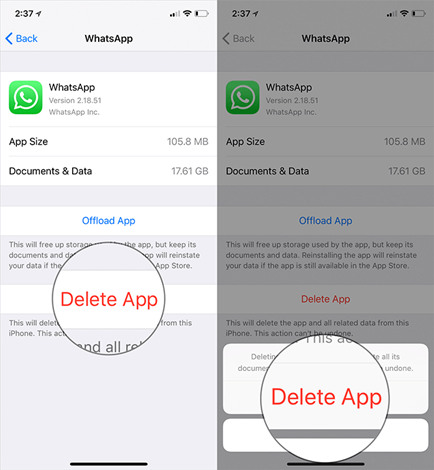
In case you know the app that fails to be updated, you could directly delete it and get reinstallation. If you have no idea about it, it's fine to check all the apps one by one by updating them until you figure out which one caused this issue. Then, continue to uninstall it.
- Settings → General → iPhone Storage → Locate the faulty app → Delete App
- Find the malfunctioning app on the Home Screen → Tap and hold it → Choose Remove App → Delete App
When you delete the app successfully, you could download it again from the App Store.
Solution 4: Check Apple System Status
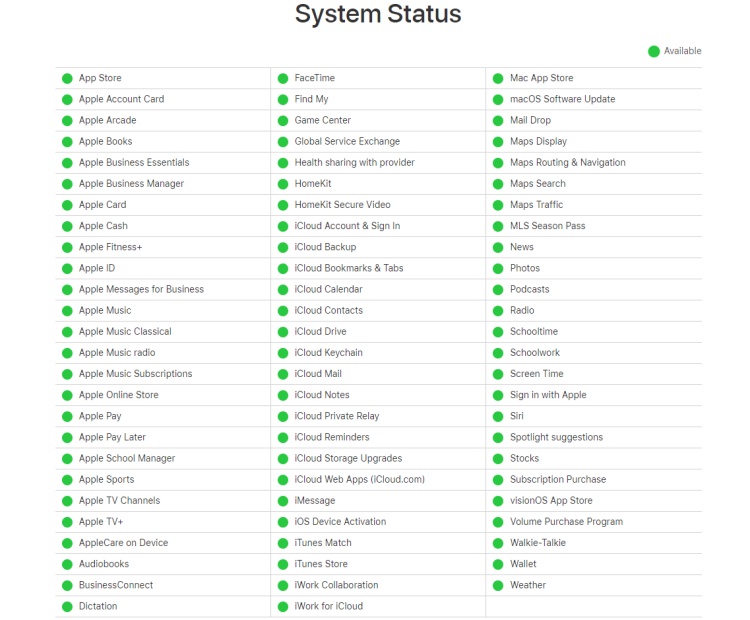
Are the foregoing easy solutions not able to disappear the unavailable Apple ID error? Maybe you need to check whether the trouble is on the Apple server side by visiting https://www.apple.com/support/systemstatus/. Find the "App Store" option and the "Apple ID" option to check if they are available with a green dot. As long as there is a mistake on a feature, you could click it to check the details. But you should wait until Apple fixes it, otherwise, the alert still exists.
Solution 5: Reset Network/All Settings
The fluctuated Internet connection is always the trigger for update failure. Actually, you could first turn off your cellular and Wi-Fi network and turn it on again, try to forget the Wi-Fi you connected and add it later, disable and enable Airplane Mode, or switch VPN off. Alternatively, go to the Settings app, choose General, hit Transfer or Reset iPhone, tap Reset and select Reset Network Settings. Besides, you could also reset all settings on your iPhone.
Solution 6: Sign Out of and Sign In App Store
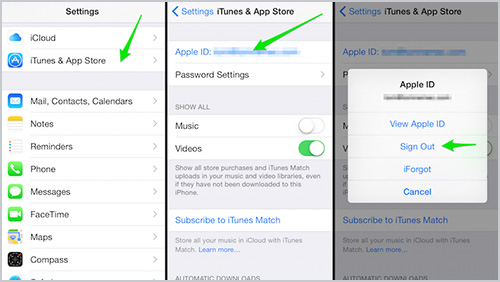
Another common method to fix "update unavailable with this Apple ID" suggests signing out with your Apple account and signing in again. Head to Settings, select your Apple ID, scroll down and tap Sign Out. Then, enter your Apple ID password to turn it off. Now, you are able to open Settings again and sign in with your Apple ID.
Solution 7: Change Apple ID Password
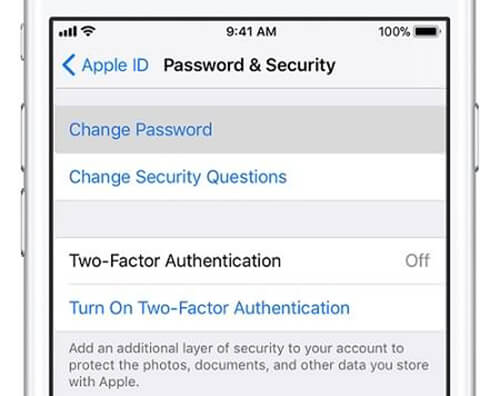
There is a slight possibility that the problem is related to your Apple ID. To avoid recognizing password failure, you could change to a new one. Open the Settings app, tap your Apple ID, select Password & Security, hit the Change Password bar and enter your screen passcode to set up a new password. Then, you can log out with your Apple account again and log in with the new password to see if you are allowed to update.
Solution 8: Recover the Previous Apple ID
If you are sure that the update-failed app is purchased on your previous Apple ID, whose password is forgotten, try to recover that account and log into it to update the application.
- Step 1: Visit iforgot.apple.com and enter your previous Apple ID
- Step 2: Type the characters in the image and click Continue
- Step 3: Complete the phone number bound to the account
- Step 4: Choose a device to receive the notification
- Step 5: Enter the verification code it sends
- Step 6: Set up a new password
Solution 9: Upgrade/Downgrade iOS
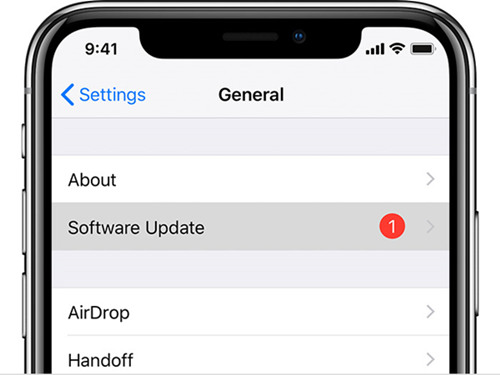
If you are bothered by the Apple ID update error since your upgrade to the newest iOS version, you'd better downgrade it. On the contrary, if you are running the outdated iOS version and other similar system problems occur from time to time, you'd better upgrade to the latest version. The updating iOS process can be completed inside your iPhone. Just choose the General option on the Settings app, tap Software Update and hit Download and Install. To downgrade, I recommend you using a third-party program to free yourself from the complicated progress.
Solution 10: Repair iOS to Solve Update Unavailable with This Apple ID
It can be inferred that the iOS system on your iPhone is corrupted if the error message persists. In light of this possibility, it is essential to repair the system so as to solve the annoying trouble. Joyoshare UltFix is ready to assist you. Similarly, problems like "unavailable to sign in with Apple ID", and "cannot create Apple ID" are capable to be solved easily. Besides, this software possesses the downgrade iOS feature if you don't know how to go back to the previous system version. It assures you of a high safety factor and a high success rate of repair, which will eliminate your worries.
- Recover 150+ kinds of iOS/iPadOS/tvOS problems
- Standard repair mode assures no data loss
- Downgrade/upgrade iOS easily
- With a high success rate, safety factor and compatibility
Step 1 Plug iPhone into Computer and Launch Joyoshare UltFix
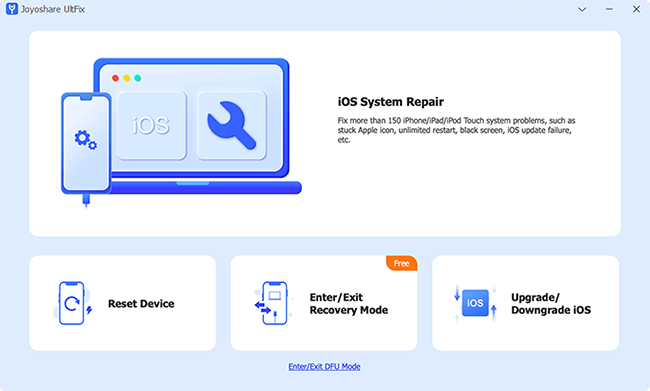
Plug your malfunctioning iPhone into a trusted computer via a USB cable. Launch Joyoshare UltFix and enter the iOS System Repair section. Look through the probable issues you may meet and click Start moving to the next screen.
Step 2 Choose Standard Repair Mode
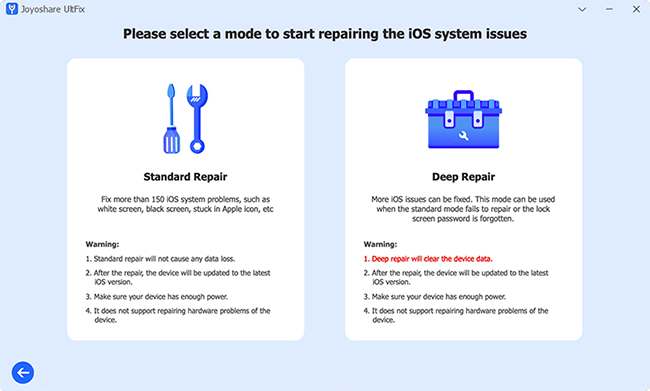
After having a clear recognition of the preconditions, click the Standard Repair part. When your iPhone is recognized with no obstacle, you will be guided to the next step. When it has some glitches on recognizing device, you are required to put your iPhone into DFU mode or recovery mode manually with the instructions on the screen.
Step 3 Download and Verify Matched Firmware Package
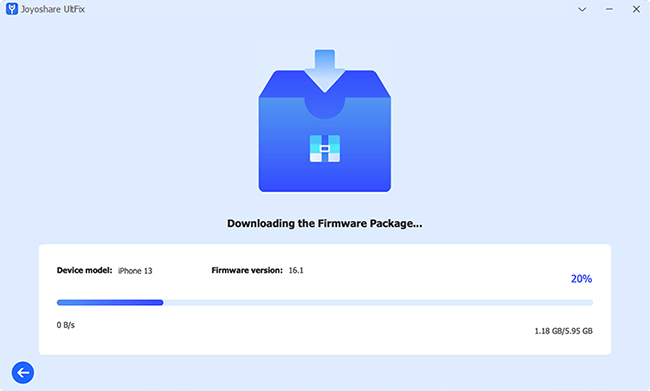
Carefully check the detected information about your iPhone, and download the matched firmware package. Once the verification is completed, continue to the last operation.
Step 4 Repair Update Unavailable Error
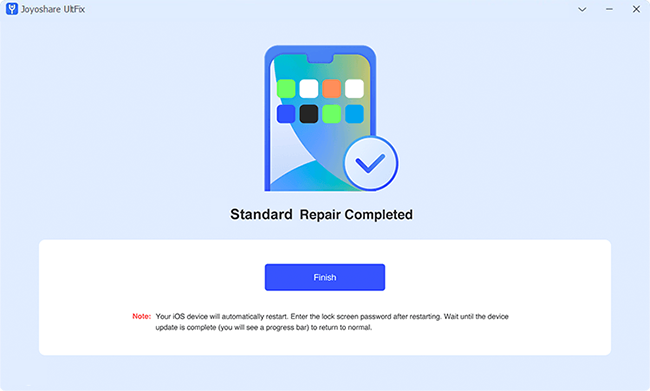
Click the Repair button to start repairing the iOS system as well as the update failure. When the Finish button appears, try turning on your iPhone to check whether the problem is solved.
Sum Up
When you know the core cause of the "update unavailable with this Apple ID" issue, you have the ability to determine which solution you should use. If it is difficult to dig out the exact reason, it is okay with step-by-step troubleshooting. If you deduce that the problem results from the iOS system, you can utilize Joyoshare UltFix to get recovery. Anyhow, wish you can successfully get out of the trouble with the assistance of this article and your app can be updated smoothly.
