With the release of the new iPhone model, you may want to keep up with the latest version. However, you don't want to lose the data on your previous iPhone. When you get a new iPhone, you start to transfer data. The problem occurs now. You find the iPhone stuck on preparing to transfer and have no idea about the next step. Transferring data dose indeed take some time, yet not excessively much time. The pleasing news is that we will help you fix this issue with 6 different methods. You could explore your new iPhone soon after reading.
- Part 1. Why Is My iPhone Stuck on Preparing to Transfer?
- Part 2. Fixes to iPhone Stuck on Preparing to Transfer
- Part 3. Alternative Ways to Transfer Data
- Part 4. FAQs about Data Transfer Issues
- Part 5. Final Words
Part 1. Why Is My iPhone Stuck on Preparing to Transfer?
Although there is no single cause for iPhone taking forever to transfer data, we have listed the most common reasons here, which helps you better locate the source of the problem.
- Internet connection: Data transfer needs a strong Internet connection. If you transfer data to a new iPhone with poor WiFi, the process will take longer than expected. Besides, make sure both of your devices are connected to the same Internet.
- Improper distance: iPhone is likely to stop transferring data when the devices' distance is not close enough, which causes your iPhone unable to recognize the command of transferring data.
- Data size: Supposing that you have a plethora of data files on your older device, it would require much more time to transfer. That's why your iPhone keeps showing preparing to transfer.
- iOS version: Outdated iOS version would also affect the transferring process, making the new iPhone stuck on preparing to transfer.
- Software issues: Software issues have an impact in every aspect of iPhone's operation. Unknown software issues can prevent your iPhone from transmitting data.
Part 2. Fixes to iPhone Stuck on Preparing to Transfer
Here are fixes that would help your iPhone accelerate the transferring speed, and these ways could be applied to almost all iPhone modes, including iPhone 11/12/13/14.
1. Check for Internet Connection
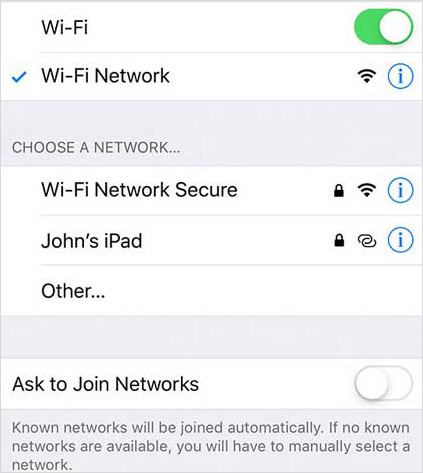
A stable Internet connection is an essential prerequisite for normal data transfer. Otherwise, it may pause the transferring progress. Besides, make sure both iPhones connected to the same network. You could check that by going to Settings → WiFi and confirm both devices are using the same network.
2. Reset Network Settings
If the problem persists, you could try to reset network settings, which is beneficial for alleviating any hidden network errors. The steps below would guide you on how to reset network settings.
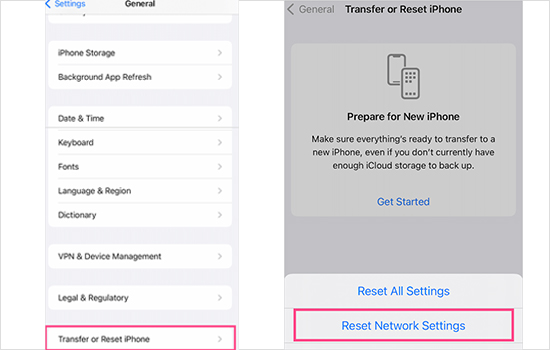
- Step 1: Open Settings app on your iPhone, and tap on General.
- Step 2: Swipe down to the bottom of screen and choose Transfer or Reset iPhone.
- Step 2: Then click on Reset, and select Reset Network Settings from the popup list. Enter your passcode and begin to reset.
3. Improve Data Transfer Condition
To reduce the time of transferring data, you need to eliminate any restricted conditions. For example, inappropriate distance between two devices would cause slow data transfer. Keeping devices near each other is helpful in stable transfer. The battery condition is contributing to the issue as well. Low power would decrease the performance of iPhone. Make sure the battery is healthy before transferring data, or you could charge both iPhones during the process.
4. Check for iOS Version
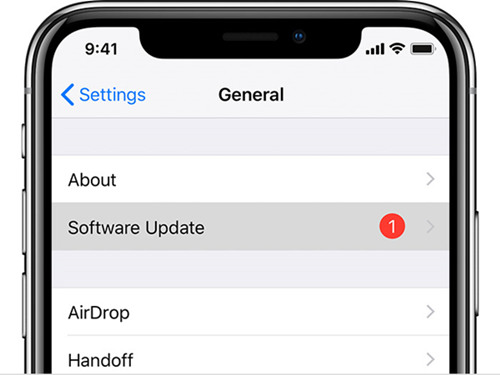
When using quick start to transfer content from the previous iPhone to a new iPhone, it would require your devices to be running iOS 11 or later. It's strongly advised to update your devices to the latest version, which could minimize the risk of iPhone getting stuck on preparing to transfer. To update iOS version, you are supposed to open Settings first, and tap on General. Then you can check the update by clicking Software Update. Your iPhone would check for you automatically, choose Download and Install if there is a new version.
5. Fix iPhone Data Transfer Stuttering without Losing Data
If you have tried the methods above and still couldn't get access to your new iPhone, your iPhone might be disturbed by software glitches. In this case, using a proficient iOS repair tool can help you tackle the problem. Joyoshare UltFix ccan simply fix 150+ iOS issues with zero data loss, including your iPhone stuck on preparing update or preparing to transfer. And it could guarantee your data security by prohibiting others from getting access to your data. With this powerful system recovery tool, your iPhone could stay healthy without being affected by almost all iOS problems. More than that, it could be compatible well with the newest version and model of iPhone.
- Fix iPhone transfer stuck on preparing to transfer in 3 steps
- Free to get your iDevices in or out of recovery mode
- Dual modes to cover all potential iOS system issues
- Support factory reset iDevices, upgrade and downgrade iOS version
Step 1 Run Joyoshare UltFix and Connect New iPhone with PC
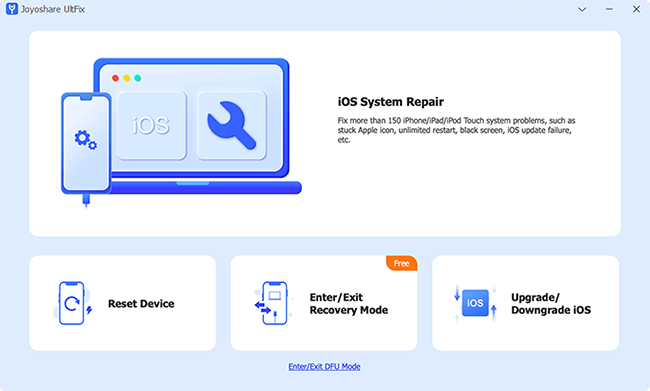
Get an official version of Joyoshare UltFix and run it on your computer. Then get your iPhone connected to computer and keep the connection during the whole process. Open the tool, you are supposed to click the iOS System Repair. Then simply click on Start button on the following screen.
Step 2 Pick Standard Repair without Losing Data
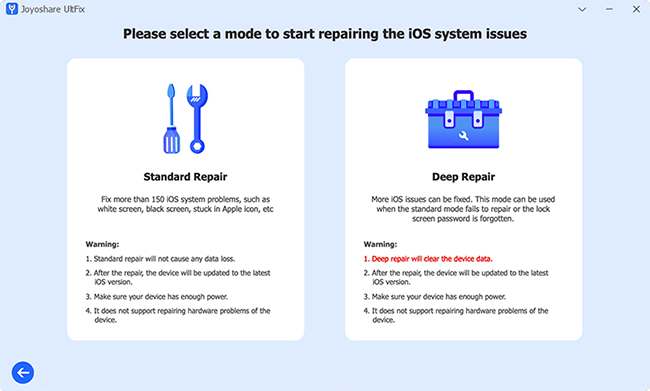
The dual modes of Joyoshare UltFix perform different actions. Standard Repair can be used to fix all common iOS system problems and keep your data, while Deep Repair works when fixing specifically troublesome problems. To get your iPhone successfully pass through the transferring stage, you could choose the standard repair. Then get to the next step.
Step 3 Verify and Download Firmware Package
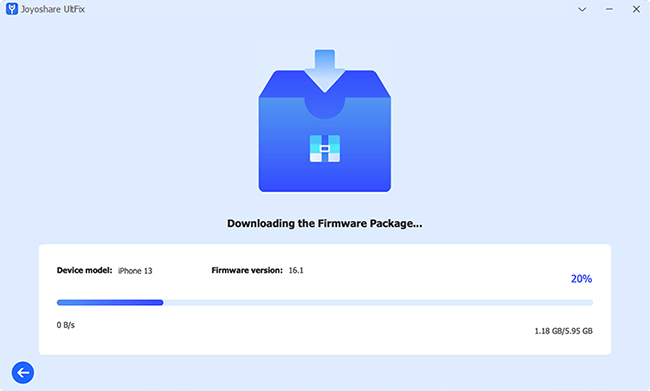
You'll be required to verify your device's information before downloading the firmware package. You need to carefully validate that all the information on the interface is correct and click on Download to get the package.
Step 4 Fix the Transfer Stuck Issue on iPhone
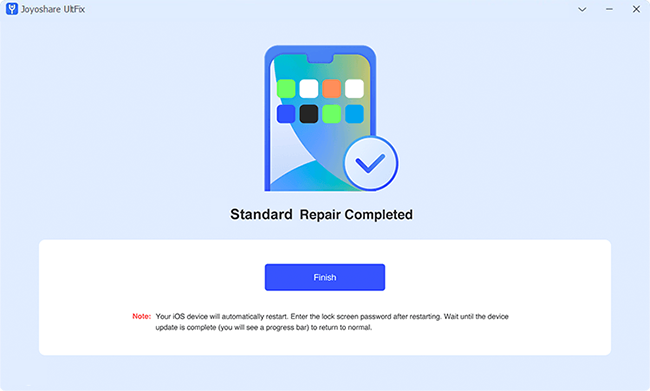
A new interface would appear after the firmware package has been downloaded, and click the Repair button. Then the software will fix the issue automatically in several minutes. After that, you could try to transfer data to the new iPhone again.
6. Resort to Apple Customer Support
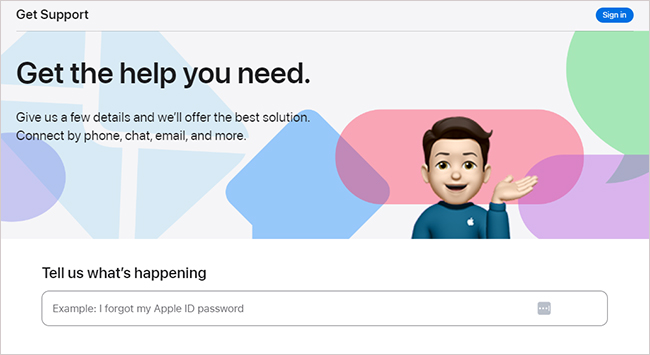
There is still a workaround that is suitable for fixing iPhone stuck on transferring screen. That's to contact Apple Customer Support. It will offer you professional advice by experts from Apple. You could get support by phone, email, chat, and more via Apple Support website.
Part 3. Alternative Ways to Transfer Data
You may want to know if there are other ways to transfer data without the risk of pausing in transfer stage on screen. Here are two alternative ways to transfer your data in a safe way.
1. Transfer Data to New iPhone Using iTunes
Using iTunes to transfer data is also convenient and straightforward. Just make sure you have installed iTunes on your computer in advance, then you could follow the guide below to complete the task.
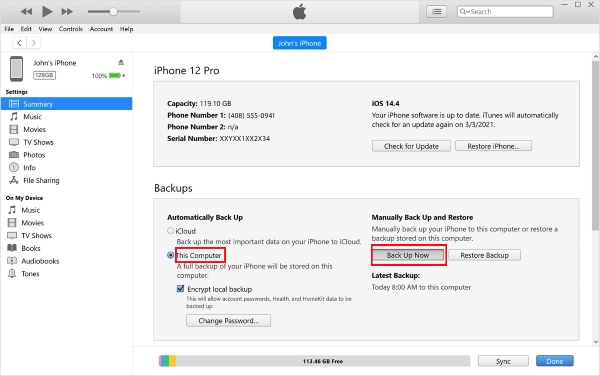
- Step 1: Connect your old iPhone to computer and open iTunes. Then locate the device icon and click it, followed by Summary option.
- Step 2: Select Back Up Now in Backups section, and wait for a while. When the backup process is finished, disconnect your old iPhone.
- Step 2: Connect your new iPhone to computer again. And get to the Summary screen like the steps above, then you could choose Restore Backup and choose the latest backup you just created. And enter the password if necessary.
2. Transfer Data to New iPhone Using iCloud
You can transfer the data to your new iPhone with iCloud backup as well. However, iCloud has limited free storage, you might need to buy extra storage for transferring data.
- Step 1: You are required to back up your data in iCloud on your old iPhone at first. Go to Settings → Apple ID → iCloud. Then click iCloud Backup and tap Back Up Now on the next screen.
- Step 2: The backup process would take some time and please wait patiently. After that, you could start your new iPhone with the same Apple account and head to Settings → General → Transfer or Reset iPhone. Then select Erase All Content and Settings.
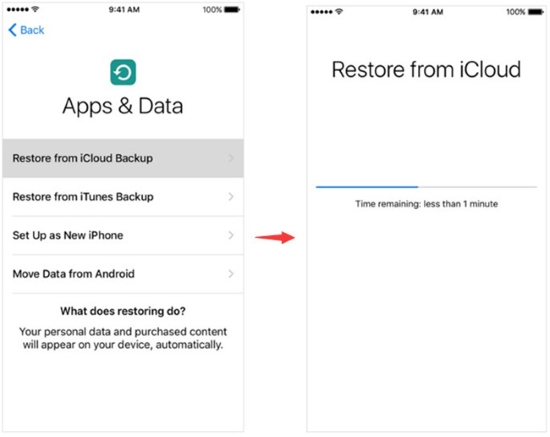
- Step 3: Your iPhone would restart and follow the screen instruction until the Apps & Data screen shows up. Tap on Restore from iCloud Backup and log in with your account again.
- Step 4: Choose the latest backup on the next screen and wait until iCloud finishes the restore process.
Part 4. FAQs about Data Transfer Issues
Q1. How long should the transfer process take?
A: This process greatly lies in the Internet connection and the file size. And the time would vary from several minutes to several hours. If you are transferring a small number of files to the new iPhone under a stable Internet connection, the whole process would only last several minutes.
Q2. Why does data transfer take so much time?
A: The first two factors you should take into consideration are data size and WiFi connection. Besides that, some unknown software issues would also delay data transfer.
Q3. Is there any way to shorten the time of transferring data to my new iPhone?
A: All methods above could help you get your iPhone out of preparing to transfer screen and shorten the time of transferring data. You could also delete some unwanted data on iPhone and disable iCloud Backup while transferring to reduce time.
Part 5. Final Words
In conclusion, this post has provided various methods to fix the issue iPhone stuck on preparing to transfer. You could try some common fixes at first. If failed, you could use Joyoshare UltFix to fix your iPhone's iOS issues without hassle. Hope these resolutions could help you access your new iPhone with the data you want.
