As a big-screen electronic product, iPad is popular. Although iOS system is very advanced, some Apple users still meet some issues. For example, someone might be confused that why his iPad won’t charge. In general, there are two aspects of reasons: hardware issues (damaged cable or port) and the issues of iOS system itself). In the following content, I will introduce several methods for you to fix the iPad won’t charge issue.
- Method 1: Try another outlet
- Method 2: Inspect the charging port of iPad
- Method 3: Switch a different Apple cable
- Method 4: Force Restart your iPad
- Method 5: Restore the iPad via iTunes
- Method 6: Try the third-party tool – JoyoshareUltFix
Solution 1: Try another outlet
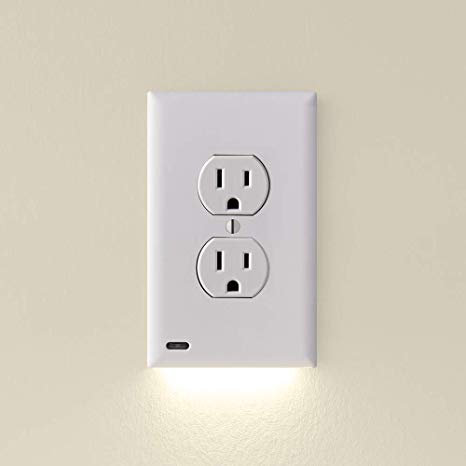
First, we should get rid of the effect of other factors (not iPad itself or its cable or charging port). If you hold charge your device by an outlet on wall, disconnect the iPad and plug it into the outlet again. Loose connection may leab to this situation. If the operation cannot return your iPad to normal charge, switch another data line or connect to a computer to charge. If you plug your iPad into PC for charging first, check for the computer or directly switch another computer.
Solution 2: Inspect the charging port of iPad
If you have attempted the first solution and the problem still exists, it shows that external conditions are normal. Keep reading, try another way.
A default charging port can cause the disconnection between the device and the outlet. Why the port is damaged? First, junk or debris lead to a poor contact. Second, the port is broken if you ever dropped the iPad before. You can clear up the port on the bottom of your iPad to avoid the former. However, if the second situation happened, go to an Apple shop near you to fix it.

Solution 3: Switch a different Apple cable
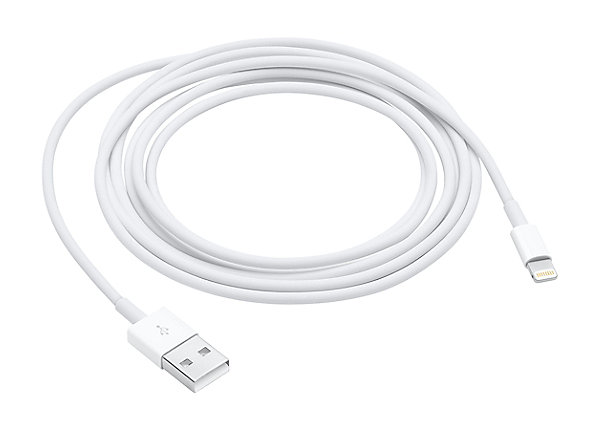
If there is nothing wrong on the outlet and the port, checking the Apple cable between them is necessary. The cable is easy to damage. Sometimes it is put into water accidentally, affecting its life span or damaging it thoroughly. There are some chemical factors. For instance, the data line is parted and the interface is crooked. In that case, switching another cable is the easiest and fasted way.
Solution 4: Force Restart your iPad
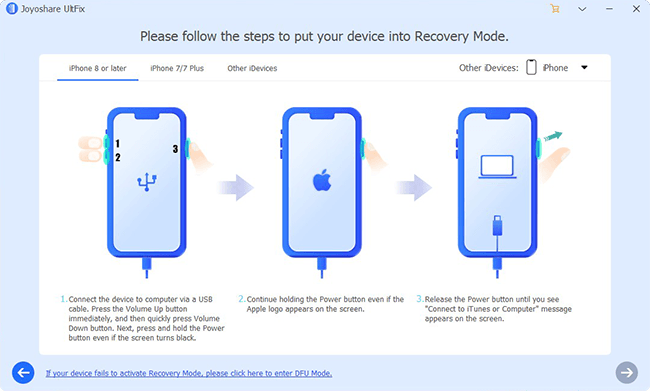
Trying the three methods recommended above cannot bring your iPad back to normal? That is to say, the issue occurred on iOS system itself. Then you must take some measures to repair the system. Force Reboot iPad can fix some basic problems.
iPad without the Home button:
New iPads are always with Face ID. You can force restart your iPad by following the steps below:
Step 1: Hold down and quickly release the Volume UP button.
Step 2: Press and fast get your hand off the Volume Down button.
Step 3: Hold the Top button until the Apple logo displays on the screen.
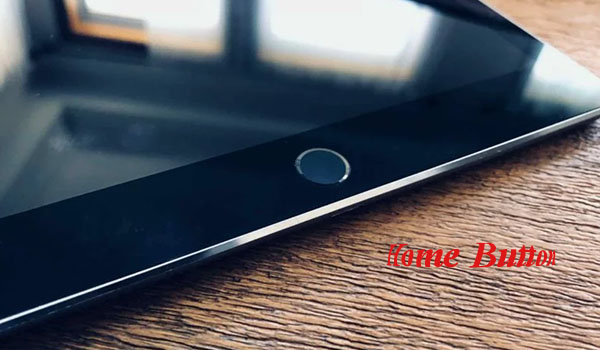
iPad with the Home button:
Except some relatively new iPads, usual ones have the Home button. Force Reboot this kind of iPad by the next guide:
Press and hold down both the Home button and the Top button simultaneously until the Apple logon appears on the screen.

Solution 5: Restore the iPad via iTunes
The methods above are relatively easy to use. If they still cannot work, try this one. But you should think twice this way because it will erase all the data on your iDevice. If you decide to try this one, back up your data first.
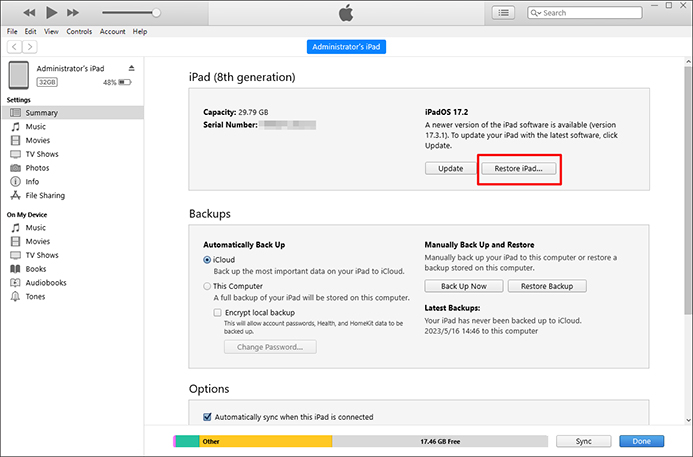
Step 1: Run iTunes and connect your iPad to the PC by USB
Step 2: Click the iPad button on the left top in iTunes
Step 3: Click Summary and then click the Restore iPad button.
Note: The fifth method is the last traditional way you choose to repair iPad won’t charge. It is full of hassle. You have to back up your all kinds of data first. That process will waste your time. If you need a easier way to fix the problem without data loss, you can apply the third-party tool: Joyoshare UltFix.
Solution 6: Use iOS System Recovery to Fix iPad Won't Charge
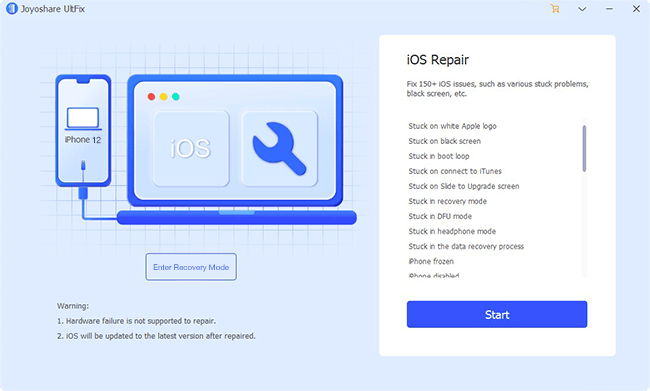
Joyoshare UltFix (iOS System Recovery) is a powerful tool to fix most iOS/tvOS system issues. Joyoshare can fix the problem iPad won’t charge, including iPad pro, iPad air, iPad mini, iPad 2, etc. It is compatible with the latest iOS 13. You can relax yourself. This iOS repair tool can fix issues without data loss. With this tool, you not only can fix some usual system issues (like iPad stuck in headphone mode), but also put your iPad into factory reset or remove your lock screen.
Why should you choose Joyoshare UltFix:
Fix 30+ iOS/tvOS system issues
Free Enter/Exit Recovery Mode
Without data loss
Support iPad, iPhone, iPod, and Apple TV
Step 1 Launch Joyoshare and connect iPad to the PC

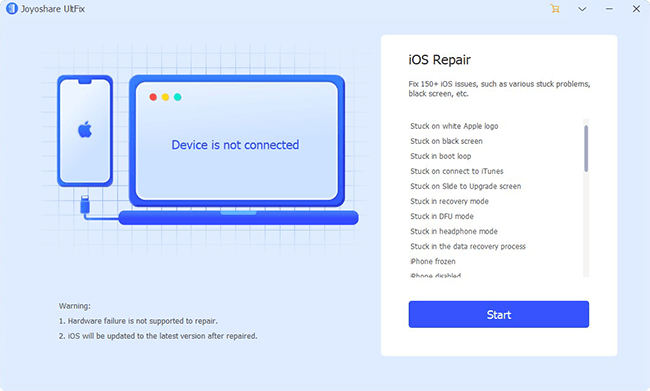
Download Joyoshare UltFix from the official website, install it as the guide. Double click the con to run Joyoshare, then plug your iPad into the computer. Click the Start button.
Step 2 Select one of the two repair modes
There are two options for you: Standard Mode and Advanced Mode. To repair iPad won’t charge, the former is suitable. You can take it easy because this mode doesn’t cause data loss. Then click the Next button.

Step 3 Download & verify the firmware package
You can read some basic information on the screen. Conform all information. Then press the Download button to begin to download matching firmware package. After downloading it, it will automatically verify the package.

Step 4 Begin to repair the iPad won’t charge issue
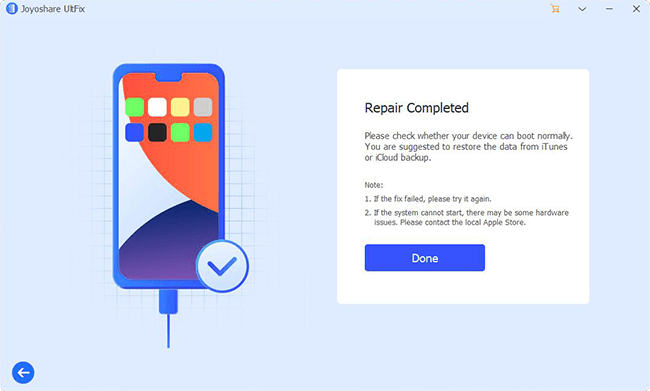
In this step, you should inspect carefully whether the iPad connects to the PC again. Or you just try it from the start. Joyoshare starts to unzip the firmware first. Press the Repair button to start to fix it.

Conclusion & Suggestion:
If iPad won’t charge, inspect all the hardware you need to use for charging in the first place. If they are nothing wrong, you can know that the error occurred in system itself. Then try some general ways to solve it. If the iPad still cannot avoid the problem, try the third-party tool: Joyoshare UltFix.
JoyoshareUltFix is a multifunctional repair tool for iOS system. Its main purpose is to fix 30+ system issues without data loss. In addition, when applying Advanced Mode, you can put your iDevice into factory reset without iTunes and remove screen passcode. Don’t worry. If you apply this mode, you still can recovery your data from iTunes or iCloud backup.
