The problem of computer not recognizing iPhone frequently crops up. So, you don't have to make a great fuss if you run into it while connecting your iPhone with computer to try transferring photos, videos, or other files. How so? Just consider the fact that since the issue is less rare, that may mean it is scarcely difficult to resolve. Well, nothing more to add to that, you can read the following content to learn why this issue occurs and how to handle it.
- Tips 1: Restart Both iPhone and Computer
- Tips 2: Check USB Cable and USB Port
- Tips 3: Ensure Computer to Have Been Trusted
- Tips 4: Update Apple Mobile Device USB Driver
- Tips 5: Make Sure Apple Mobile Device Support Is Installed
- Tips 6: Repair with a Technical iOS System Recovery
Why Is the Computer Not Recognizing iPhone?
The following is a brief analysis of the probable reasons for the issue. If you feel confused about why it happens, you can have a quick look at below.
1. The most common cause of it is that there is something faulted with your USB cable or the USB port.
2. Certainly, software failures may also result in this problem. For instance, Windows system issues, iOS glitches, iTunes troubles, or Apple USB Driver hitches.
3. If the trouble is caused by hardware failures on iPhone or computer, just go to repair store.
Sometimes, it is not easy to figure out the exact account of the issue. So, a few different solutions are expounded below. Please try them one by one before getting iPhone or computer into the repair store.
Part 1. Reboot iPhone and Computer
Whether you are experiencing the problem that computer won't recognize iPhone or other device-related issues, the simplest solution is always doing a full restart on your device. Definitely, everyone knows how to operate it, so the detailed steps will not be explored here. After doing, connect again to check if your iPhone is detected by computer.

Part 2. Check USB Cable and Port
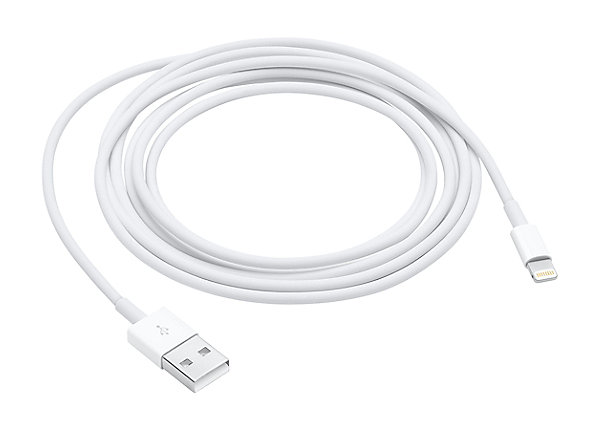
In case restarting does nothing for you, you can check if the USB cable that connects your iPhone with computer or USB port is damaged. That's for sure, a broken USB cable or port must hamper your iPhone from being recognized. If you are thrown into such a situation, applying a new USB cable or changing another USB cable is the most convenient and quick way to resolve the problem that computer is not recognizing iPhone.
Part 3. Make Sure Computer Has Been Trusted
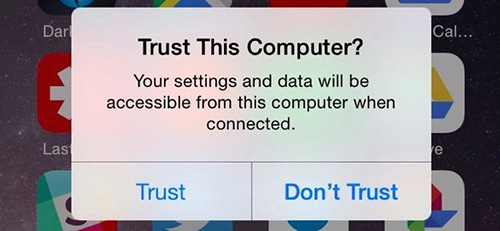
As you use a lightning USB cable to connect your iPhone to the computer, a window will appear on your iPhone to prompt you to choose "Trust" or "Don't Trust". Please ensure that you have touched the "Trust" option. If you mistakenly tap on "Don't Trust", just do the following steps to repair the computer not recognizing iPhone issue.
Step 1: Get into "Settings" after connecting your device with the computer;
Step 2: Then scroll down to "General" and then find the "Reset" option;
Step 3: From "Reset", you need to click on "Reset Location & Privacy" and enter your passcode to confirm the action;
Step 4: After that, the window will pop up again to ask if the computer can be trusted. Please remember to select "Trust".
Part 4. Update Apple Mobile Device USB Driver
It may not be familiar to you that an outdated device driver, especially for Apple Mobile Device USB Driver, can bring about the computer not recognizing iPhone problem as well. So simply get it updated as indicates below to finish off the problem.
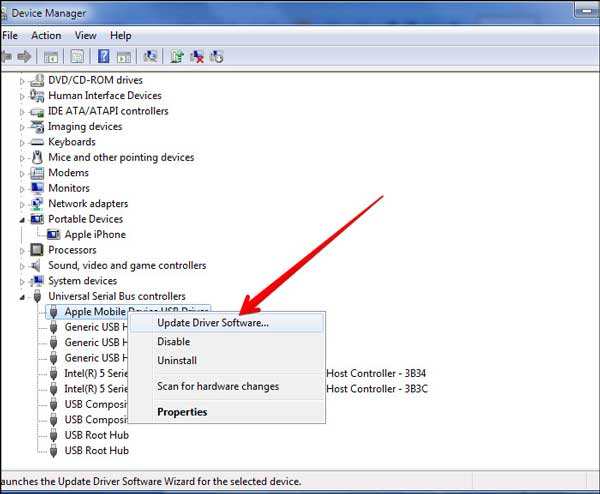
Step 1: On your computer, enter the Control Panel and then locate "Device Manage";
Step 2: Under "System devices", you need to choose "Universal Serial Bus controllers" and followed by "Apple Mobile Device USB Driver";
Step 3: Now, just click on "Update Driver Software" and you will get into another interface. From this interface, select the "Search automatically for updated driver software" option and then the computer will automatically get it updated.
Part 5. Check If Apple Mobile Support Is Installed
Does the issue of computer not recognizing iPhone still persist now? The other method to troubleshoot this issue is to check if Apple Mobile Device Support is installed on your computer. Maybe this approach sounds very complicated, but in fact, it only takes you one minute to be done. Please take the steps listed below if you have no idea on how to do it.
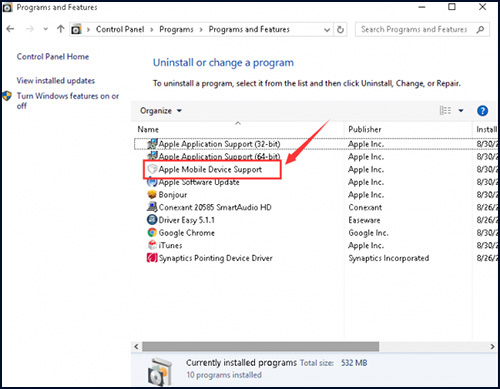
Step 1: Press the "Windows" key and "R" key on your computer keyboard at the same time;
Step 2: Then the Run box will appear. In the input field, you need to type "appwiz.cpl" and click on "OK";
Step 3: In the "Programs and Features" list, you can see if Apple Mobile Device Support is installed on your computer. If not, that signifies you should install iTunes again to make the "Support" installed.
Part 6. Fix without Losing Data - Using Joyoshare UltFix
Can't all of the above work well? If so, don't be depressed. An ultimate solution to computer not recognizing iPhone will show you in this section. To resolve the problem without data loss, you can get the best effect by adopting Joyoshare UltFix iOS System Recovery. The program is highly recommended not just because it causes no data loss while repairing issues, but also it has the ability to have a variety of iOS issues fixed on all iOS devices and Apple TVs. Also, the latest iOS version is supported by it.
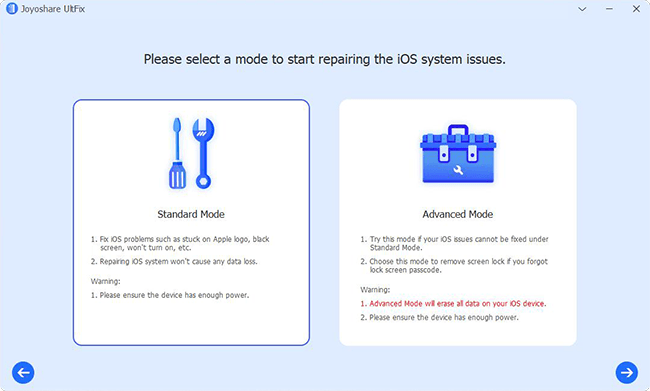
Powerfully, Joyoshare UltFix features two repair modes to better address your iOS problems. For ordinary issues like iPhone is disabled connect to iTunes, iPhone stuck in recovery mode, or iPhone charging slowly, standard mode is more than enough to repair them without the risk of damaging data. With regard to advanced mode, it is designed to deal with the real problems, such as iPhone is disabled how to unlock. Additionally, you are allowed to let your iPhone get into or get out of recovery mode with the help of a free option provided by this software. Just try it without more consideration!
Key Features of Joyoshare UltFix iOS System Recovery:
Repair many iOS issues without losing data
Offer standard mode and advanced mode to fix
Support all iOS devices and the iOS version 13
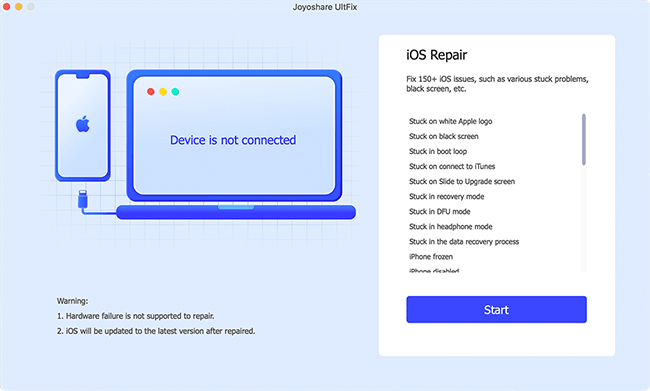
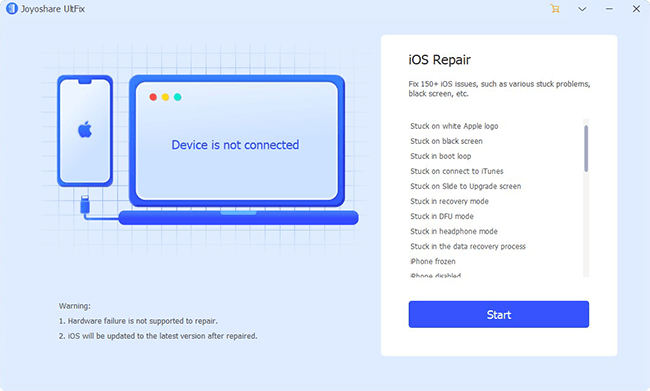
Step 1: To begin with, install Joyoshare UltFix on your computer and connect your iPhone. After iPhone is detected by this program, click on "Start" to move on;
Step 2: This step will demand you to choose one mode to repair. For data security, you can select standard mode first and then go to step 3 with the "Next" icon;
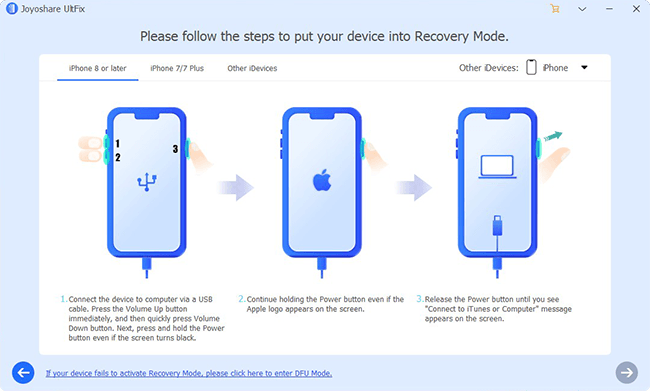
Step 3: Follow the steps on the screen to set you iPhone into recovery mode. If iPhone fails to enter this mode, click the link at the bottom to change to another mode - DFU mode;
Step 4: Before getting a new firmware package, you need to click your iPhone icon and confirm all the displayed info of your device on the screen. Then continue tapping on "Download" to download and verify the firmware package;
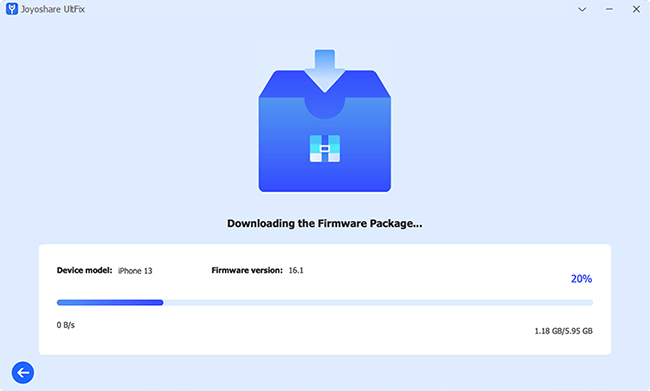
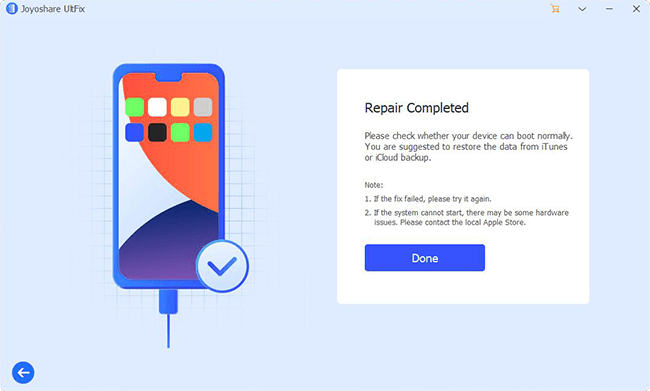
Step 5: At last, you just need to touch the "Repair" button to unzip the firmware package. Once done, Joyoshare UltFix will automatically repair the issue that computer won't recognize iPhone.
