Some users have complained that they are dealing with AutoFill not working on iPhone for some reason, but they have no idea about the possible reason behind this. If you need to know what this is all about and how exactly you will be able to fix this error, then you have landed in the right place. In this article, we will let you know everything about it, so don't skip any part of it to have a comprehensive idea of how you can sort it out on your own without any trouble. Before we go any further, the users need to know about AutoFill. You can say that it is a feature in the software that allows it to enter stored information via automatic processing.
- What Are the Causes of iPhone AutoFill Not Working?
- Way 1: Turn AutoFill on iPhone
- Way 2: Force Restart iPhone
- Way 3: Factory Reset iPhone
- Way 4: Update to Latest iOS Version
- Way 5: Restore from Recovery Mode
- Way 6: Allow AutoFill to Use Contact Information
- Way 7: Call Apple Tech Support
- Way 8: Use Joyoshare UltFix (without Data Loss)
What Are the Causes of iPhone AutoFill Not Working?
There are two main causes when people encounter iPhone Autofill not working. One of the primary reasons can be a software glitch. This will occur whenever your iOS update to the latest version. Another possibility can be that the users may not have set up the feature correctly. Whatsoever the reasons are, we will help you fix this error. Check out the below methods to find out how you can resolve this issue.
Way 1: Turn AutoFill on iPhone
Sometimes, AutoFill feature may be switched off by accidental usage or a bug, so you should confirm if the Safari AutoFill function in iPhone is turned on.
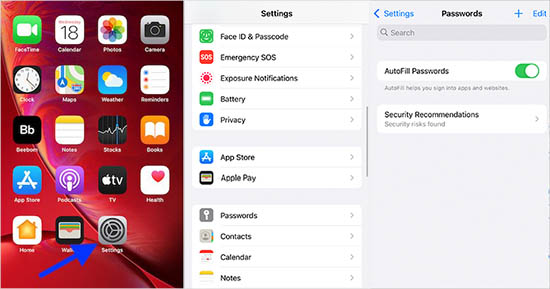
- Step 1: At the start, open Settings - Passwords.
- Step 2: Then press on a particular account and edit if it is required.
- Step 3: In the end, go back to turn off the AutoFill Passwords toggle and restart your device. Afterward, go back to this setting and turn on the AutoFill Passwords switch.
Way 2: Force Restart iPhone
To resolve the AutoFill password iPhone not working issue, you can try out the method of restarting the phone. Just remember that the steps might vary from phone to phone. To do that, follow these steps.
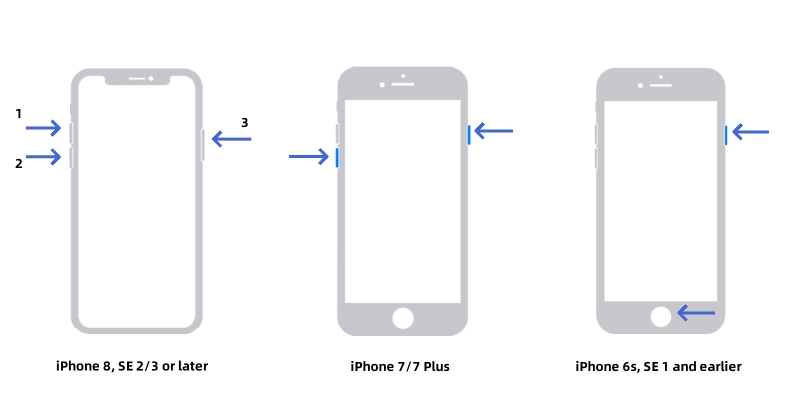
- For iPhone 6 and 6 Plus: Tap and hold power and home buttons at the same time until the Apple logo pops up on the screen and the device restarts.
- For iPhone 7 and 7 Plus: Tap and hold power (side) and the volume down button at the same time until you see the Apple logo.
- For iPhone 8 and later: Press and release the volume up button, tap and hold the volume down button, and press and hold the side button until the Apple logo shows on the screen.
Way 3: Factory Reset iPhone
Factory reset iPhone is another solution to fix this issue by getting rid of software glitches or settings, which will cause data loss. Don't forget to backup the device on iTunes and iCloud before using this method.
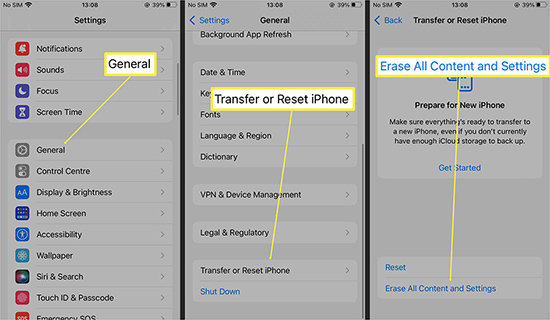
- Step 1: At the start, open the Settings on your device and press General - Reset.
- Step 2: Now tap the option that says "Erase all Contents and Settings" to enter your passcode when prompted.
Way 4: Update to Latest iOS Version
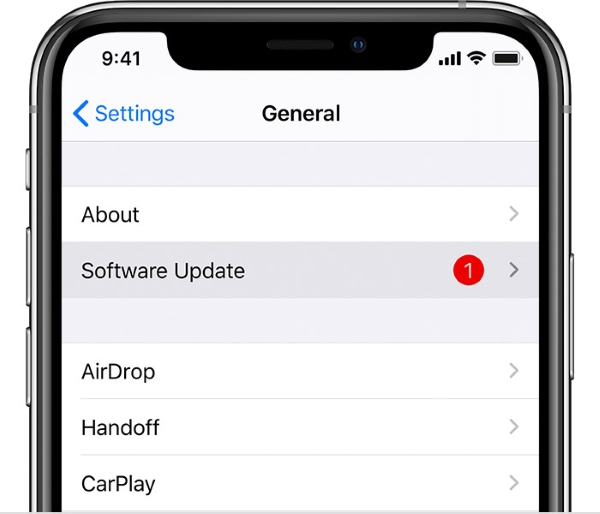
If not any of the above methods work, then maybe it's time to update your iPhone's software. To do that, go to Settings app - General - Software Update, and install the latest update. Make sure that at this time you have a stable Internet connection and 50% of the battery power.
Way 5: Restore from Recovery Mode
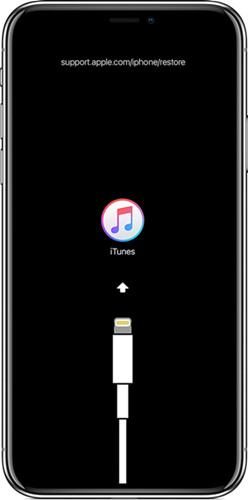
You can also go for this method, where you need to restore the phone from Recovery Mode. It has been observed that this method works for many users, so maybe it would also help you.
- Step 1: Use the USB cable to connect iPhone to computer and activate iTunes app.
- Step 2: Enter the Recovery Mode with following instructions.
- ● For iPhone 6 and earlier, tap and hold both the Home and the top buttons altogether, and just hold them until you see the Recovery Mode screen.
- ● For iPhone 7 series, tap and hold the top and volume down button, and hold them until you see the Recovery Mode screen.
- ● For iPhone 8 and other models of the 2nd generation, you need to tap and release the volume up button before pressing and releasing the volume down button. Now tap and hold the side button until you see the Recovery Mode screen.
- Step 3: Choose the Update button in the prompt.
- Step 4: Your iOS device will be updated to the latest version automatically.
Way 6: Allow AutoFill to Use Contact Information
You can also allow AutoFill to use your contact information when you want to fix the error after knowing why is my AutoFill not working on iPhone.
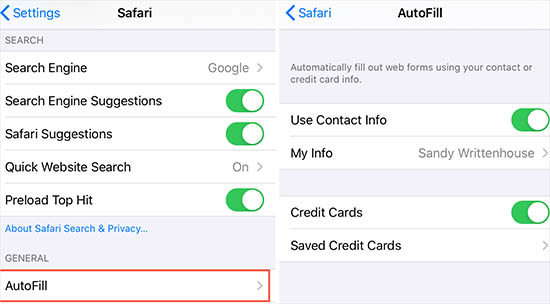
- Step 1: Launch the Settings app, touch Safari to open Safari Settings, and press on the option of AutoFill.
- Step 2: Now turn on the Use Contact Info toggle switch, tap on the My Info option, and choose your contact info.
- Step 3: In the end, you will see that your contact info is now enabled for AutoFill.
Way 7: Call Apple Tech Support
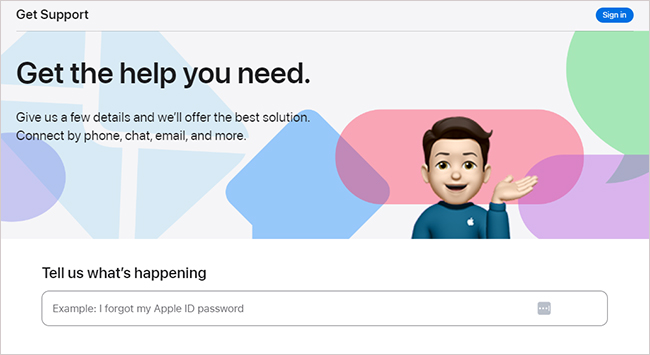
iPhone users can contact their tech support team in case non of the above methods work for them. As for now, all the users might probably know that for some methods, the steps vary according to the model of the device, so in case nothing works out for you, you can take guidance from Apple's tech support team.
Way 8: Use Joyoshare UltFix to Fix the Issue without Data Loss
If you are still in trouble and looking forward to some helpful way that could work in fixing the issue of iPhone AutoFill password not working, then try the iOS system recovery - Joyoshare UltFix, as it is one of the best options out there that will assist you in doing all the work without losing any data. This powerful recovery tool can solve 150+ issues on iPhone and is compatible with all iOS devices. Wondering how to make it work according to your needs? Just look and follow these steps one by one to find out how it can be done.
- Fix Auto-Correction not working, Auto-Lock not working, and AutoFill not working errors
- Can repair 150+ iOS errors without data loss on iPad, iPod, iPhone and more
- Dual repair mode to solve various problems on iOS
- Enter or exit Recovery Mode and compatible with all iOS versions
- Easy to use and free to operate
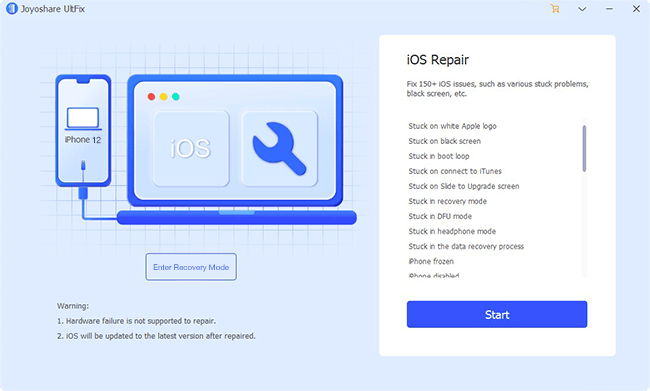
Step 1 Launch Joyoshare UltFix and connect iPhone to the PC
At the start, open Joyoshare UltFix for Windows on your PC, connect the iPhone to the PC with the help of the USB cable and wait for a while till it's found. Choose Enter Recovery Mode and select Start option.
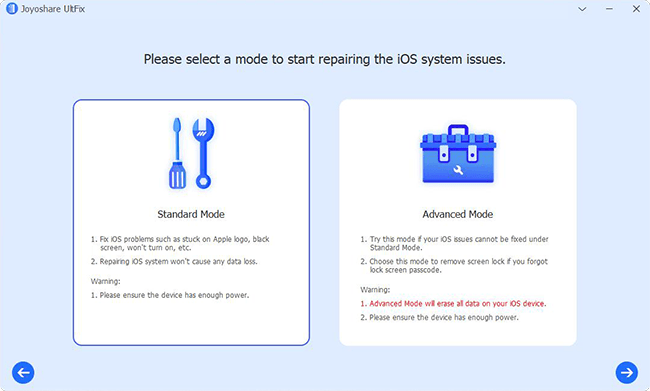
Step 2 Select a repair mode
In the next window, pick the options Standard Mode and Next. Here you will be asked to select the device model you've connected, so go for the commands from the interface and put your device into DFU mode before tapping the option of Next.
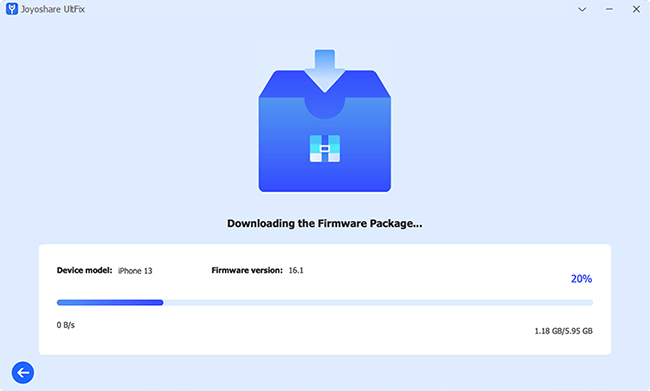
Step 3 Download the firmware package
Now download the firmware package that is matched to your device. Before doing that, you are recommended to verify that the device info is correct, such as its version and model details. After that tap, the option of Download will begin downloading and confirming the firmware.
Step 4 Repair iPhone AutoFill not working issue
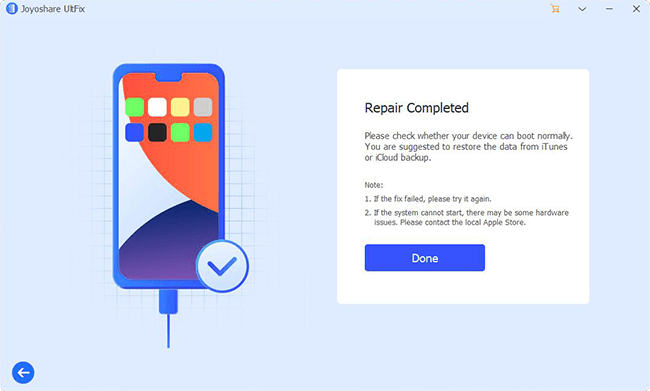
In the end, when you see that the firmware has been downloaded, tap the option of Repair, and you will see that the program will start to fix the device via automatic processing. Don't forget to keep your device connected before the resolving method is in process. If you don't do it, then the device might become bricked.
Conclusion
All those people who are looking forward towards some suitable solutions to when it comes to the quarry, why is my AutoFill not working on iPhone might probably have found all the answers to their questions. We hope that this article will be enough for you to know about the possible causes and solutions to this error. You don't have to go anywhere else in search of the correct answer, as we have enlisted all the relevant and easiest solutions above that you can try one after another in case you are also having this issue. Go for the method you think is best according to the problem you encounter, and let us know about your experience.
