Sometimes, you feel the need to compress QuickTime video. The reason being a large size. You cannot send it via email or any sharing app as they have size limits for file transferring. And the same also happens when uploading them on social media. The traditional way to reduce the size of a video is to trim or change its dimensions. But if you want the high quality and small size together, you have to find another way. This article will guide you on how to compress QuickTime video with the help of the 8 most effective and efficient ways.
- #1 Joyoshare VidiKit
- #2 Movavi Video Converter
- #3 QuickTime
- #4 Clideo
- #5 iMovie
- #6 ApowerCompress
- #7 YouCompress
- #8 Wondershare UniConverter
1. Compress QuickTime Video - Joyoshare VidiKit
Joyoshare VidiKit is recommended for video compression. Its usage is quite popular. With a speed over 40X, the tool is famed for its efficient compression. Conversion of videos is also supported. What's more, you can get the file size reduced either by specifying file size or by setting compression percentage. No matter how many QuickTime videos you'd like to deal with, it can ideally support batch conversion. Best of all, each file can be previewed before compression for you to check the output quality easily.

- 40X fast speed to compress QuickTime videos
- Process a large quantity of video files each time
- Dual mode to compress videos as you wish
- Support previewing videos before compression and output
- Compatible with lots of popular video formats
- Compress video for Instagram, Facebook, Twitter and more
Step 1Import QuickTime videos to VidiKit
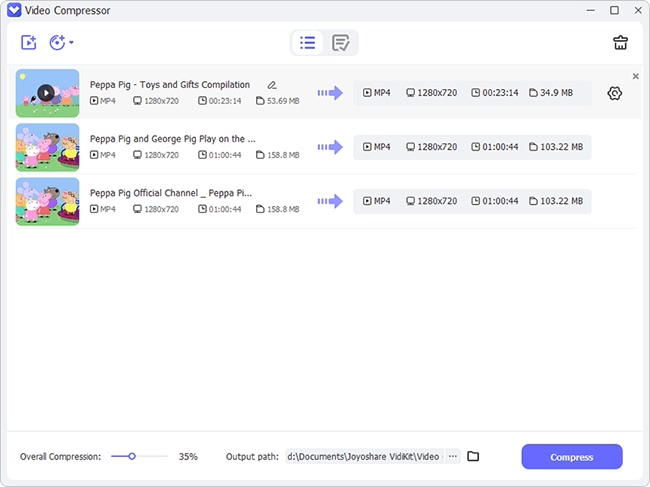
Get your downloaded Joyoshare VidiKit launched on computer and open "Video Compressor" under Convert in the left column. Simply press "Add Files" button on the top or drag the target QuickTime videos to this program.

Step 2Choose compression mode
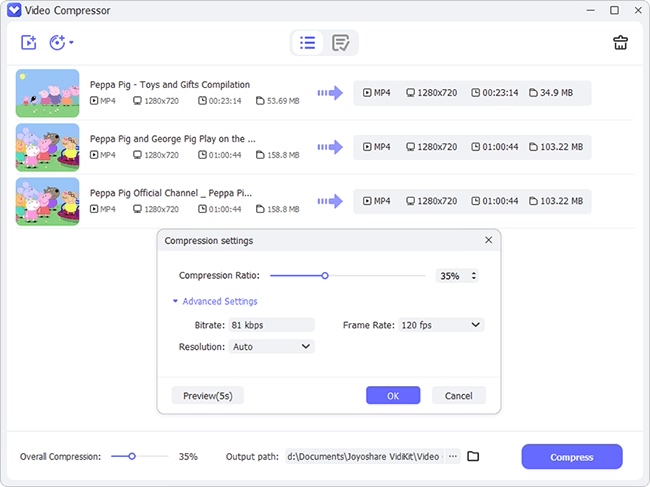
You can click on the "Compress" panel on the bottom left-hand corner to compress your QuickTime videos by percent. Adjust it to your desired compression degree and turn on "Apply to All". Or you can hit the "Edit" button of each file in the list to compress by file size. It's possible to preview, select format and resolution as you want.

Step 3Begin to compress and save QuickTime videos
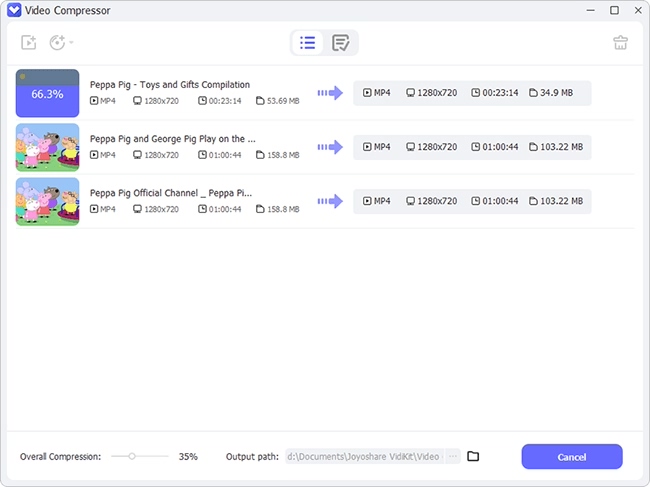
Designate a location to save your videos by clicking on the "Output" option. Then you can press on "Compress" at bottom right to start to reduce their file sizes. Simply have a check in "History" tab on the top menu when all tasks finish.

2. How to Compress a QuickTime Video - Movavi Video Converter
Movavi Video Converter is a perfect tool for compressing videos, including other adjustable features. The software offers you two options for reducing the file size, either by choosing the fixed file size or defining it as customizable. The tool also has some basic editing options, like trimming, adding the effects, rotating, color adjusting, and so on to give your video a better look.
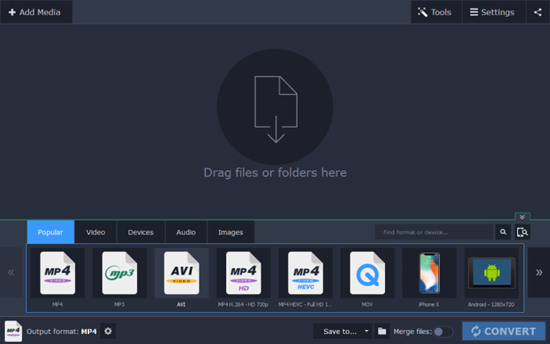
- Step 1: Launch the downloaded tool. Add your QuickTime videos.
- Step 2: Specify the resulting format and resolution. Adjust the additional options.
- Step 3: Finally, compress the QuickTime files by hitting the Convert button.
3. How to Compress a Video on QuickTime
QuickTime Player is the official and built-in media player for Mac users. Besides being just a media player, QuickTime Player is also a video editor. It has options like rearrange, rotate and trim, and so on. You can also split a movie using the editing tools. In addition, record the Mac screen to share with your friends and family. What is more interesting is that QuickTime Player can compress QuickTime video as well.
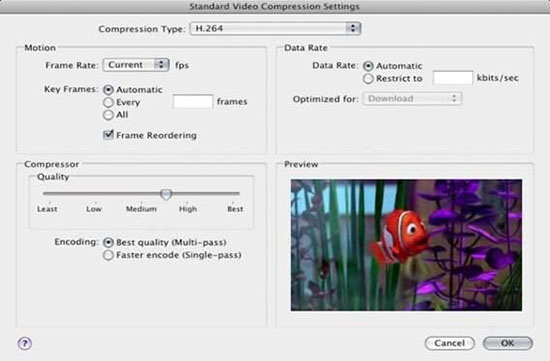
- Step 1: From the File menu tab, click Open File.
- Step 2: Export the media file. Click Options, then Settings. Choose H.264 from the Compression Type. Hit OK to proceed.
- Step 3: In Movie Settings, choose the smallest size. Afterward, click the OK and Save button to start compressing.
4. How to Compress QuickTime Movies - Clideo
Clideo is online and therefore, requires no downloading and no installation. Just go to the website if you want to compress your QuickTime video files. The interface is very simple and easy, that you do not even require a manual to use it. It supports all the major video formats like AVI, MOV, MP4, and so on. With Clideo, it is simpler and quicker to reduce the size of video files.
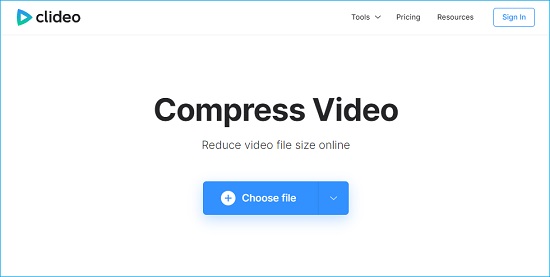
- Step 1: Launch the online software and then add the video file.
- Step 2: Once the uploading is completed. The software will start the compression process.
- Step 3: To download the video, click the Download button.
5. How to Compress QuickTime Videos - iMovie
Another great option for you is iMovie if you are looking for a way to compress QuickTime video. iMovie is also built-in in Apple products such as iPhone, iPad, iPod, and Mac. You can use shortcut keys to navigate through the videotape. In addition, with the timeline feature, you can adjust the tone, contrast, saturation, and brightness. iMovie also lets you share your video on iPhone, Apple Tv, iPad, etc.
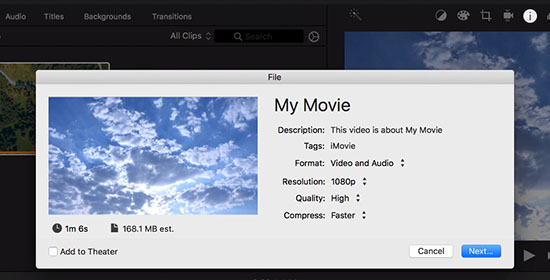
- Step 1: Import a QuickTime movie into iMovie.
- Step 2: Modify the video parameters. From the file tab menu, click on Share to start processing.
- Step 3: After the compression, export the video.
6. Compress QuickTime Video File - ApowerCompress
ApowerCompress is a licensed, effective, and useful file compression program. It has a fast compression speed along with a high compression rate. Adjusting video output resolution, cropping video, selecting output format, batching compress files, etc., are also supported by ApowerCompress. The tool is not available online, so you've got to download it. In the free version, you can compress 2 MB pictures, 2 MB PDFs, and 20 MB videos.

- Step 1: Open the installed software. Click the Compress Video. Now add the files.
- Step 2: Now choose the compression type: size or quality. Select the output format as well.
- Step 3: Click the Compress button to start.
7. Compress QuickTime Video - YouCompress
YouCompress is free and available online. Also, there is no limit to compressing files. The tool uses the latest compression technology to maximize the quality and minimize the result. No configuration is required as the software automatically detects the best parameters for the uploaded files. In addition, there is no watermark added to your video or any other media you upload for compression.
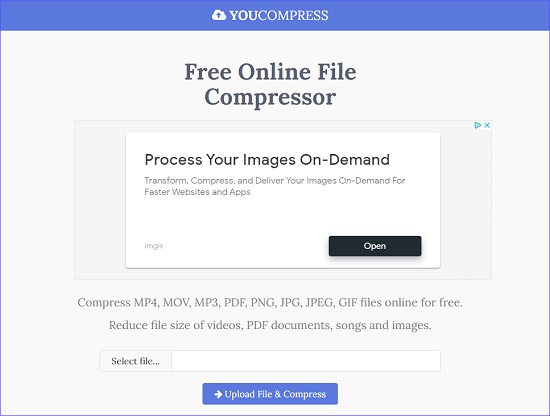
- Step 1: Go to the website and click on Select file.
- Step 2: Click on Upload File & Compress to start compression.
- Step 3: Afterwards click on the Download link to get the file.
8. How to Compress a QuickTime Video - Wondershare UniConverter
Wondershare UniConverter is another solution. It is an all-in-one toolbox to edit your video. From adding effects to removing background music, Wondershare UniConverter is full of editing tools. The tool supports almost all the major available multimedia video formats. It allows you to use it anywhere, anytime.
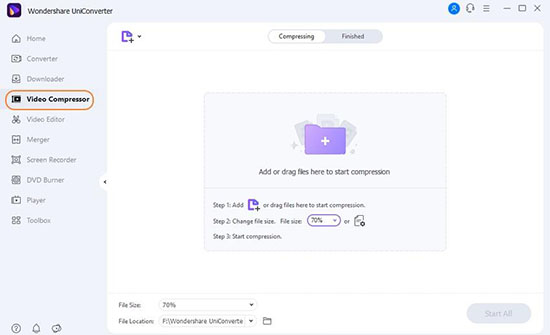
- Step 1: Open the downloaded software. Import the file.
- Step 2: Edit and change the output format.
- Step 3: After compression, click on the File Location tab to save the file.
Conclusion
The article has mentioned the 8 best ways to compress QuickTime video. These contained both online and offline tools. Now you can select the one which suits you the best. All the software are unique for their features. Some are fast compressors, while others have multiple choice of compression modes and types. All tools give the output with the maximum video quality and minimum file size. Also, each of the video compression tools is detailed, and steps are provided for your convenience. Do not forget to compress video with Joyoshare VidiKit like an expert.
